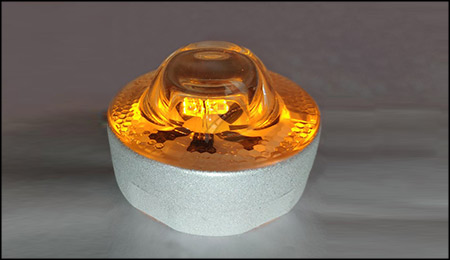
The solar glass road stud is a very beautiful LED road marker. Its component is a round glass or plastic casing, which looks like a flying saucer. It is very beautiful. The LEDs in the solar glass road stud can be evenly distributed with 6 LEDs. It can also be 8 LEDs evenly distributed, or 10 LEDs can be evenly distributed.
The production process of solar glass road stud:The production process of solar glass road stud is a bit complicated. Let's introduce it in detail.
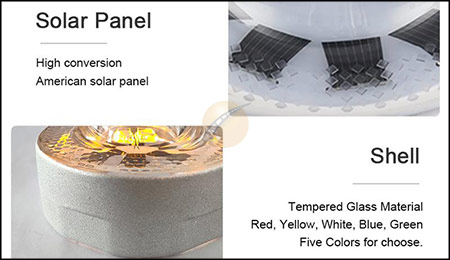
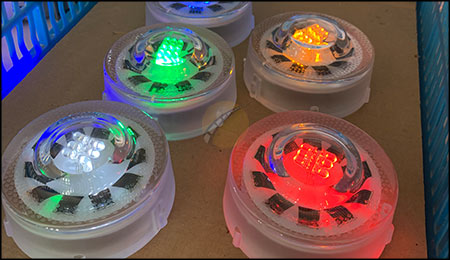
1. Select the round plastic road stud shell with the solar panel installed, test the output voltage of each solar panel, and test it with an instrument with its output current to ensure that the LED solar panel is good, QC quality control, Check whether the solar panel shell is scratched, damaged, or deformed.
2. Install the LED lights on the solar glass road stud shell. Each LED light needs to have a plastic kit, which needs to be installed. After installation, insert the LED lights into the plastic kit to ensure the sealing of each LED, so that the When he is pouring glue, the glue will not enter the inside of the LED lamp bead.
3. Connect all the LEDs inserted into the glass road stud, so that all the LEDs are connected in series and parallel according to the designed circuit principle. In the middle of this detail, all the LEDs must be welded firmly to ensure the solar road stud can be used for a longer time in the following time.
4. Install the drive circuit of the glass road stud into the entire casing. The entire drive circuit is divided into positive and negative poles. Connect the positive pole of the LED to the positive pole of the driving circuit, and connect the negative pole of the LED to the negative pole of the driving circuit. At the same time, the drive circuit must be driven in the middle of this process, so as not to be damaged by static electricity as much as possible.
5. After all the procedures are completed, installing the battery for the glass spikes, although it is a nickel-metal hydride battery, but the battery is a dangerous work product, and the battery can only be installed at the last time. After the battery is installed, start the power-on test The function of the entire solar glass road stud.
6. Start to potting the semi-finished solar glass road studs that have been tested to ensure that the battery has been tested by charging and discharging. All products that have been checked by QC are OK, then start potting. This potting glue is completely Sealing glue, its time delay and pressure resistance are very good.
7. After picking the solar glass road studs, QC will check the electrical performance and appearance, and re-charge and discharge all the led road studs.
Charge and discharge test of solar glass road studs: Put the glass road studs into the dust-free space for inspection on the roof, and enter the charging and discharging time of each half month. After half a month, if there is no problem with the solar glass road stud, then Basically, it can be packaged and shipped. All solar glass road studs have been used for 15 days. Although it is a dust-free environment, it has passed the important testing methods of charging and discharging. The quality of such glass road stud will be very good and worthy of customers who place an order.