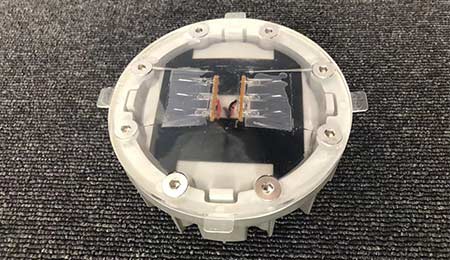
The solar cats eyes road stud is made of aluminum alloy and high durability polycarbonate material. Solar road stud are ideal for permanent or temporary marking. Due to the prismatic reflective elements of various colors on both sides of the road column, solar cats eyes have high visibility during the day. At night, because six high-power LEDs are automatically actuated by sensitive photocells, visibility can be achieved.
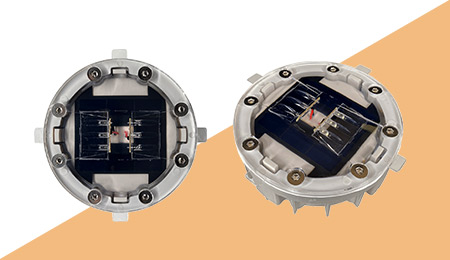
The round and transparent design of the solar cats eyes road stud NK-RS-X5 in NOKIN can create a good appearance, at the same time alleviate the impact of traffic load, and indicate the danger zone and traffic circle. This solar road stud can withstand the pressure of 40 tons and can be used in the middle of roads and zebra crossings.
The characteristics of solar cats eyes road stud NK-RS-X5 are as follows:
1. Production material: National standard cast aluminum, Japanese bulletproof PC, compression resistance, IP68 waterproof.
2. Cost-effective: Solar power supply, free wiring, long service life, and maintenance cost is basically zero.
3. Climate: applicable temperature -25 ℃ ~ + 75 ℃. The desert and snow still work normally.
4. Comfort: red, yellow, white, blue and green mild colors, not dazzling, the product is flush with the ground, completely wheel friendly.
5. Visible distance: more than 800 meters, there is enough time to react to the road ahead.
Install method of solar cats eyes road stud:
1.Carefully mark distance between placement of solar road stud lights.To prevent an adverse effect on ground,use a proper tool such as Core Drill.Drill 127mm and depth will be 45mm.
2.Remove all debris from installation hole.
3.Pour epoxy into the holes per manufacturer's instruction.
4.Verity that the installation hole is straight.Verity that the installation hole is large enough to allow epoxy to surround the solar led road stud shaft.
5.Set the lighting surface of the solar road stud to the desired viewing angle. Verify the epoxy is evenly adhering to the installation hole and solar marker shaft.
6.After curing the LED solar road stud for 6-8 hours, remove the installation of the isolation facility.