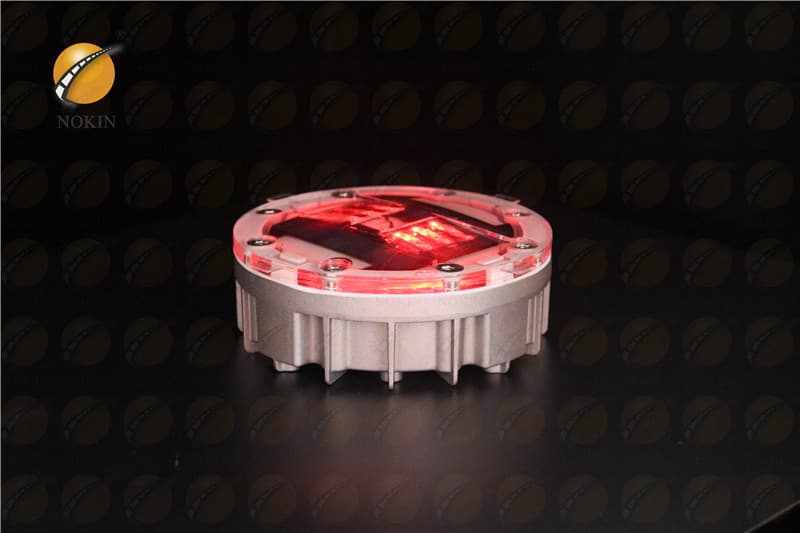
How to install IL300 LED Solar road studs
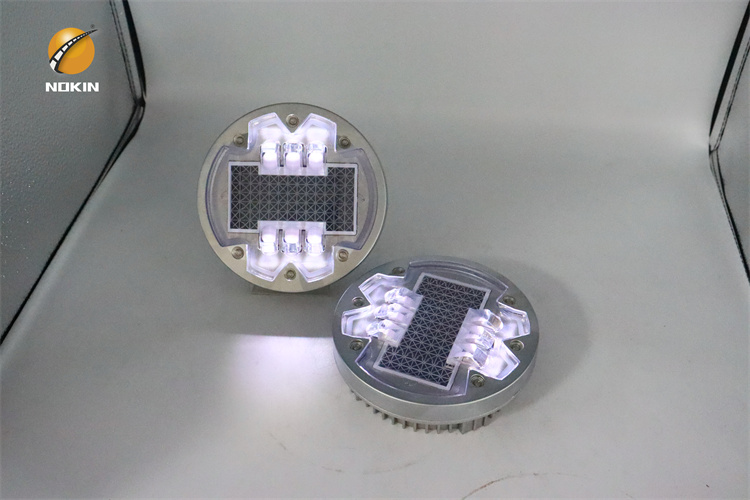
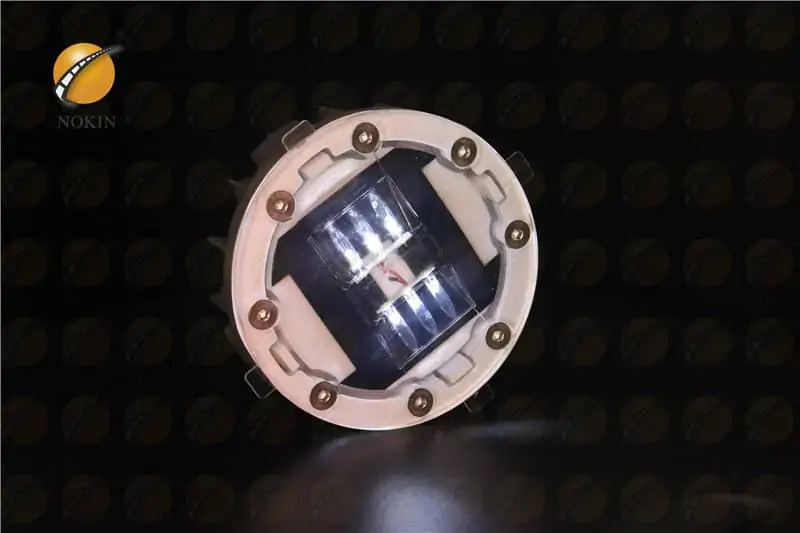
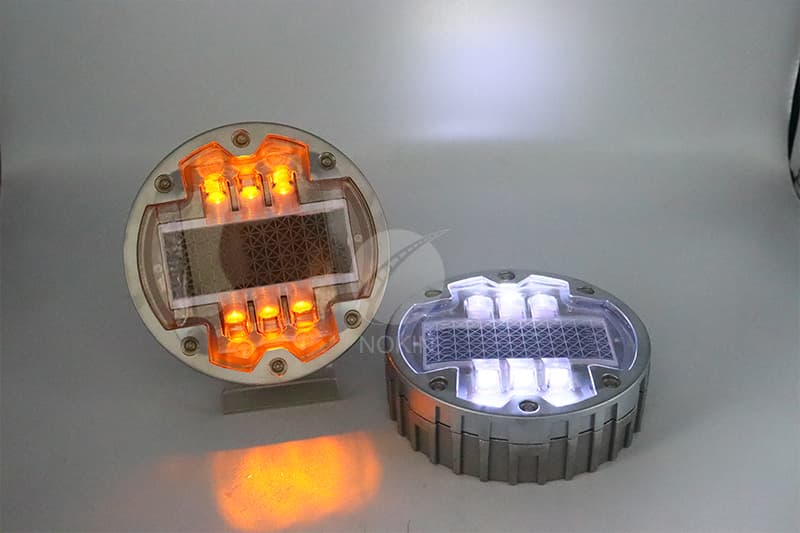
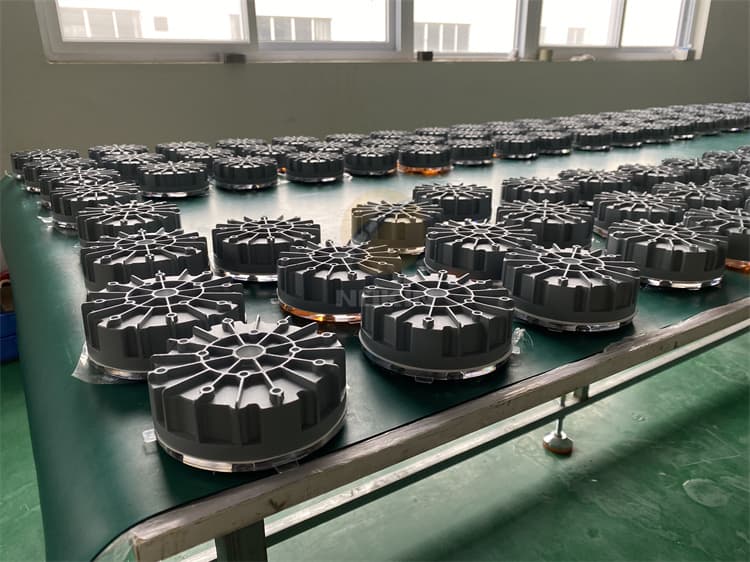
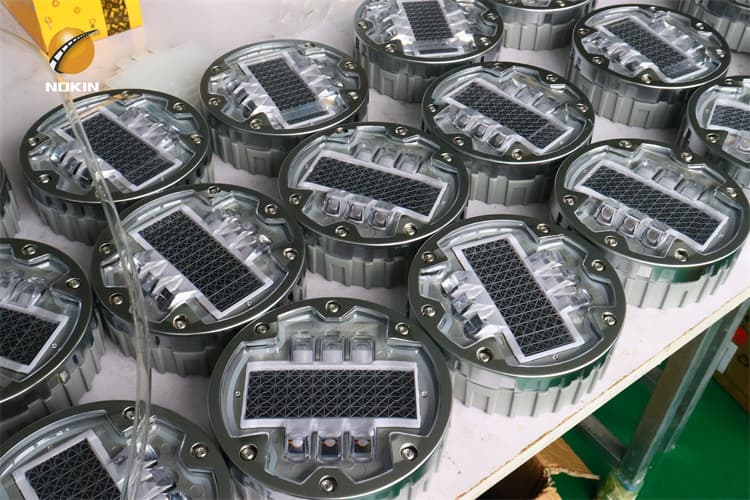
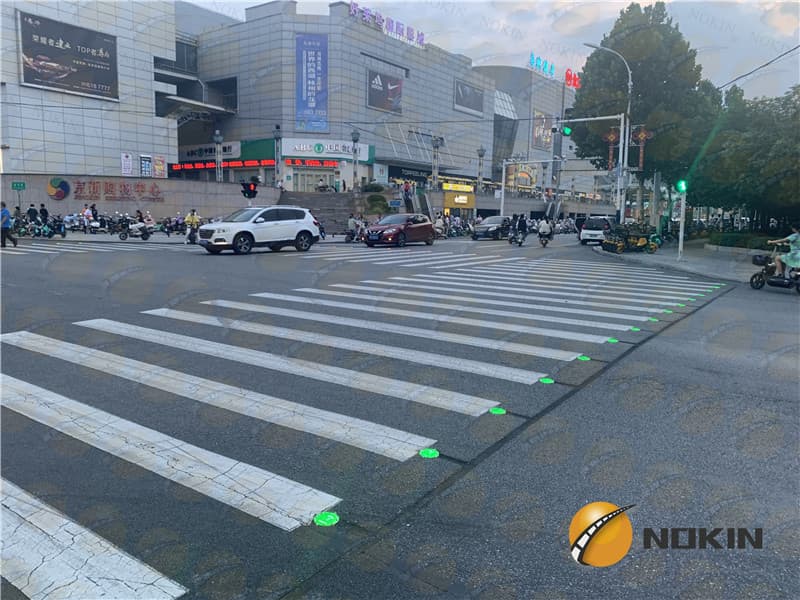
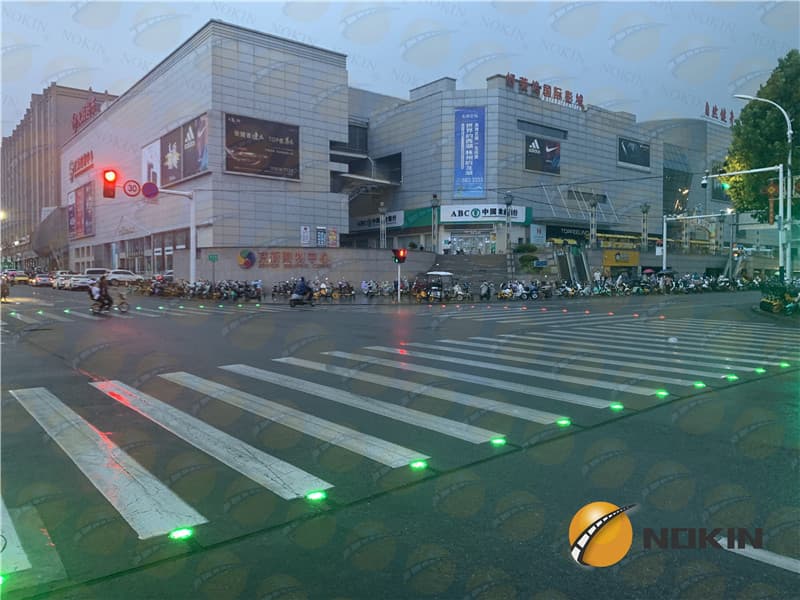
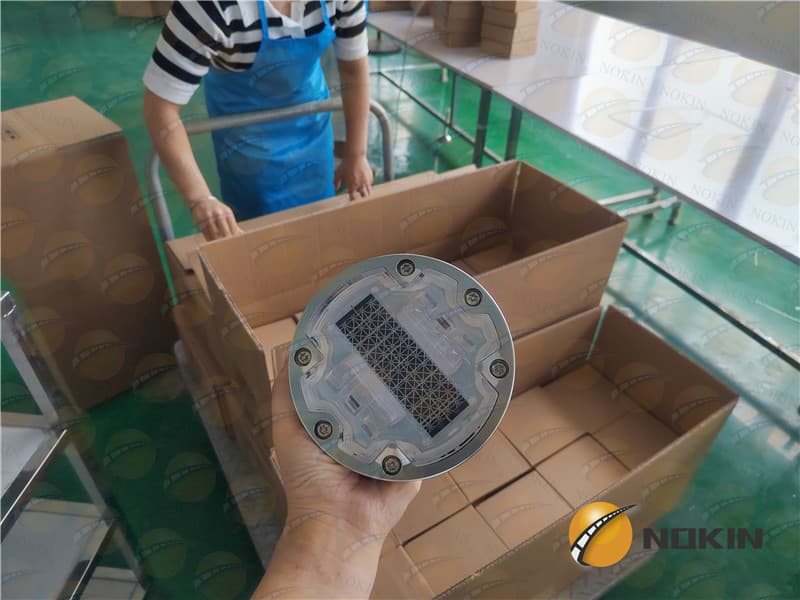
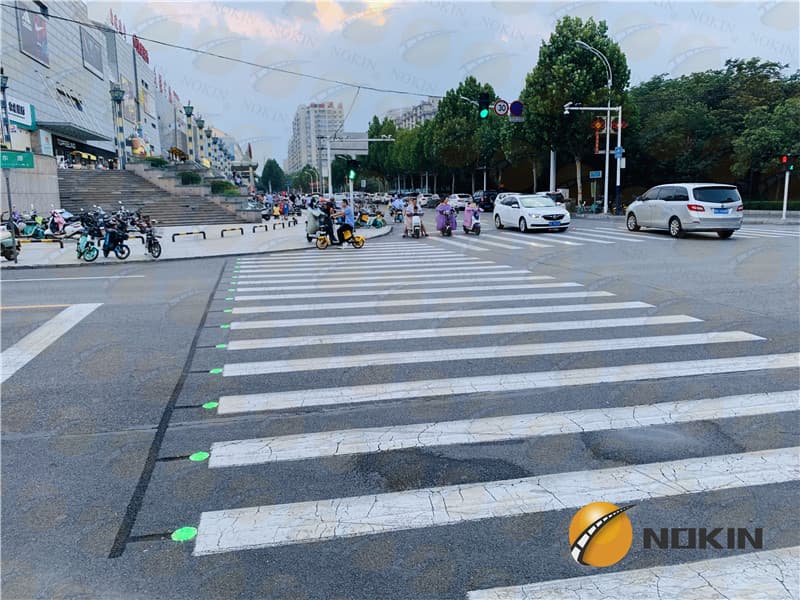
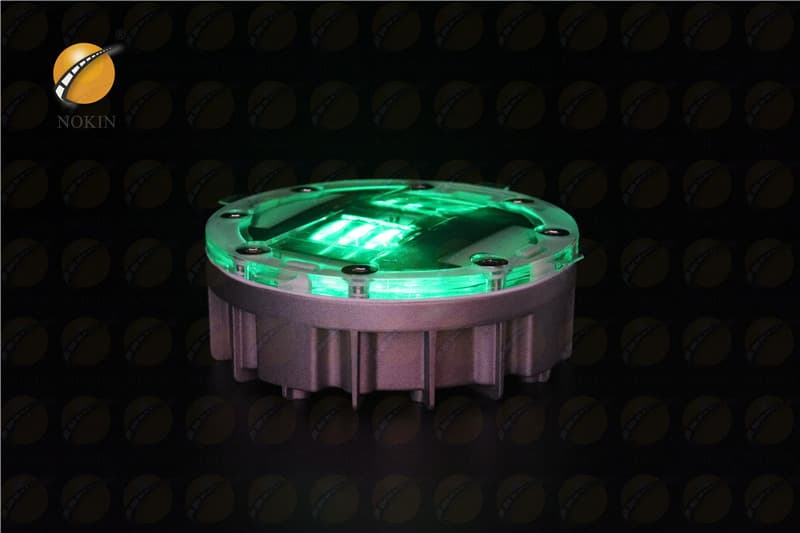
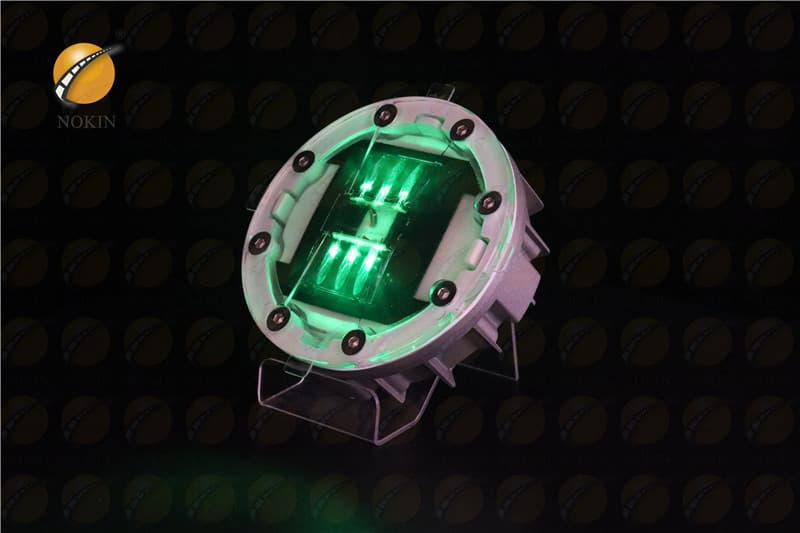
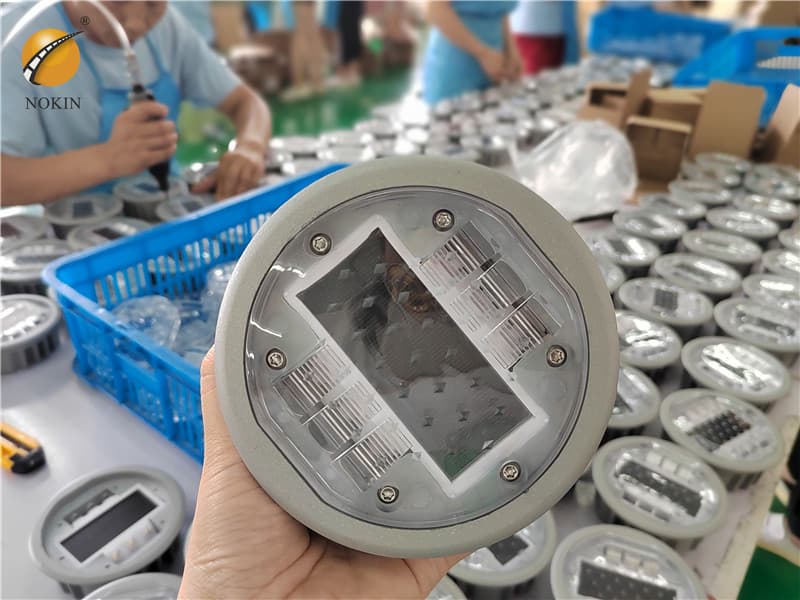
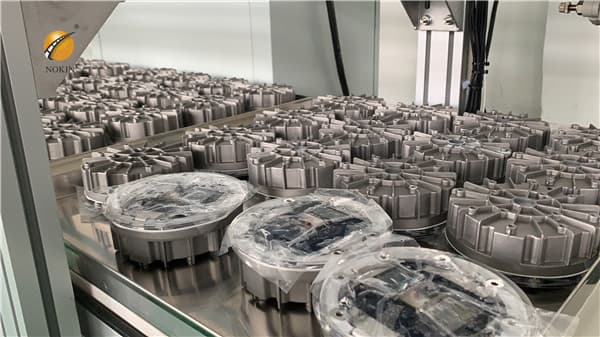
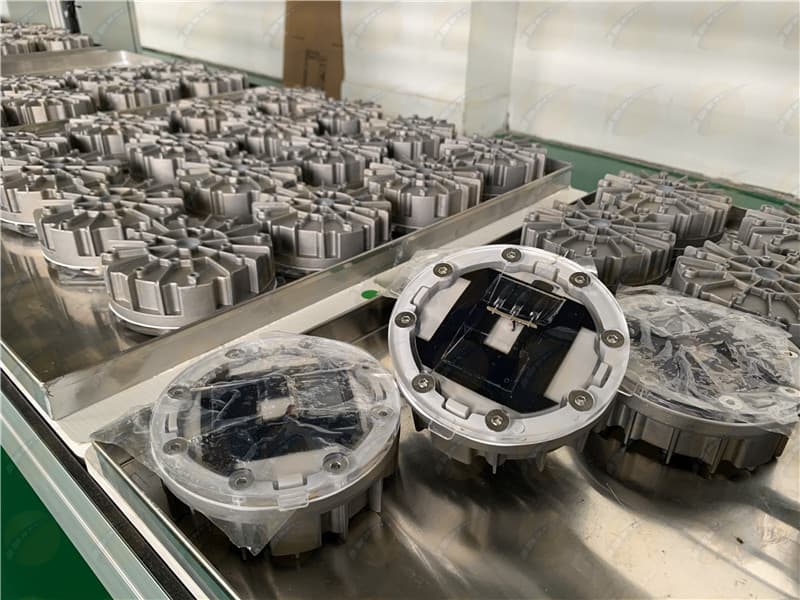
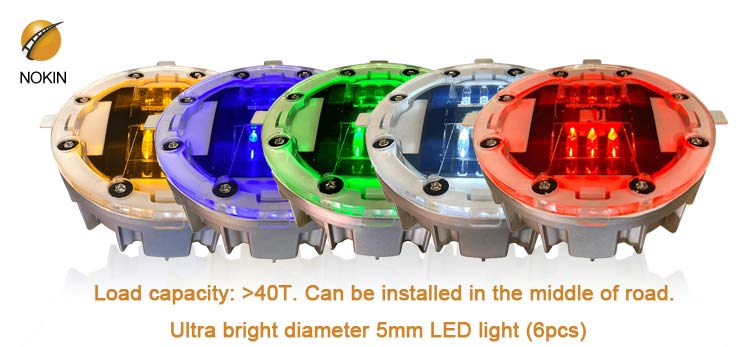
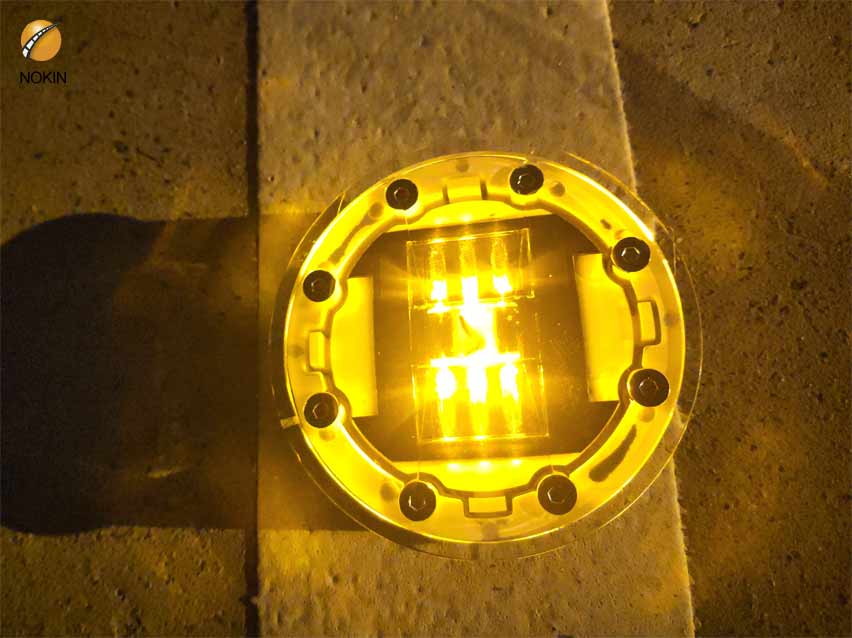
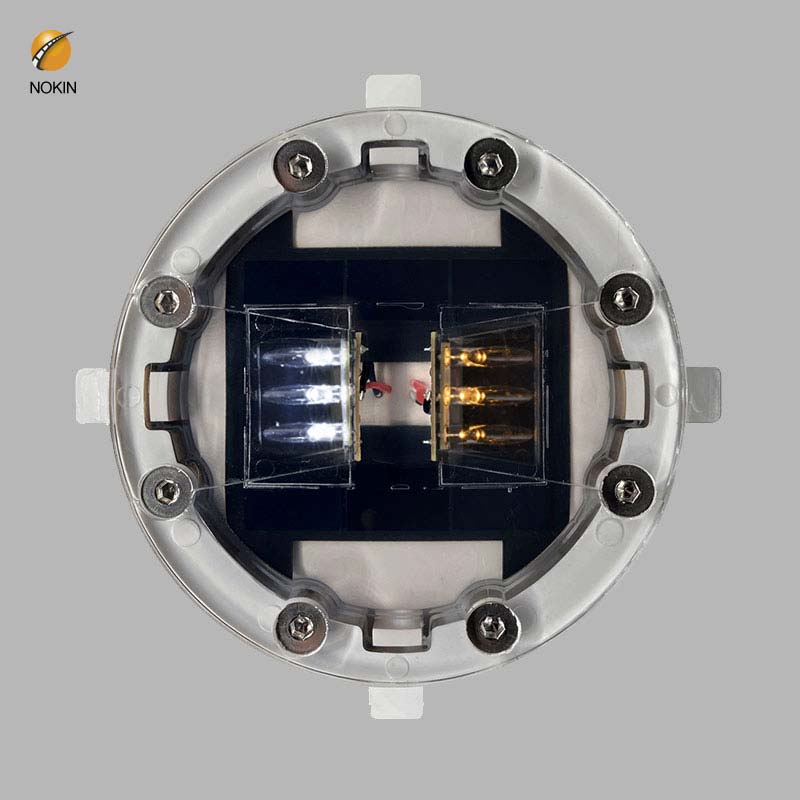
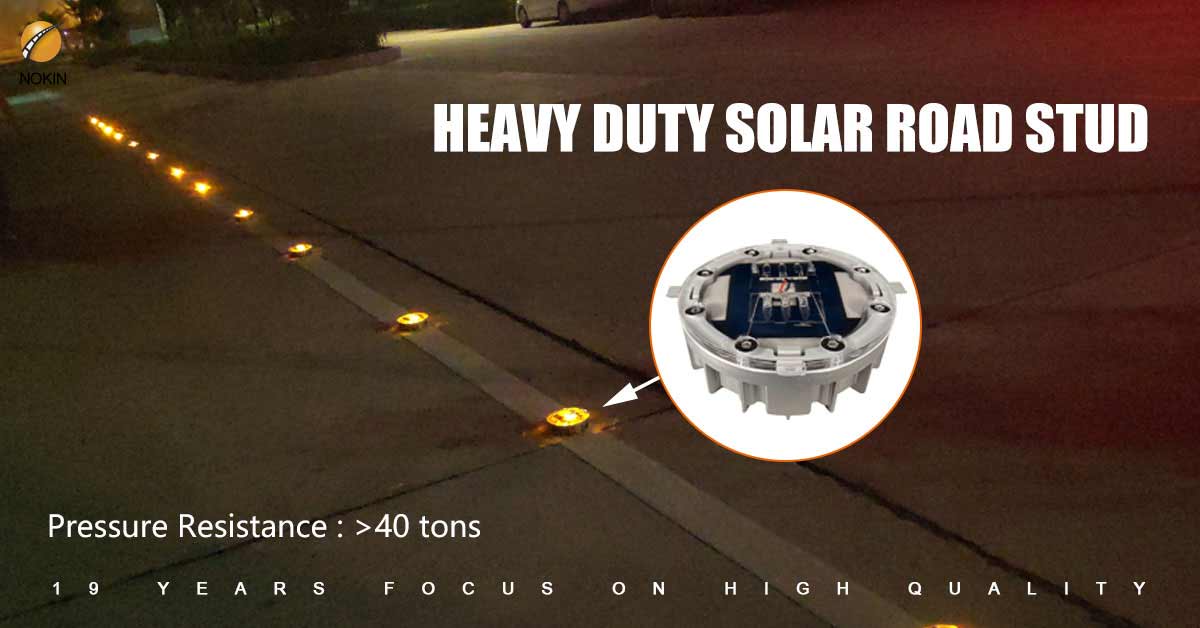
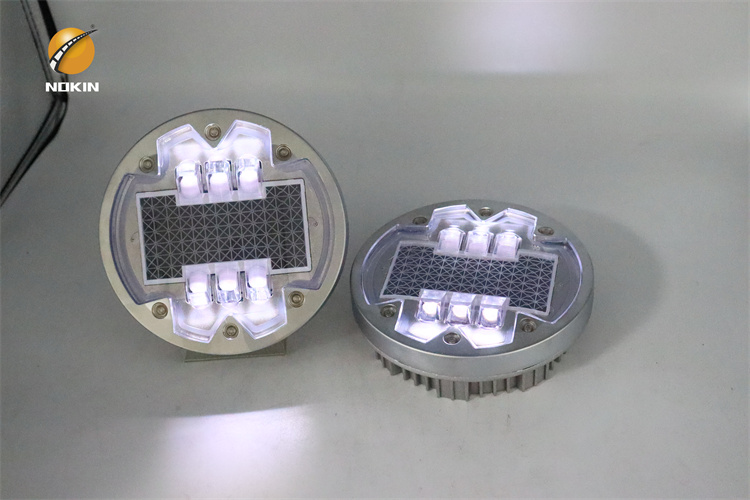
This type of solar road stud is embedded type. The top material is a PC and aluminum alloy case. It can be installed on the zebra lines and other positions, with strong resistance to pressure. Solar Road Studs use integrated solar panels which power the battery and LED lamp without any external power supply.
Installation Method Of Embedded Solar Road Studs
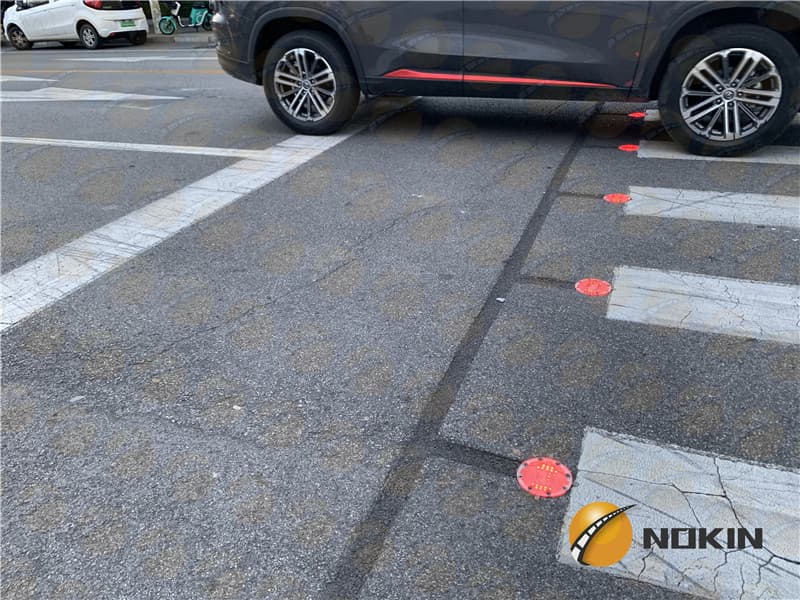
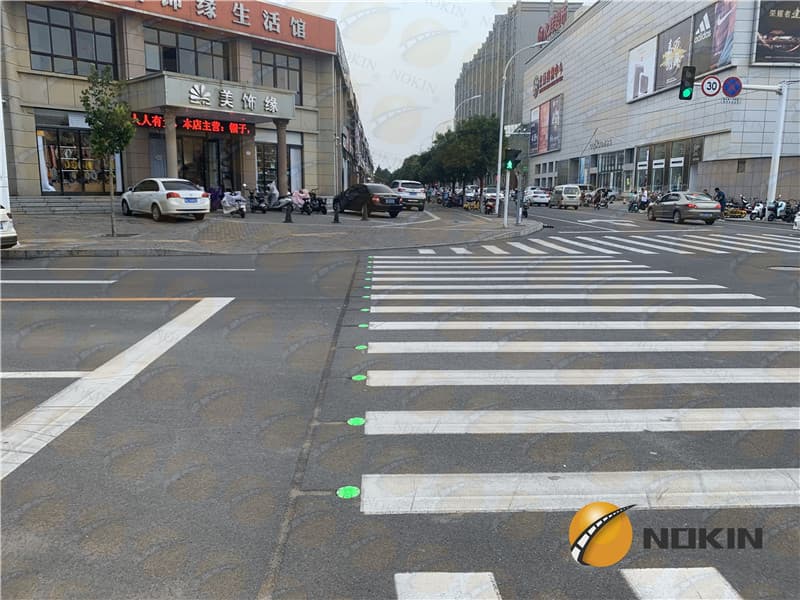
1. Mark the proper installation position. Normally, 3m distance between road studs will be better.
2. Use the core drilling machine to drill a hole according to the actual size of the shark. Dry the holes with a blowtorch and clean the hole.
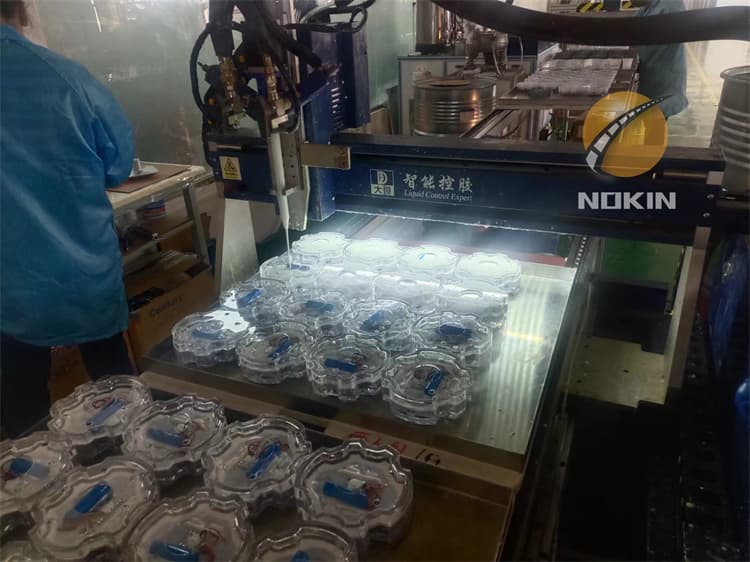
3. The epoxy value ratio: Of a glue and B glue is 1: 1. The glue should be mixed well-distributed with the electric drill, 40-50g will be used for each
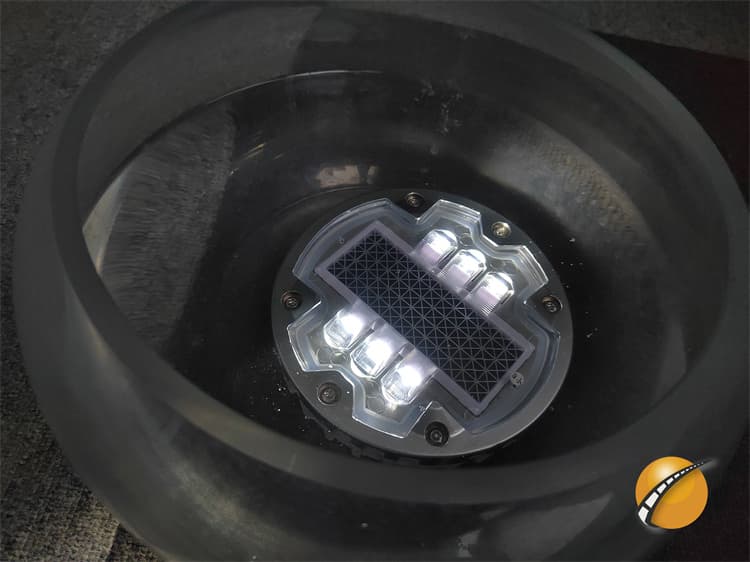
4. Pour the glue into the hole, get to three-quarters of the hole: Clean the bottom of the solar stud and put it into the hole.
5. Use the knife to clean the surrounding overflow glue after the installation and re-mover all debris from the carriageway.
6. Wait 8 hours for drying before activating the solar stud.
The spacing between each solar stud is also according to your actual application requirements, the above values are for reference only.