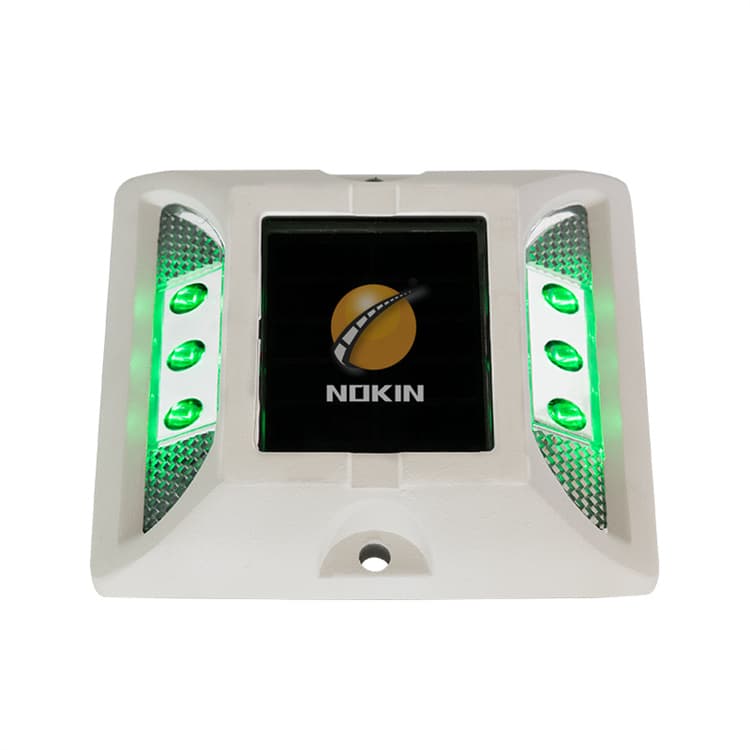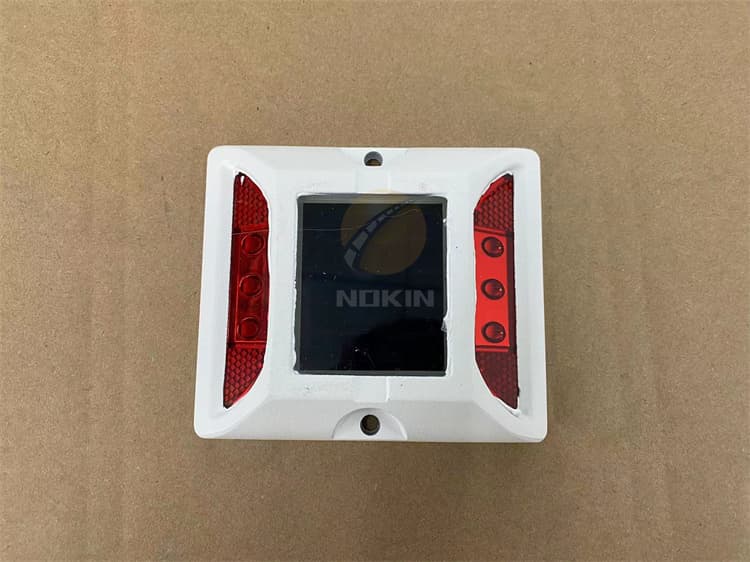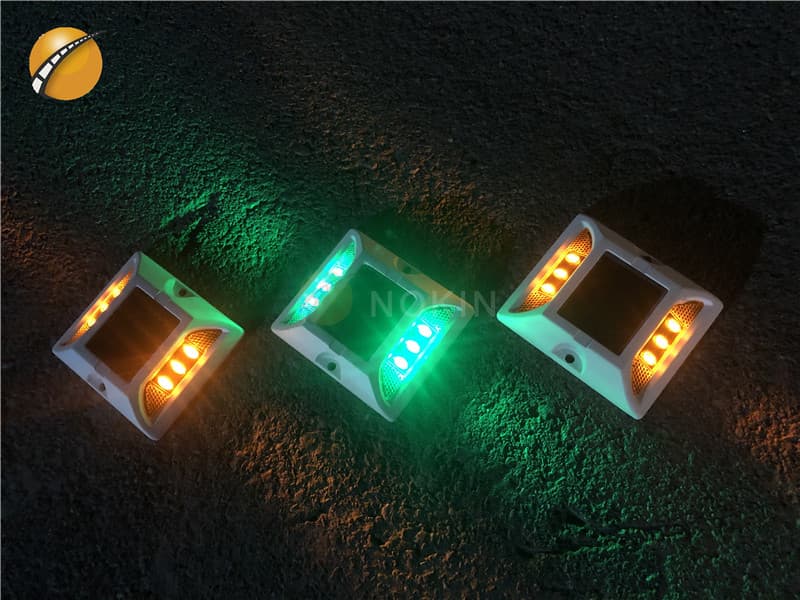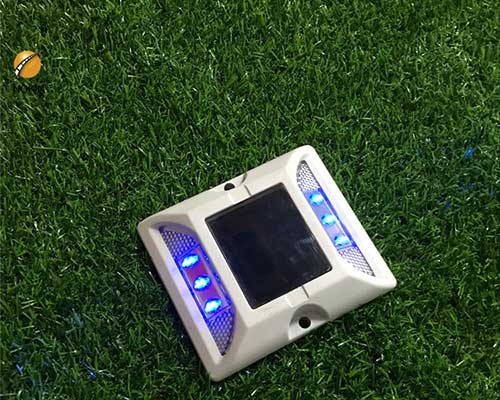
Blinking or Constant Solar Road Studs
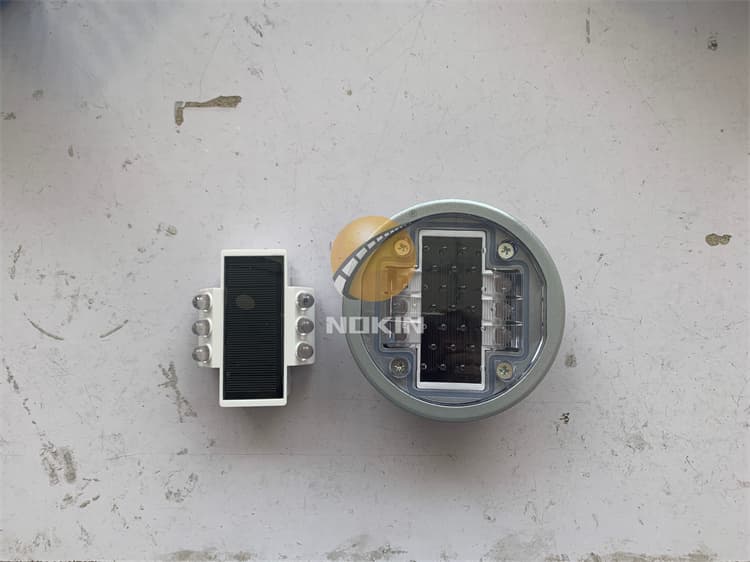
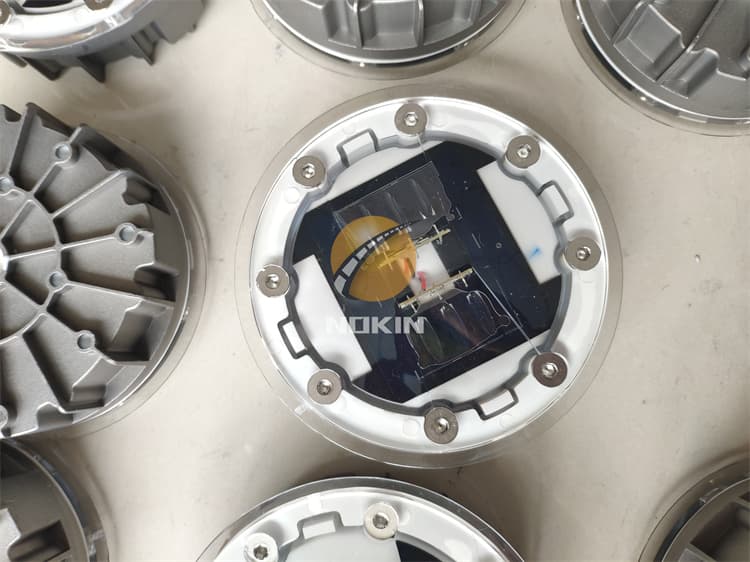
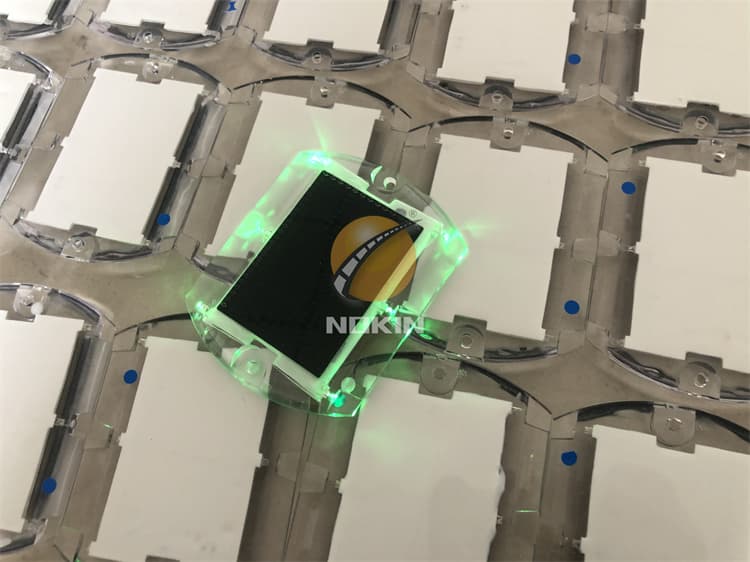
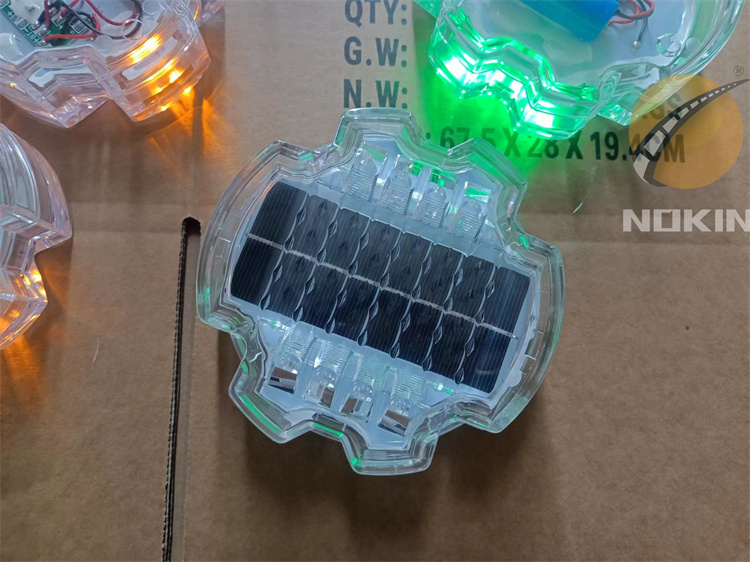
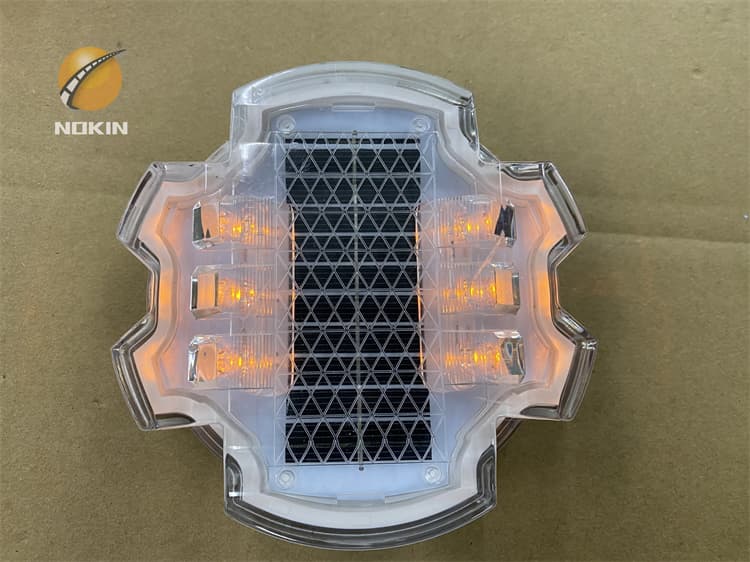
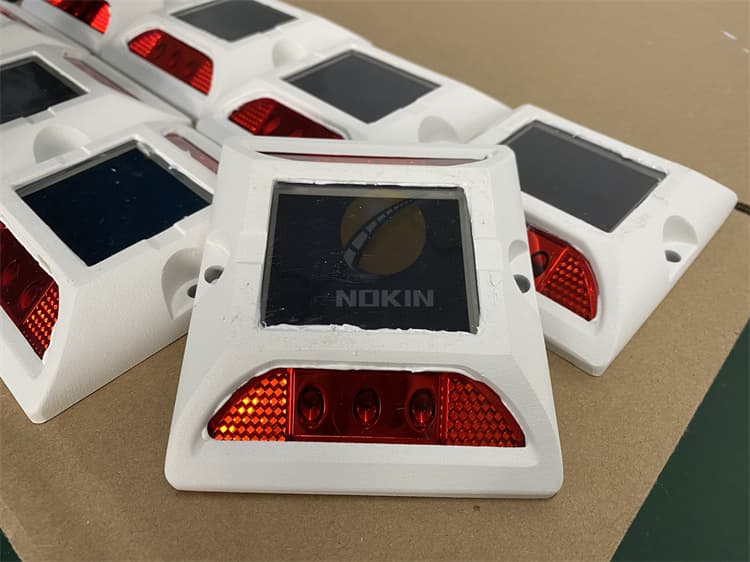
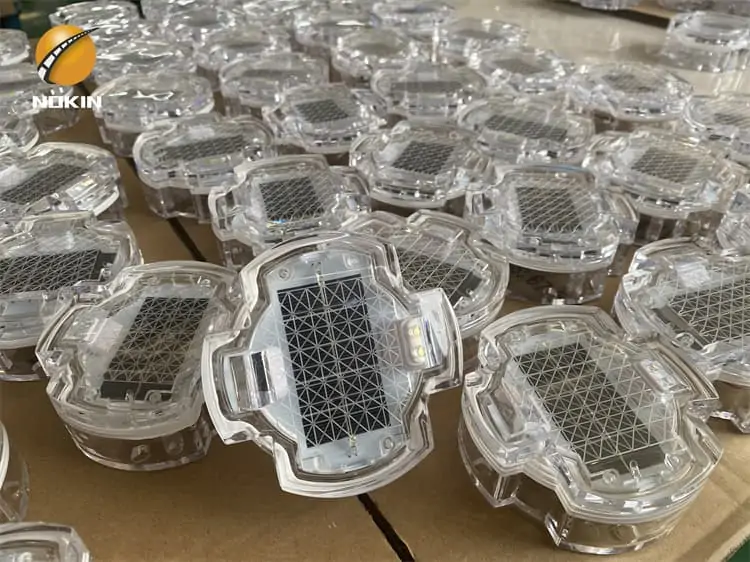
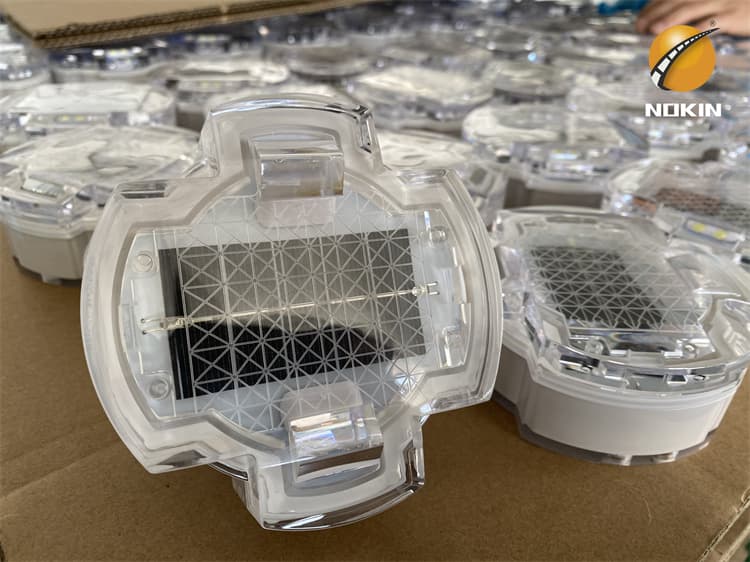
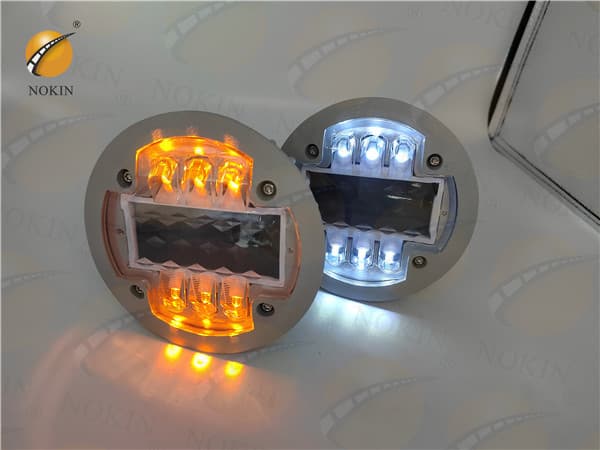
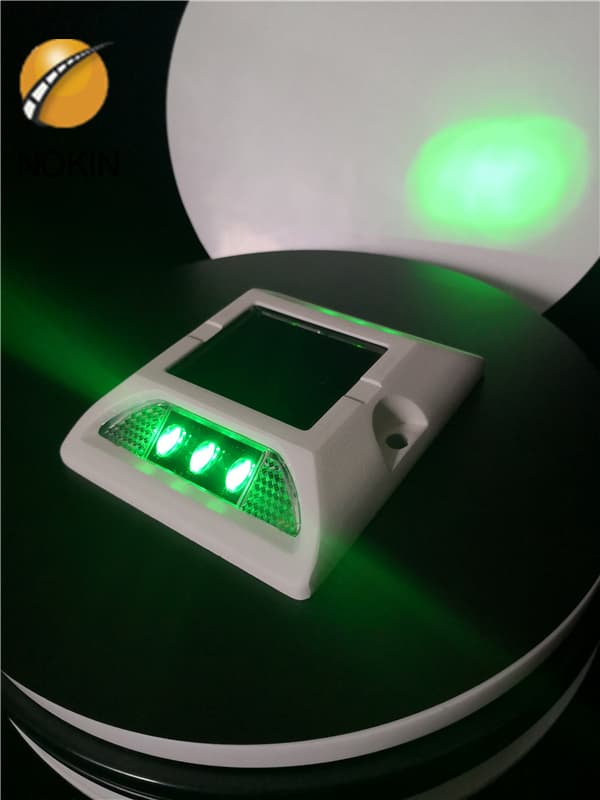
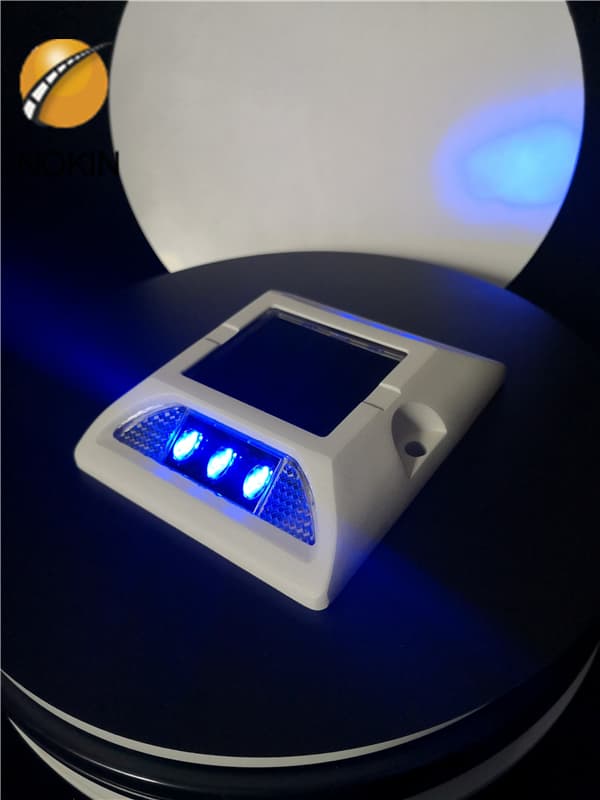
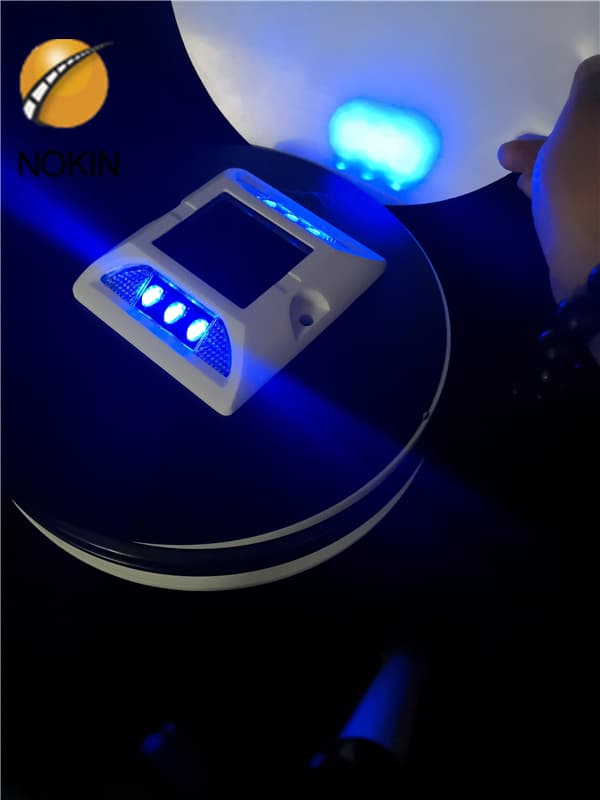
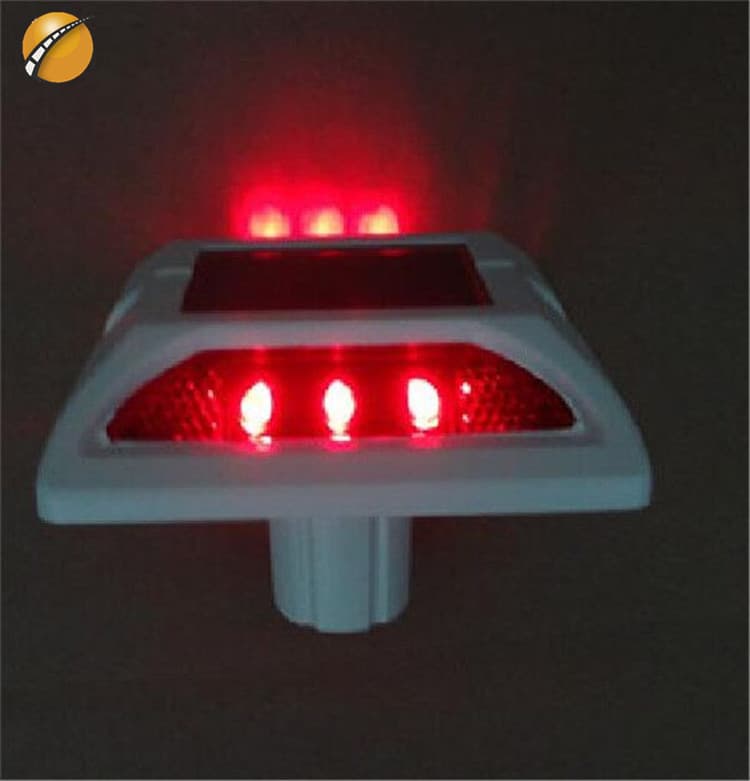
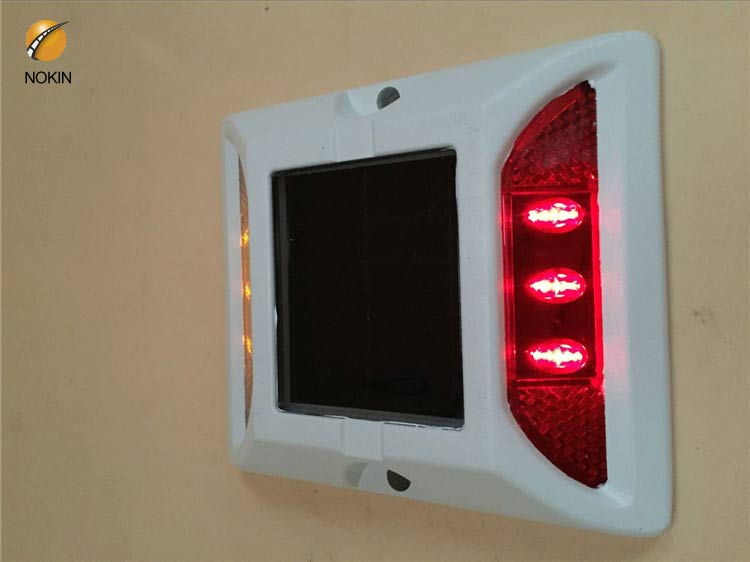
During the day, solar panels absorb sunlight and convert solar energy into electrical energy, which is stored in energy storage devices (batteries or capacitors). At night, the electrical energy in the energy storage devices is automatically converted into light energy (controlled by photoelectric switches) and emitted by LEDs.
Send Inquiry
Quote Online
Share:
Content
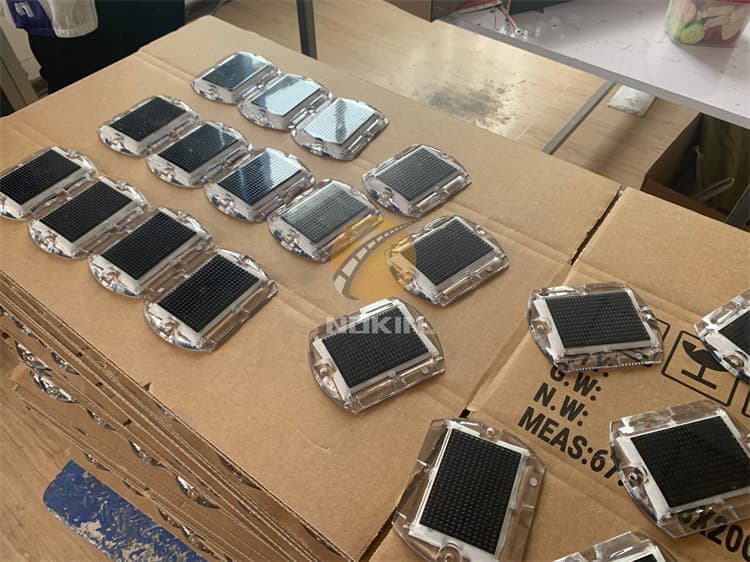
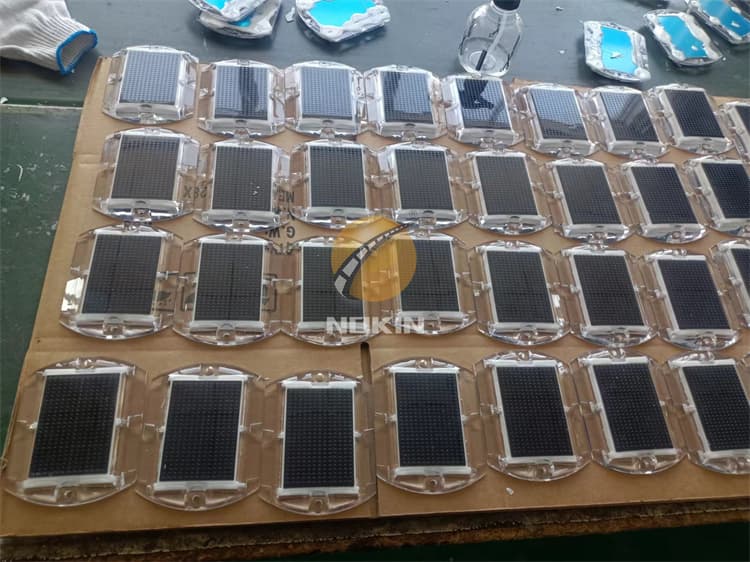
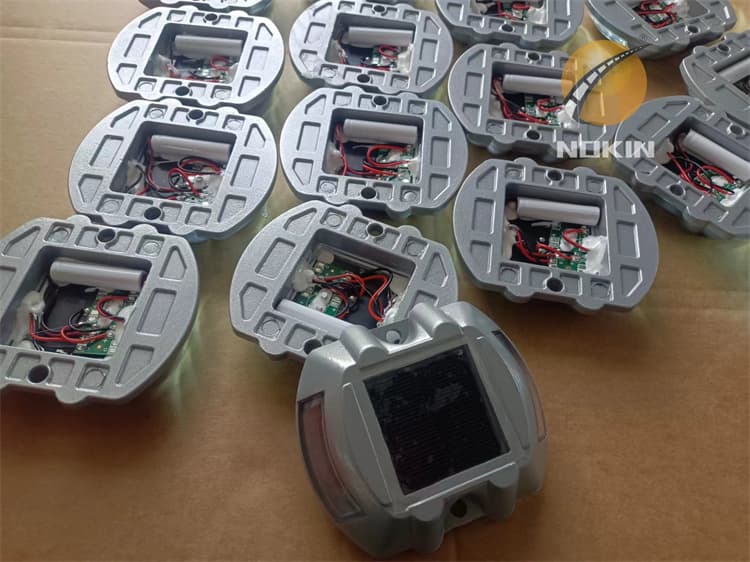
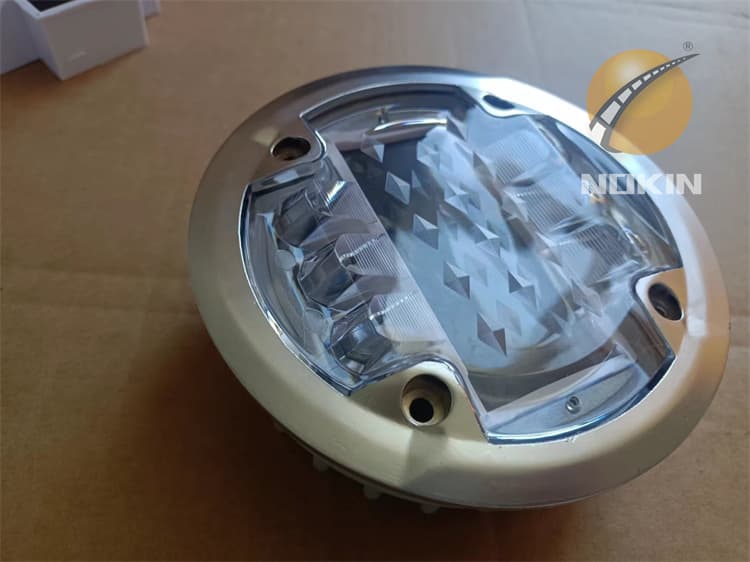
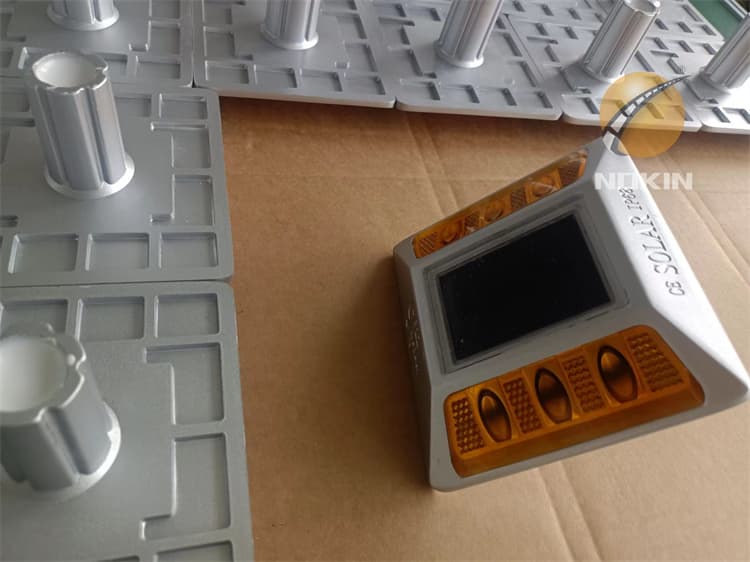
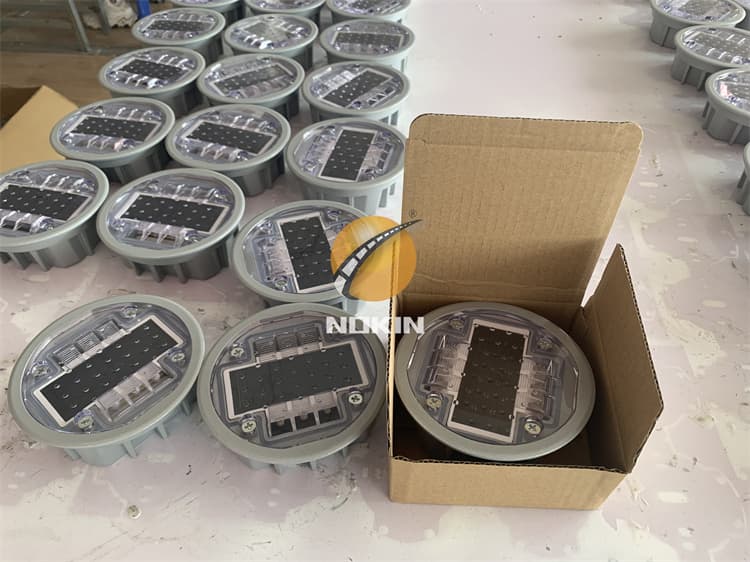
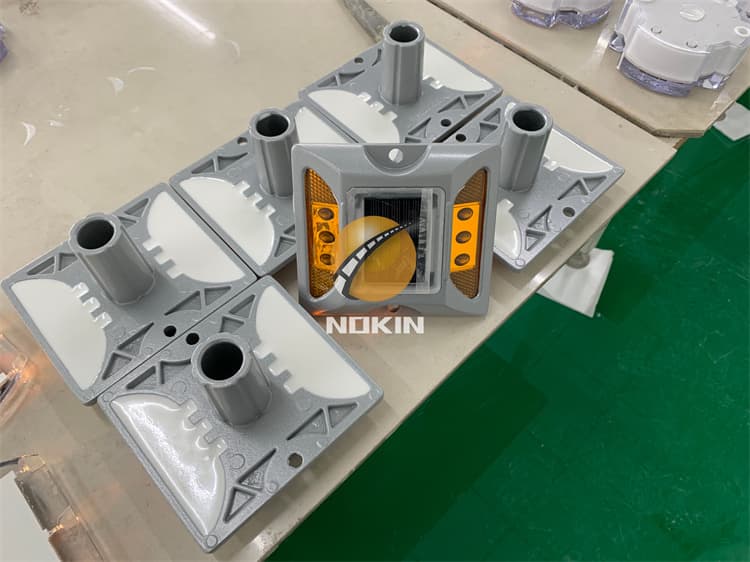
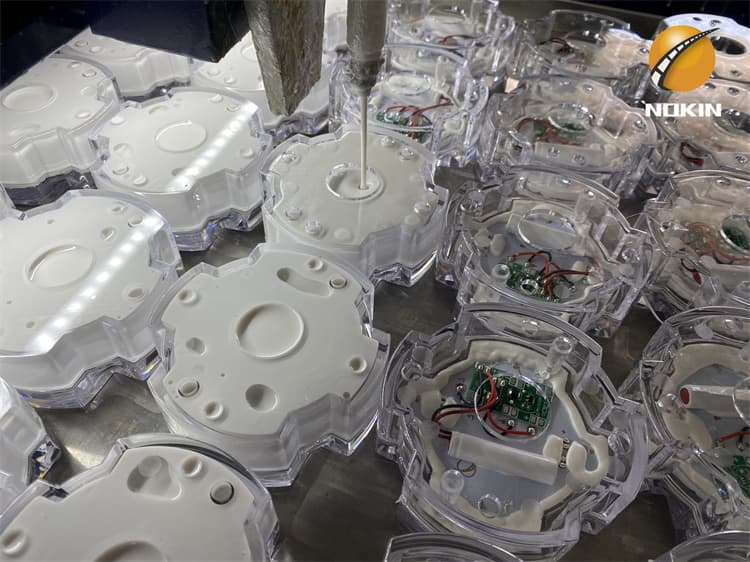
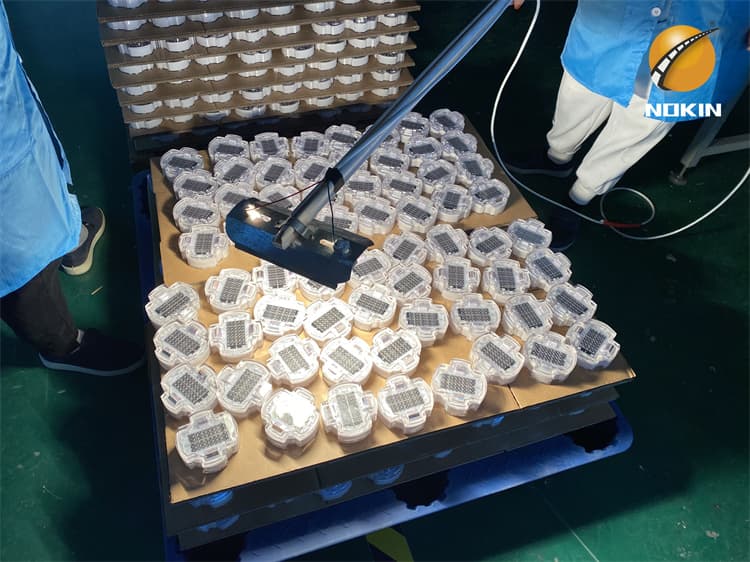
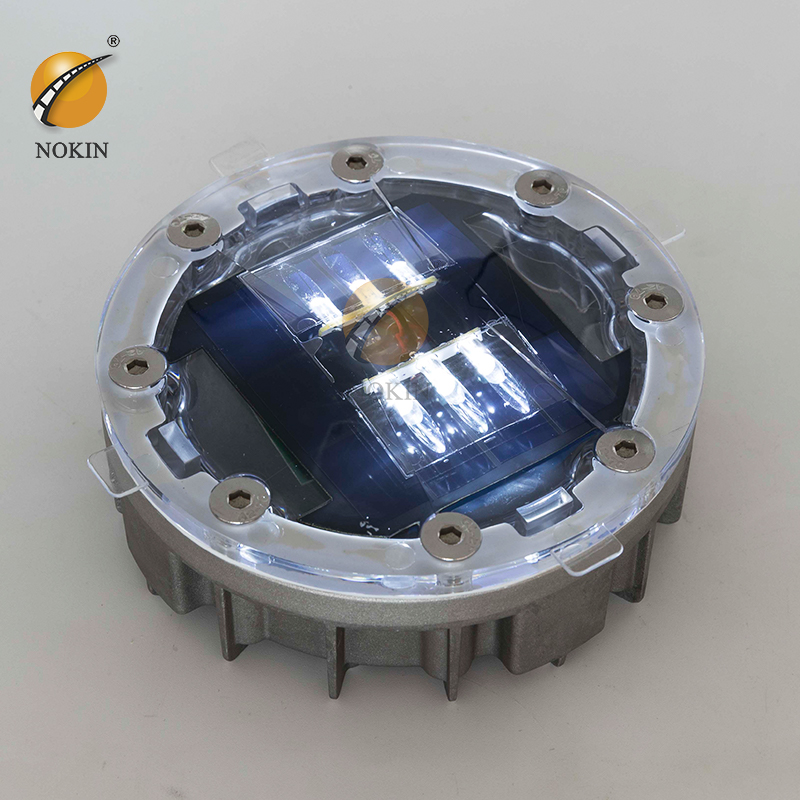
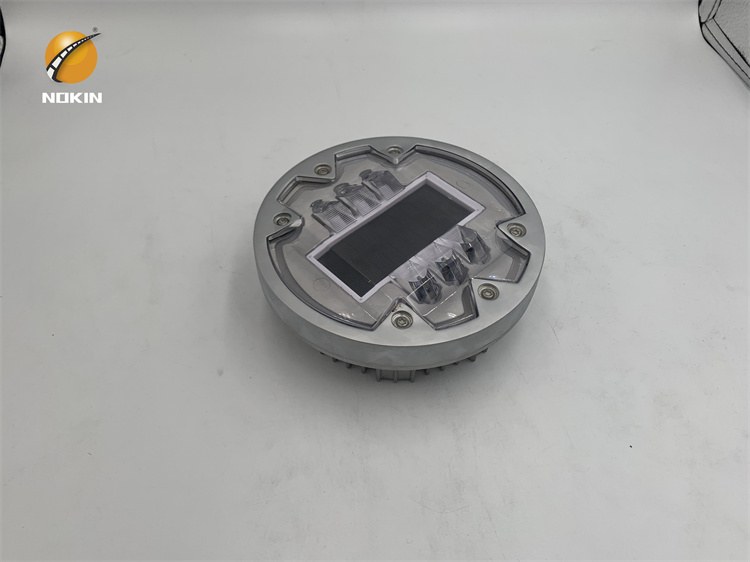
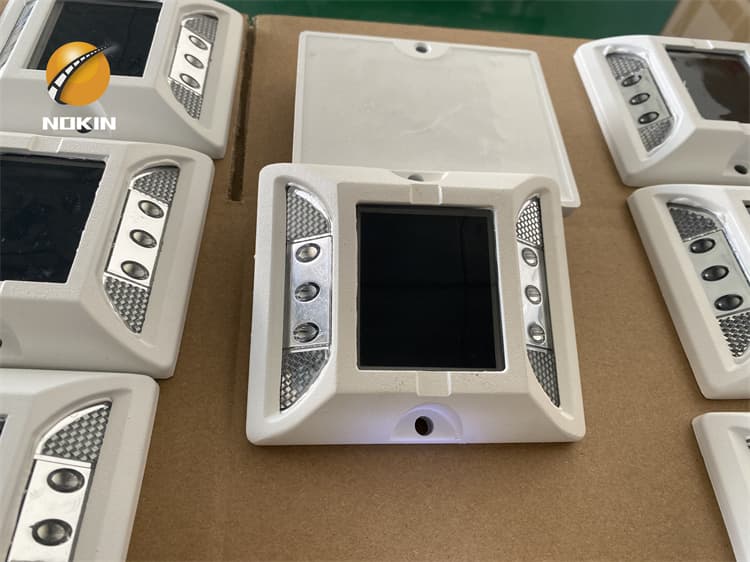
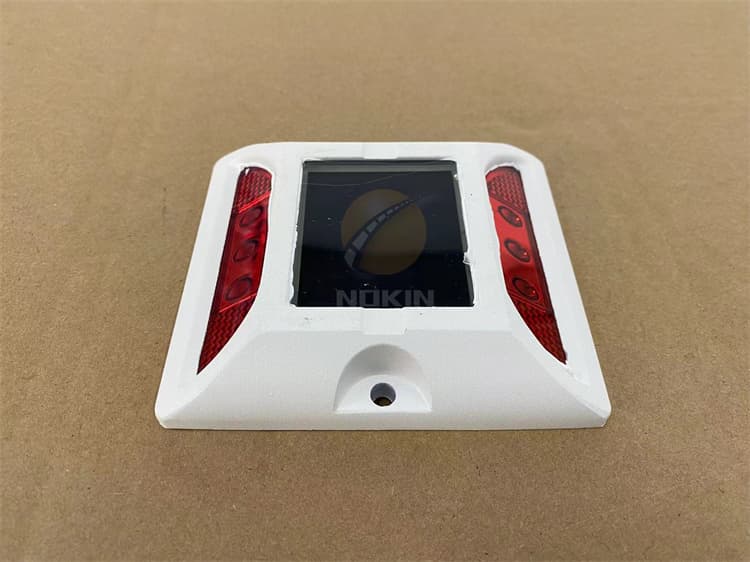
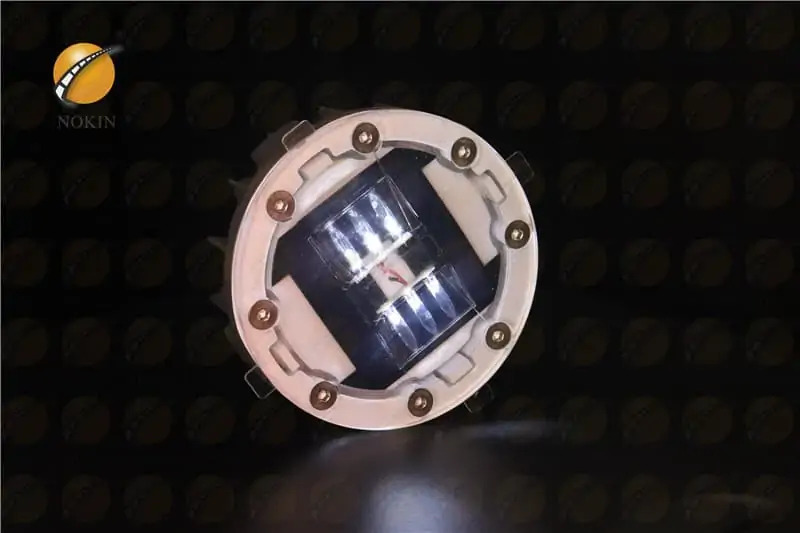
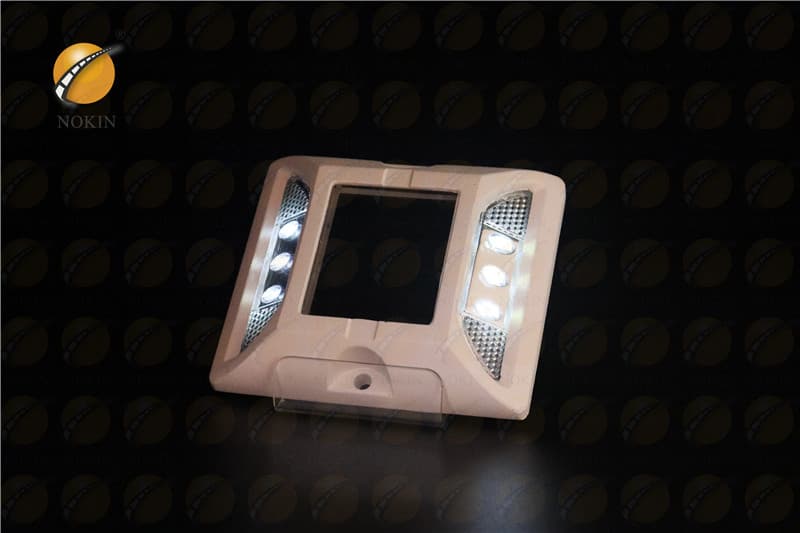
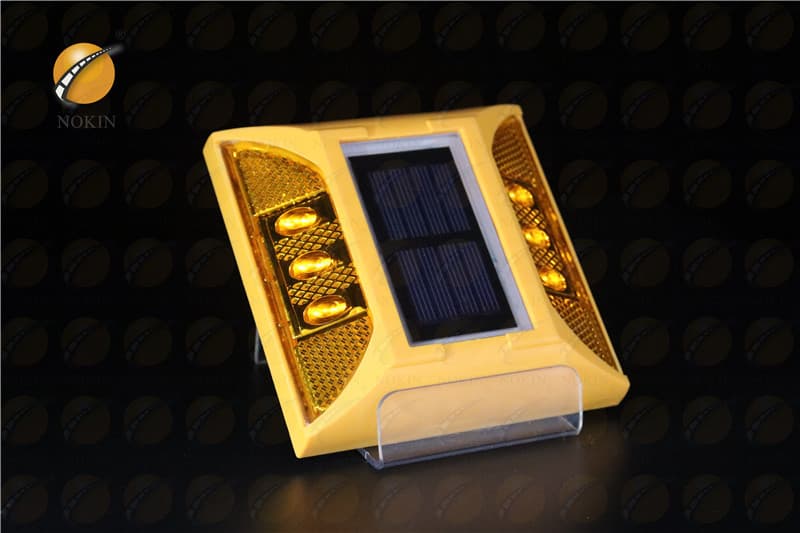
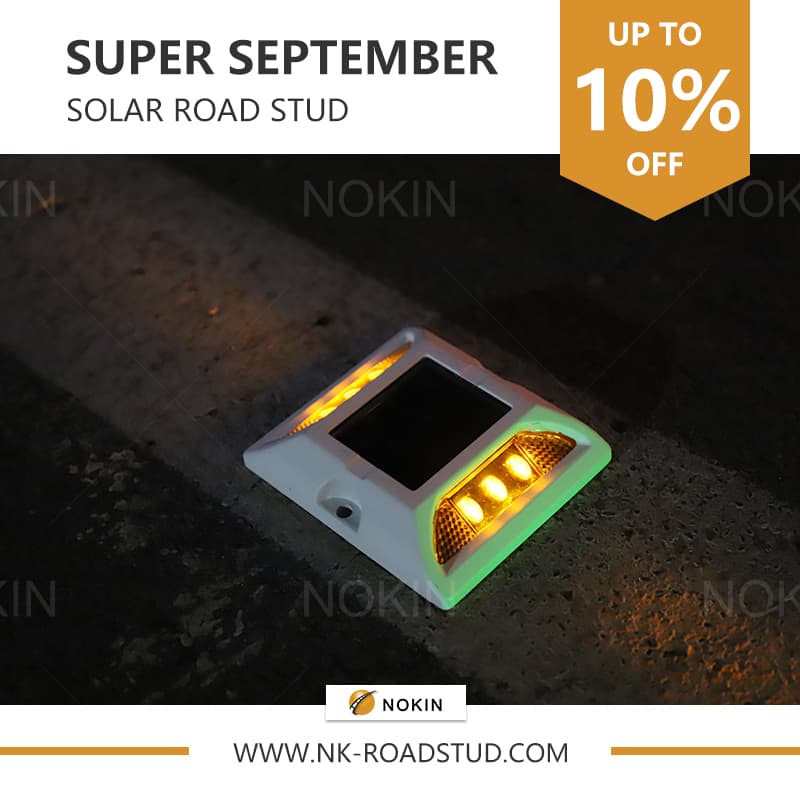
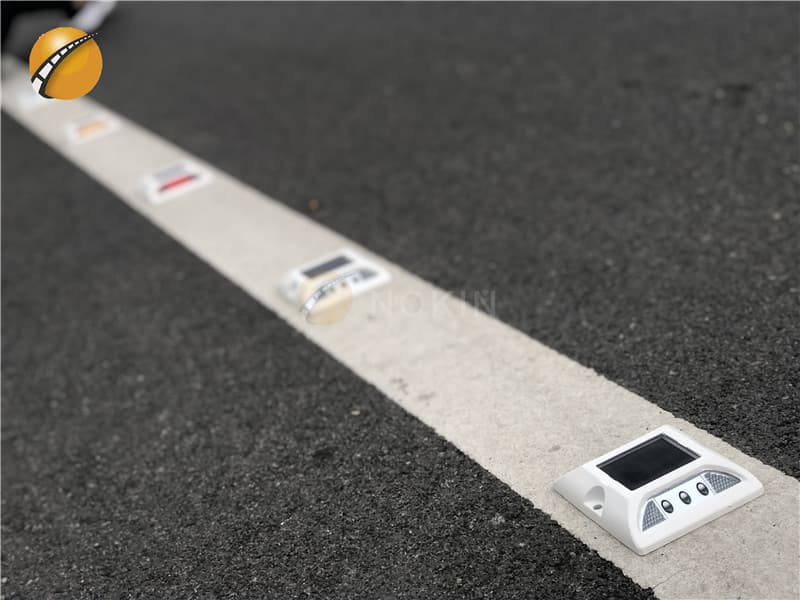
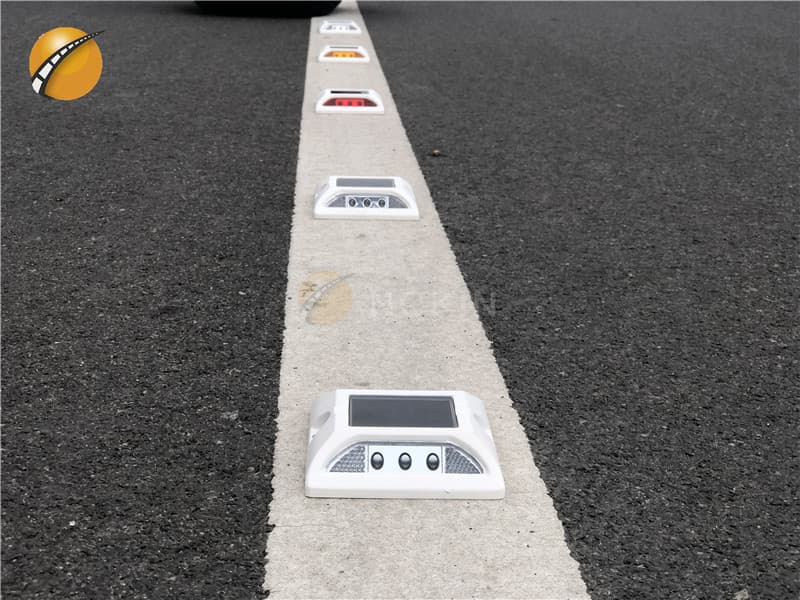
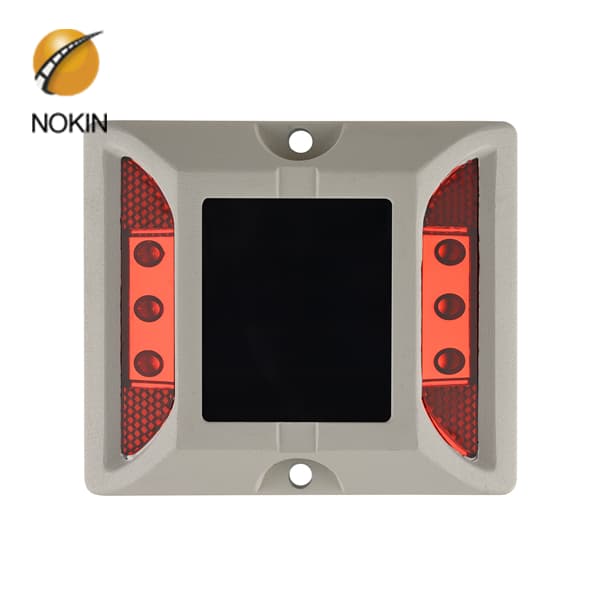
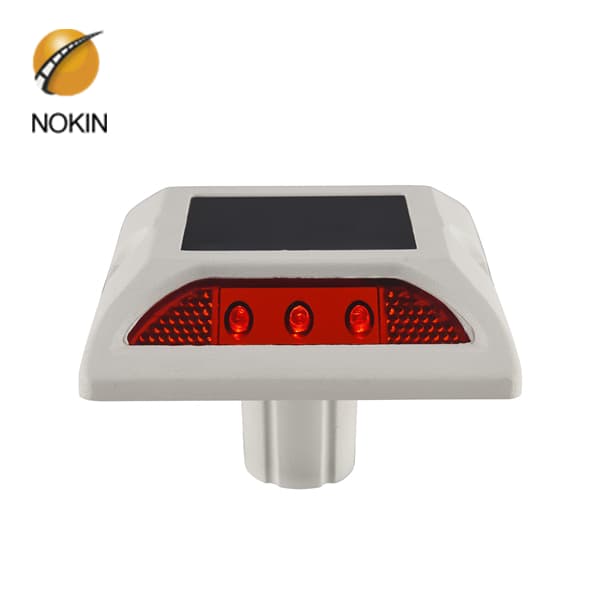
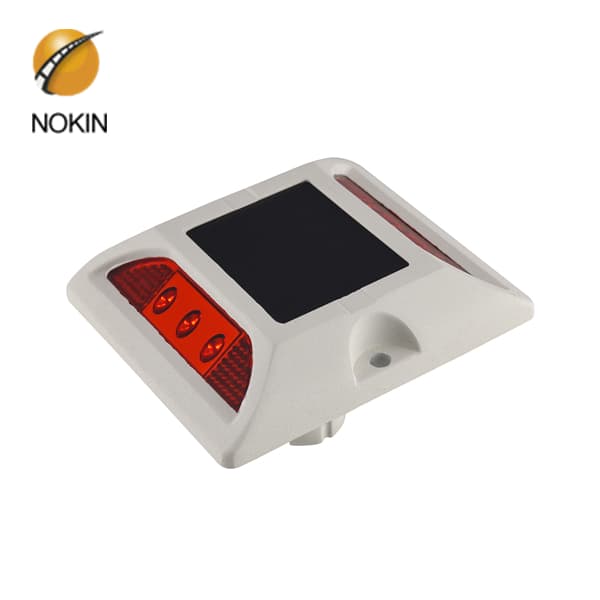
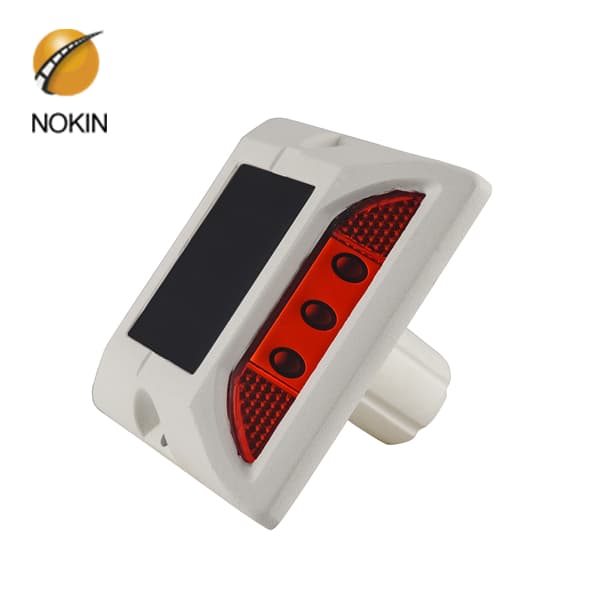
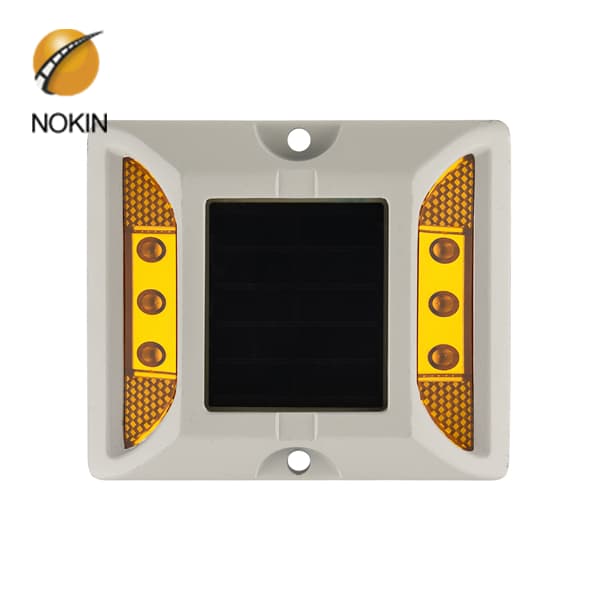
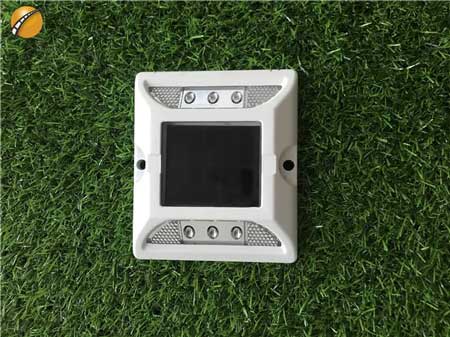
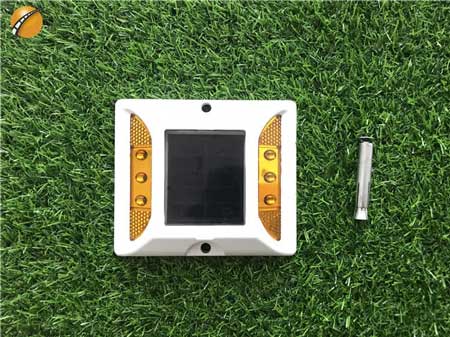
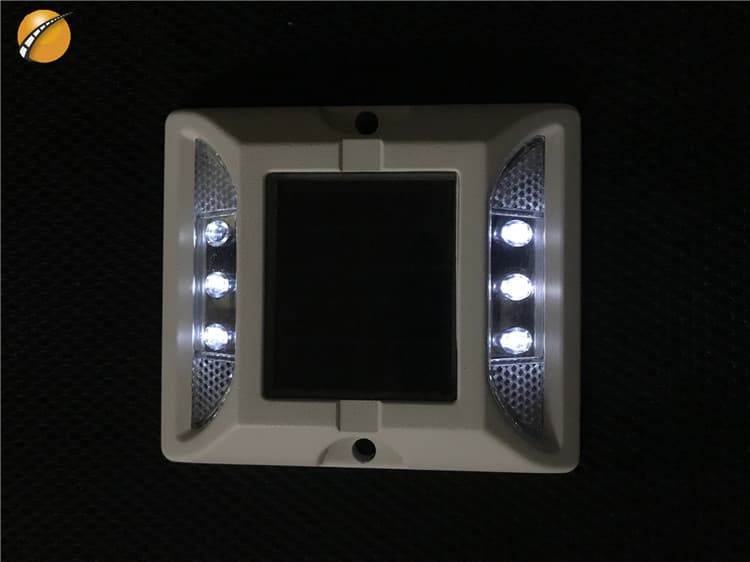
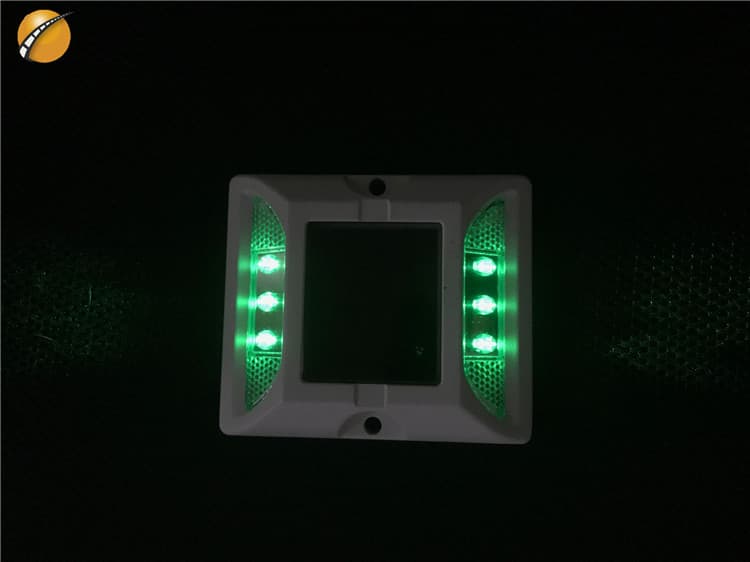
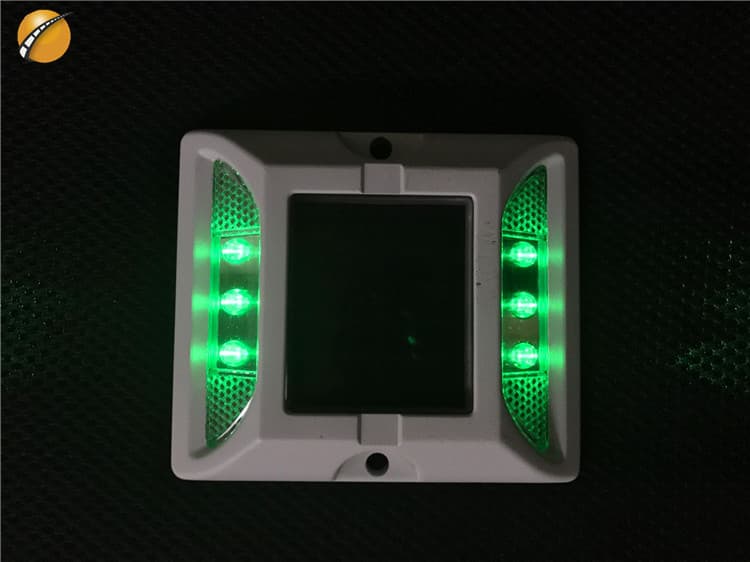
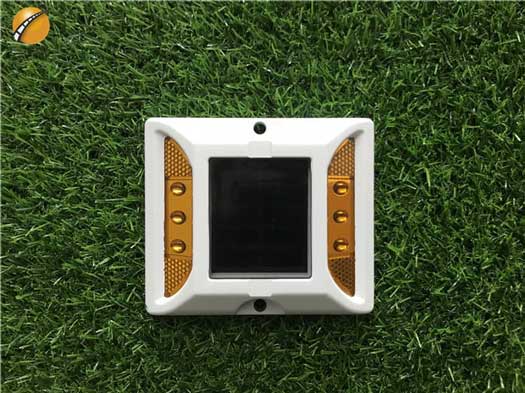
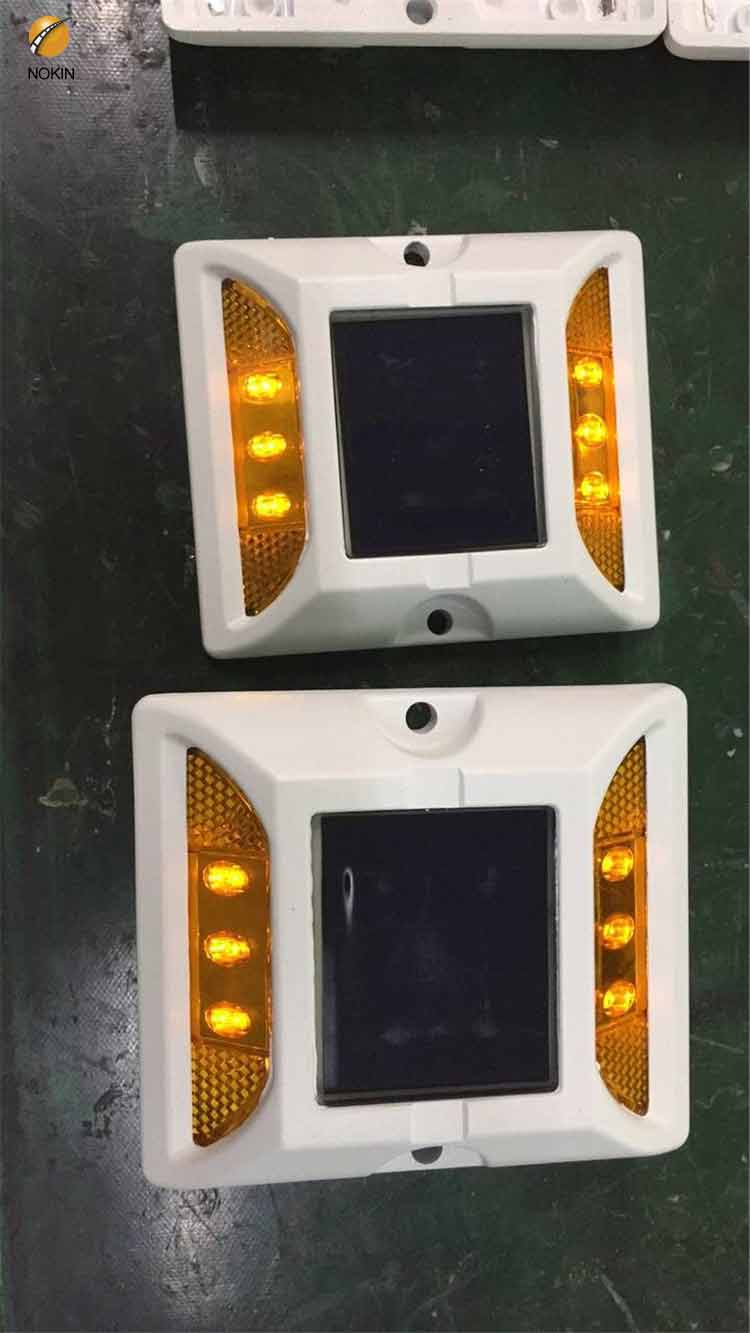
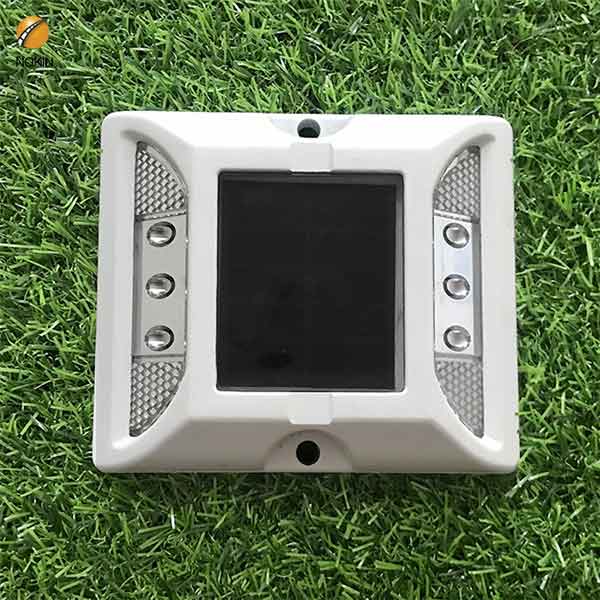
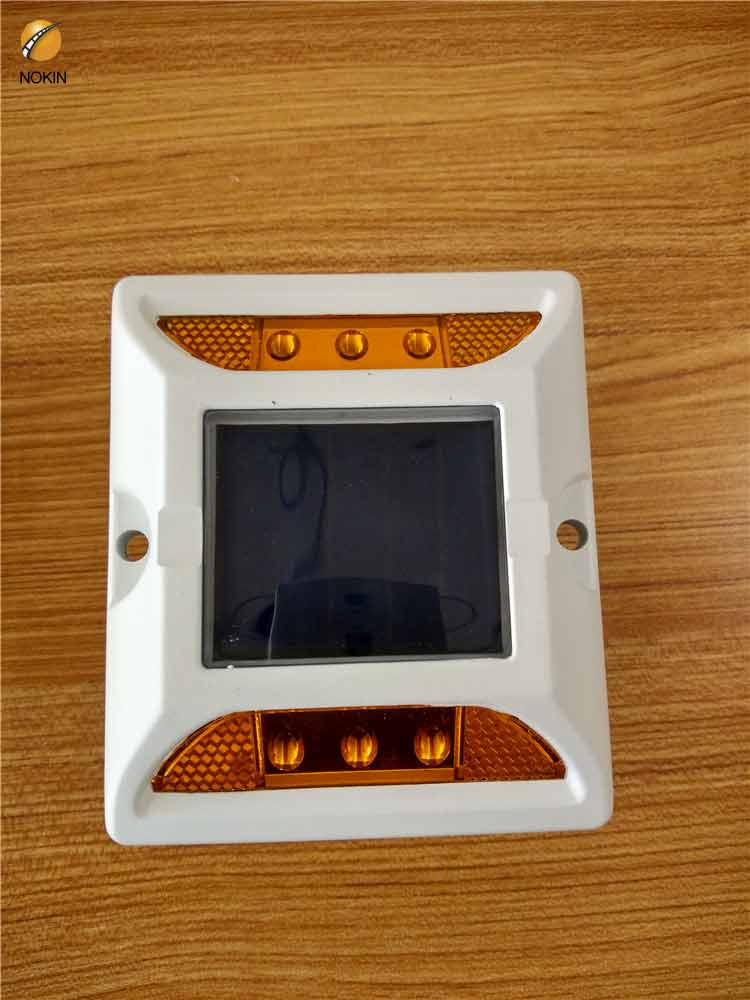
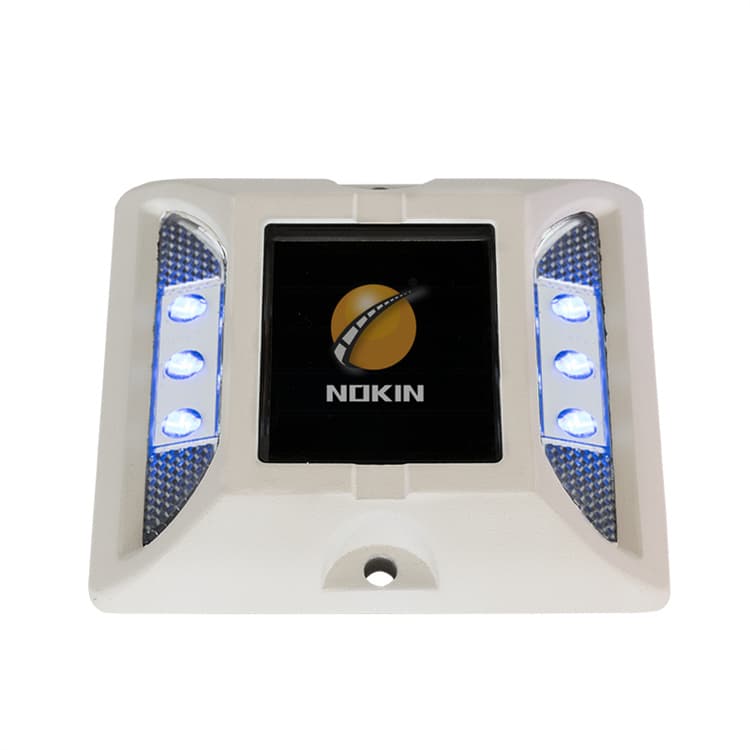
*A6-1* Loading Capacity 30 Tons Solar Road Stud Light
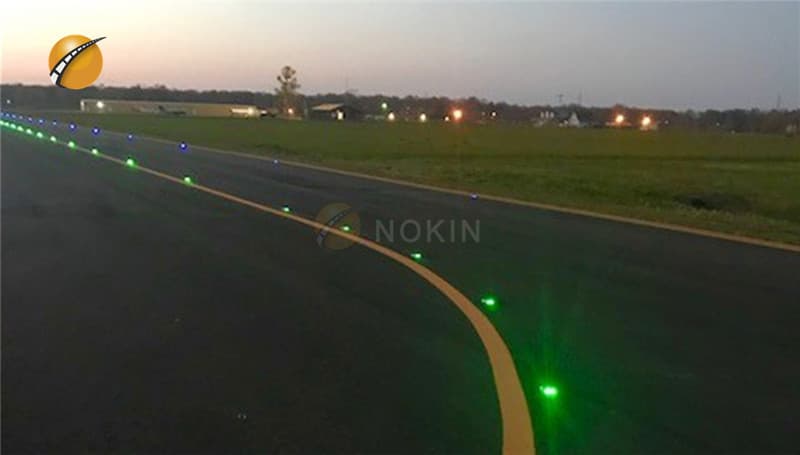
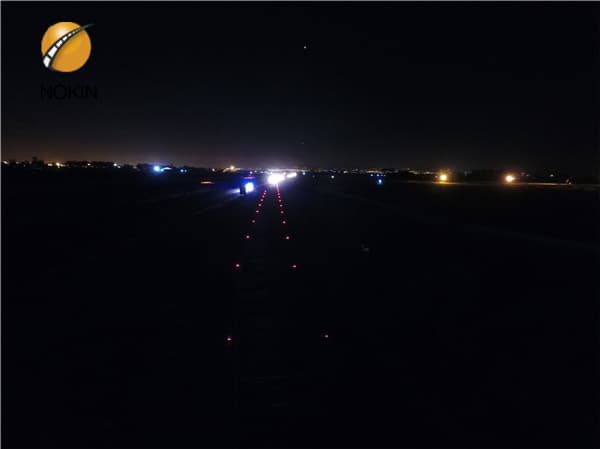
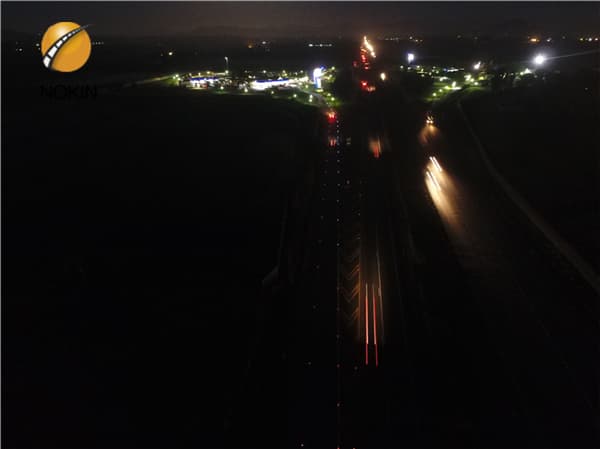
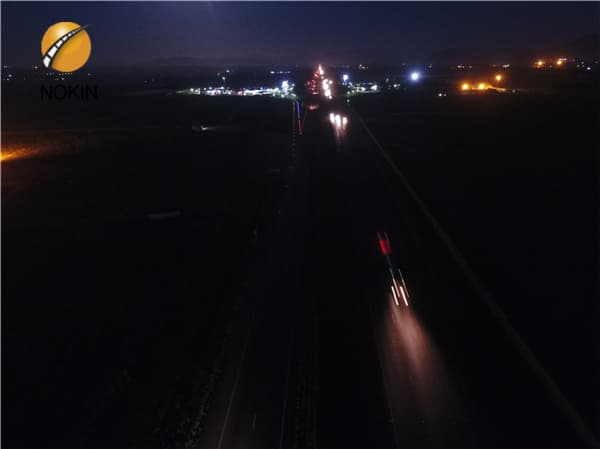
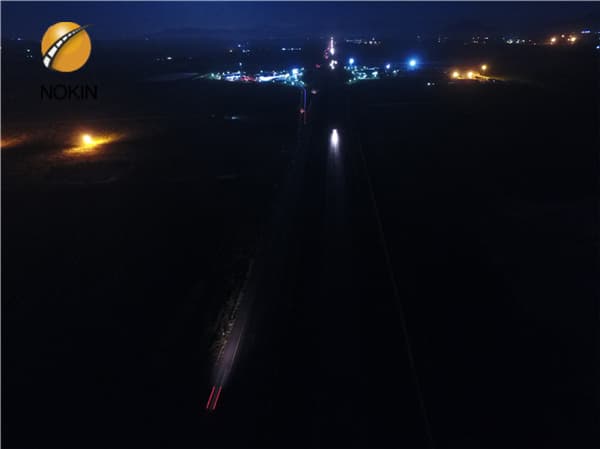
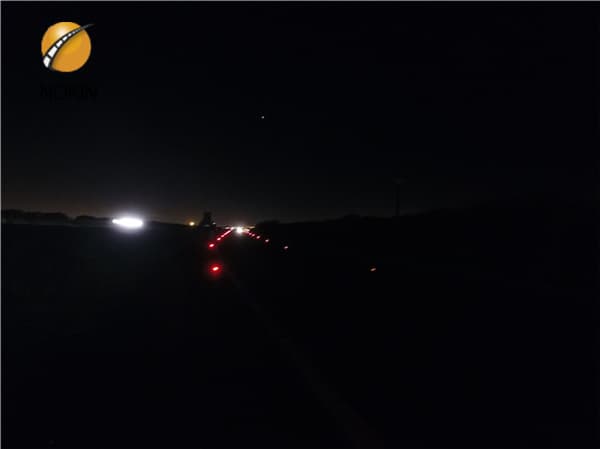
The aluminum solar road stud light A6-1 has two types, with anchor or without anchor, and the loading capacity is more than 30 tons, very popular in South Africa. The solar road stud lights can be used in highways, outdoor parking areas, blind speed areas, ports, junctions, islets authorities walkways.

Working Principle of Solar Road Stud Light:
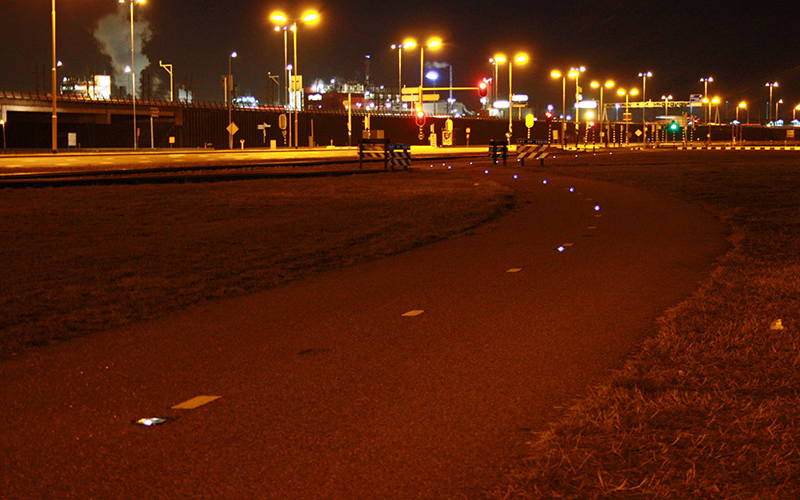
During the day, solar panels absorb sunlight and convert solar energy into electrical energy, which is stored in energy storage devices (batteries or capacitors). At night, the electrical energy in the energy storage devices is automatically converted into light energy (controlled by photoelectric switches) and emitted by LEDs. Bright light outlines the road and induces the driver’s sight. Solar road studs will start automatically to flash when night falls or with the onset of inclement weather. The bright flashing LEDs are highly effective at getting the attention of drivers much earlier than conventional road studs.
Installation Method Of Raised Solar Road Stud:
Carefully mark the distance between the placement of solar road stud lights. To prevent an adverse effect on the ground, use a proper tool such as Core Drill. Drill 35mm and the depth will be 55mm.
Remove all debris from the installation hole.
Pour epoxy into the holes per the manufacturer’s instruction.
Verify that the installation hole is straight. Verify that the installation hole is large enough to allow the epoxy to surround the solar-led road stud shaft.
Set the lighting surface of the solar road stud to the desired viewing angle. Verify the epoxy is evenly adhering to the installation hole and solar marker shaft. Verify the bottom of the solar road marker is firmly installed on the installation surface allowing for zero surface float; to occur. (space between installation surface and bottom of the solar marker).
After curing the LED solar road stud for 6-8 hours, remove the installation of the isolation facility.
The recommended spacing between each solar road stud is as follows:
Highways and Expressways
7 – 8 yards (5 – 6 meters)
Dangerous Entrances and Exits
4 – 5 yards (2 – 3 meters)
Access or Exit ways for Hospitals, Parking Lots, etc.
0.5 – 3 yards (0.5 – 2 meters)
The spacing between each solar stud is also according to your actual application requirements, the above values are for reference only.
Inquiry
More