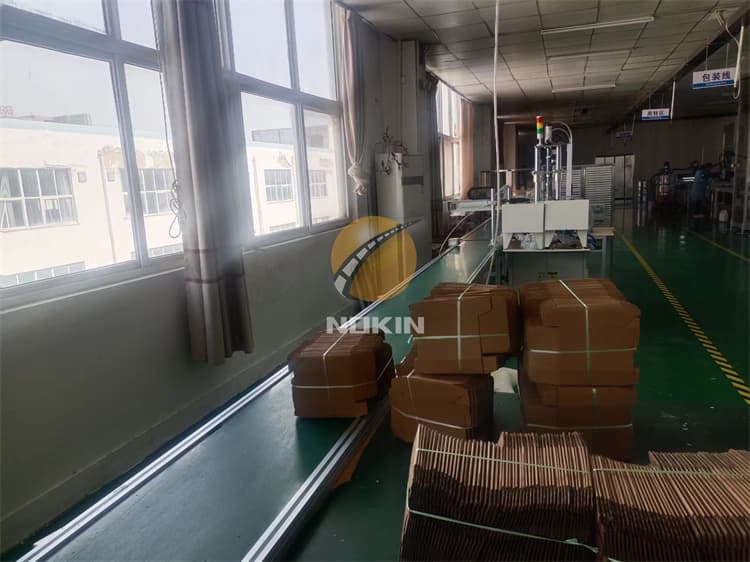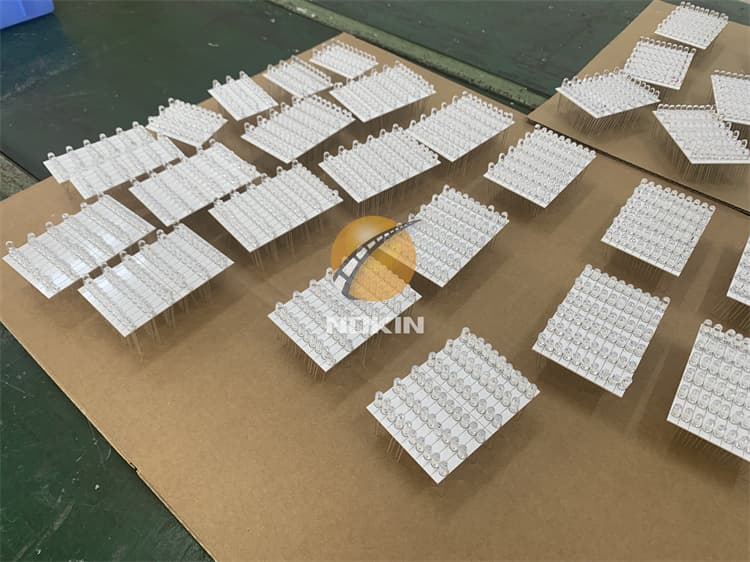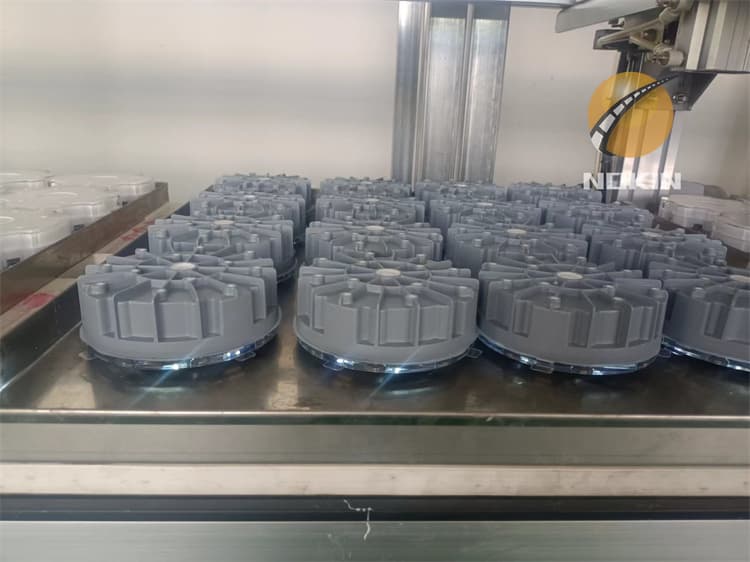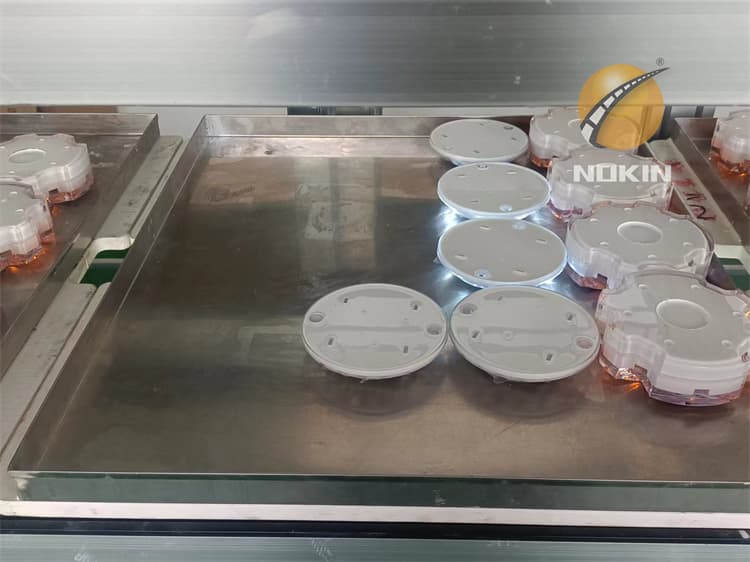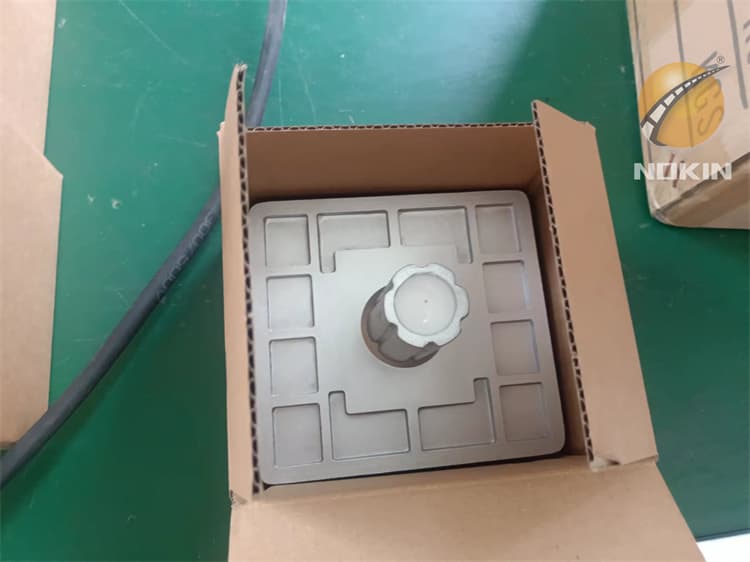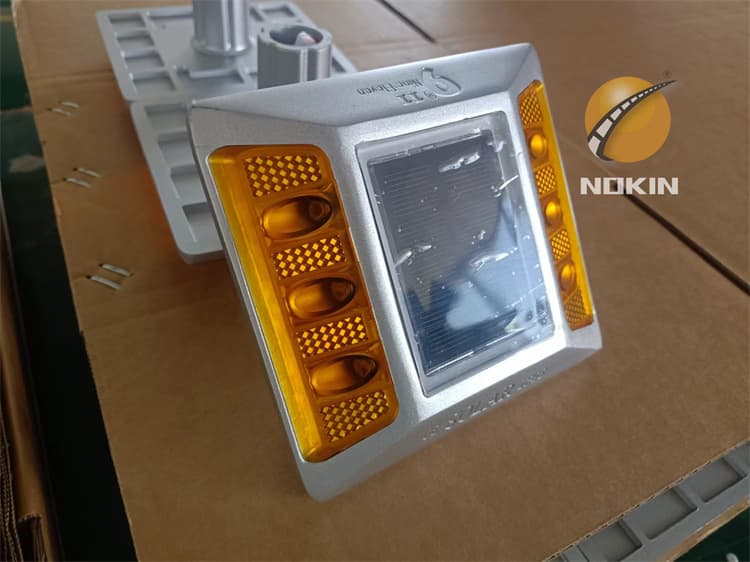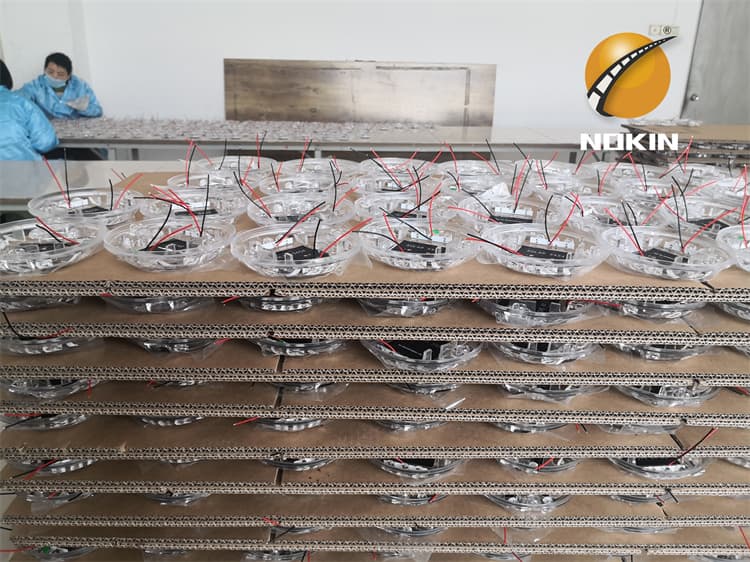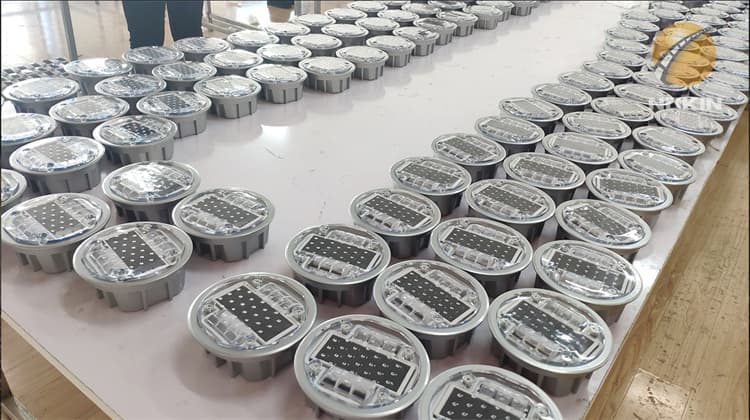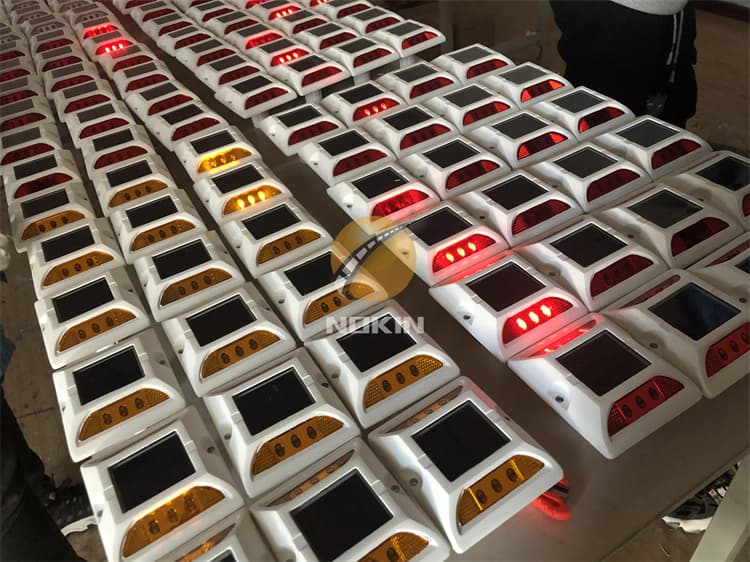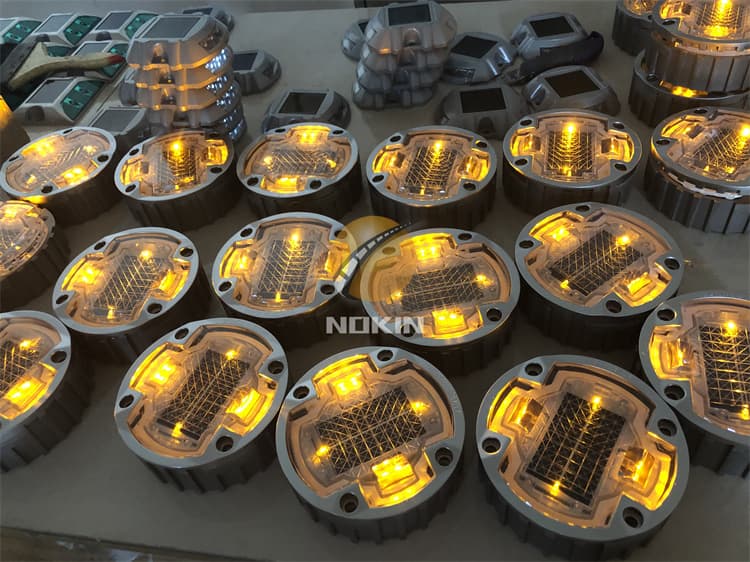
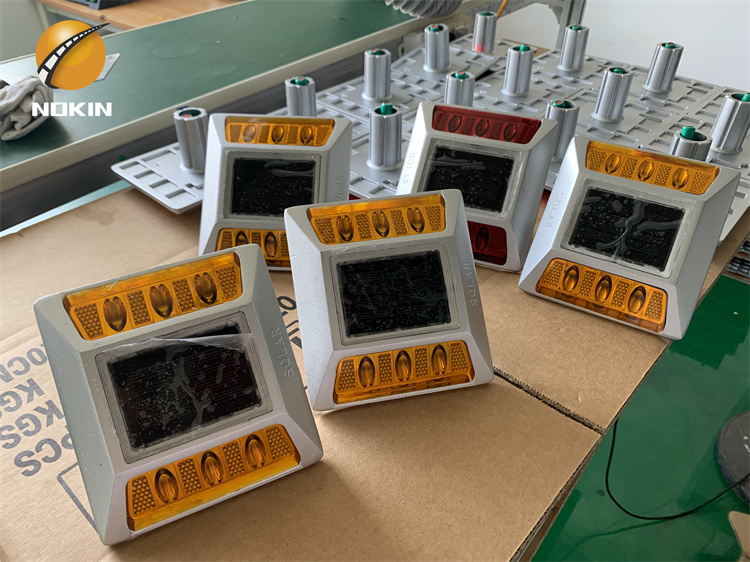
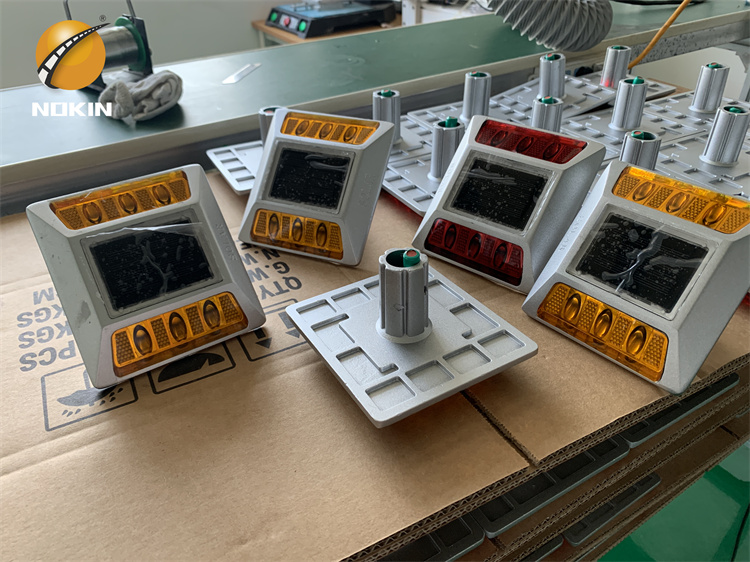
Yellow light solar road stud production
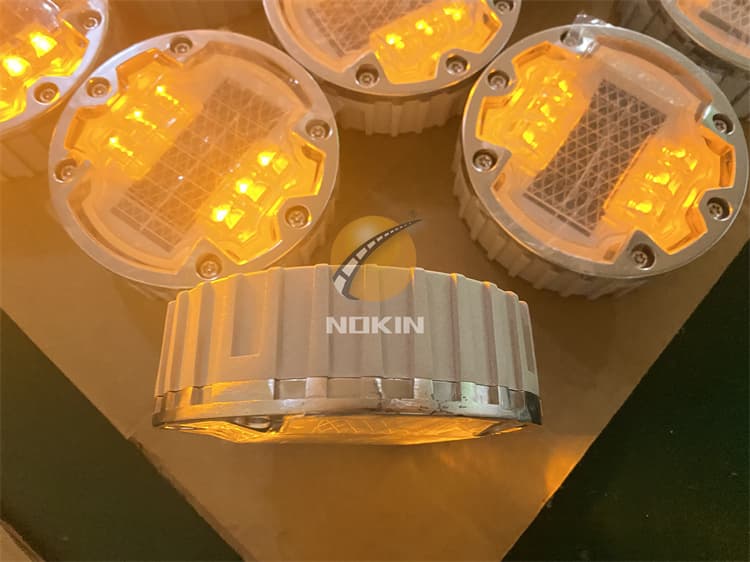
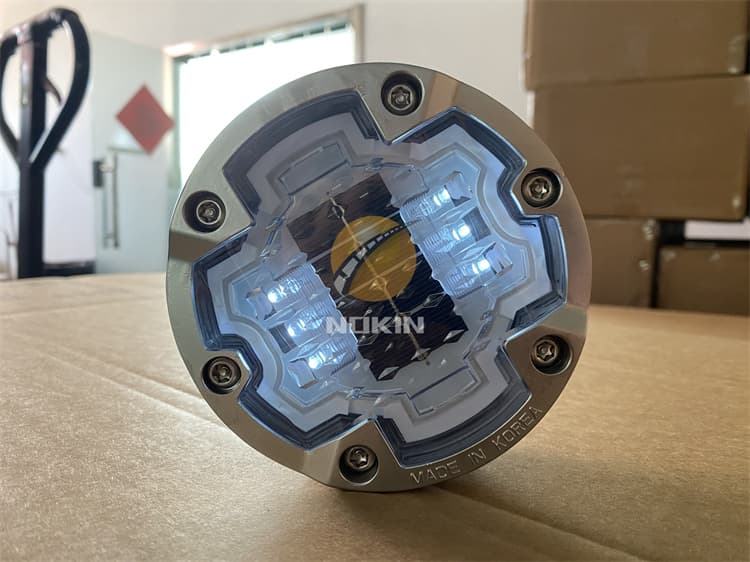
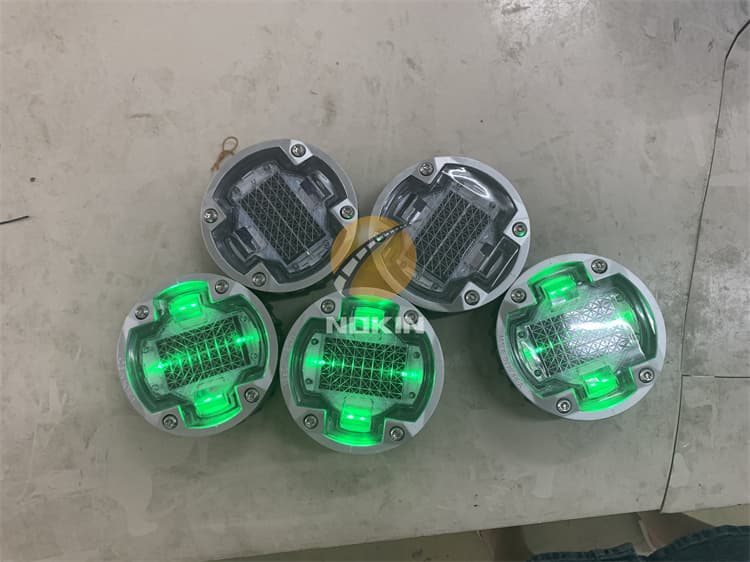
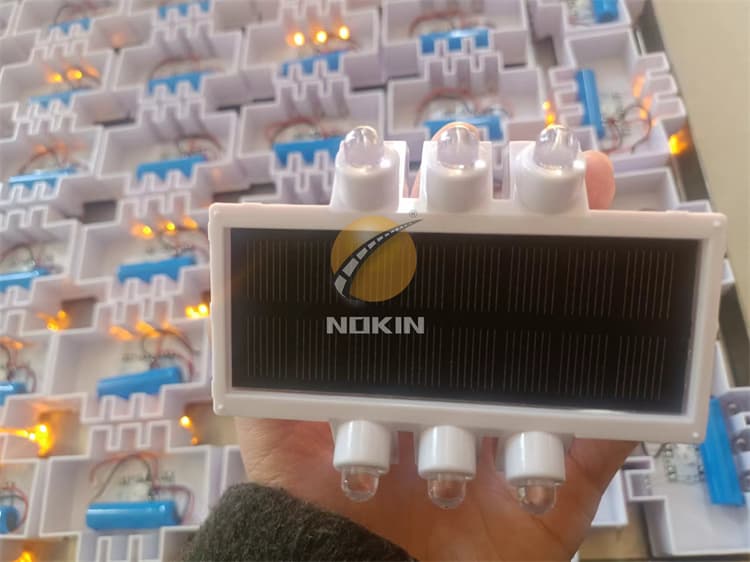
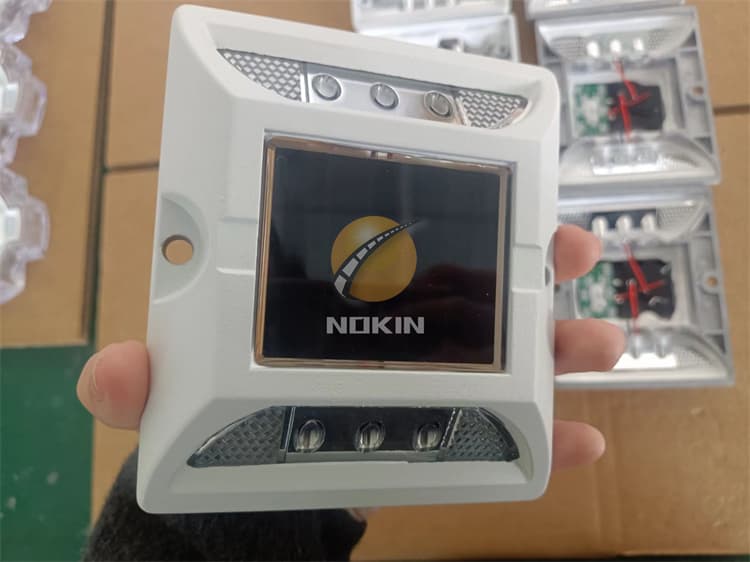
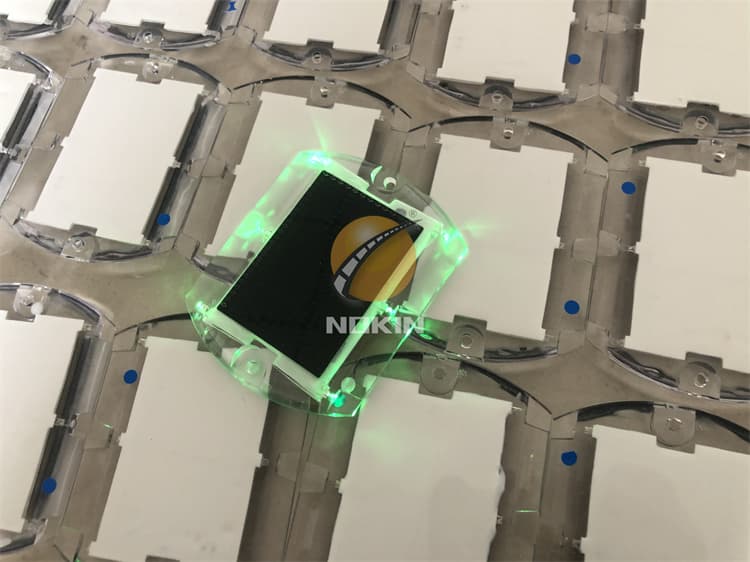
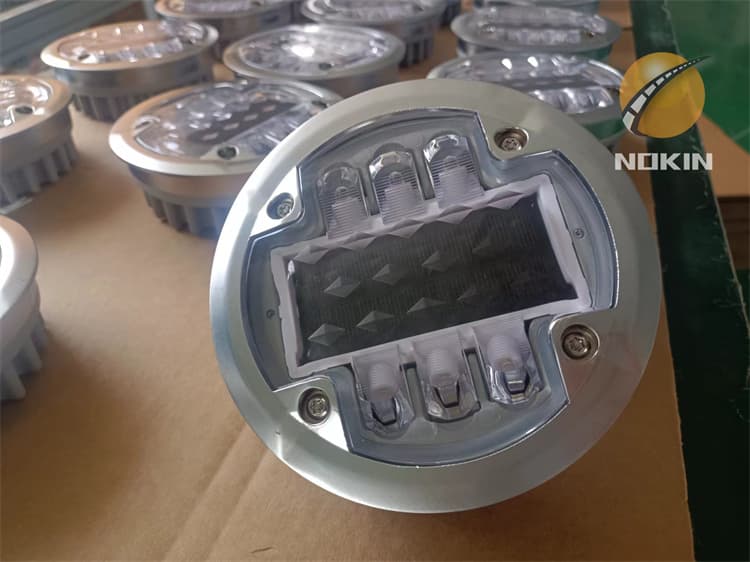
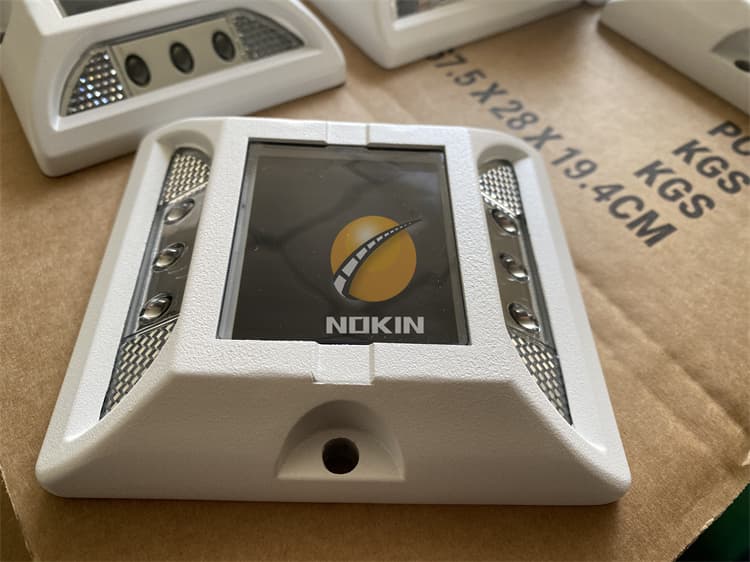
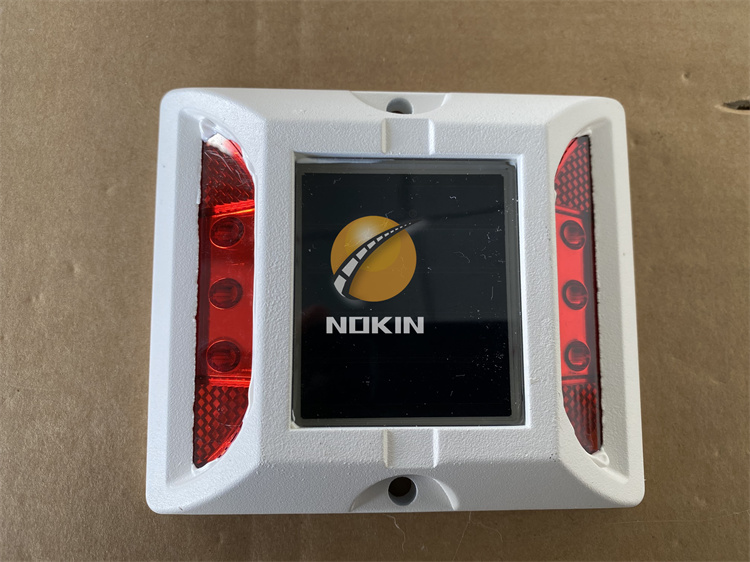
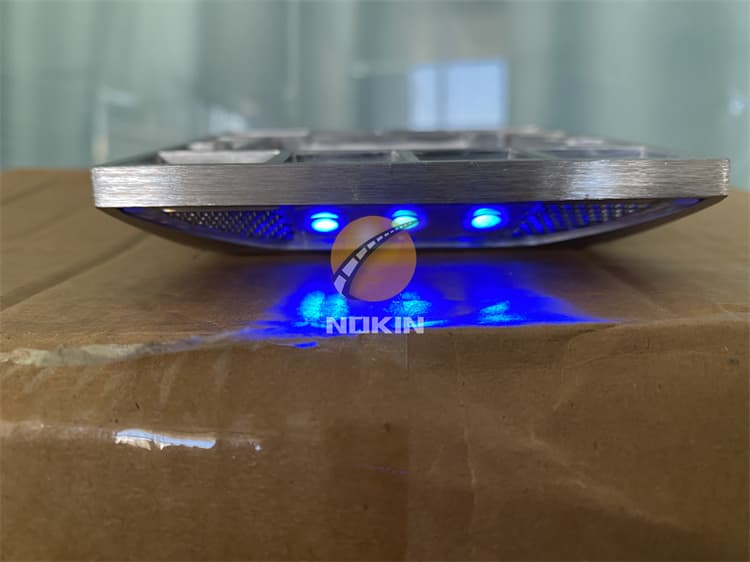
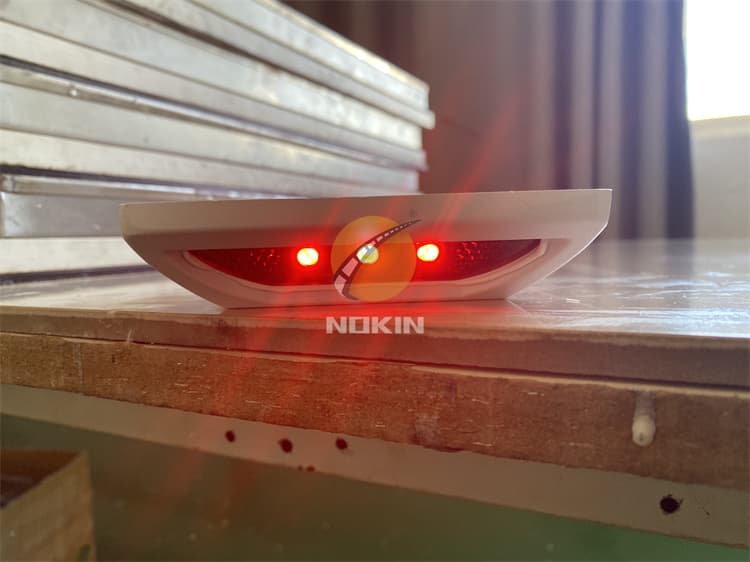
NOKIN solar pavement markers do not rely on headlights to delineate the road ahead. Using bright LEDs, light from each marker can be seen up to 100m (320ft) away during nighttime darkness. For a night or fog use, electronics in the markers monitor ambient light levels, activating the LEDs when the light drops below factory preset levels. They are recharged by sunlight and lower-level light. NOKIN provides road guidance long before normal “high-visibility” markings and reflective RPMs become visible.
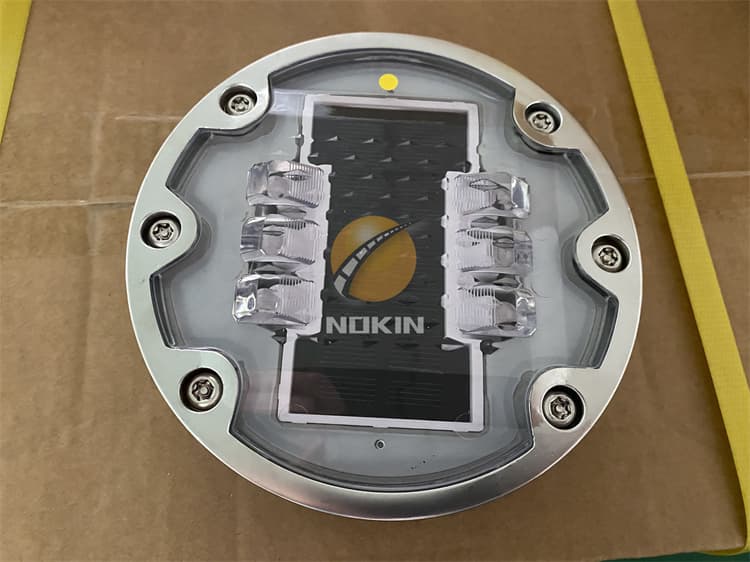
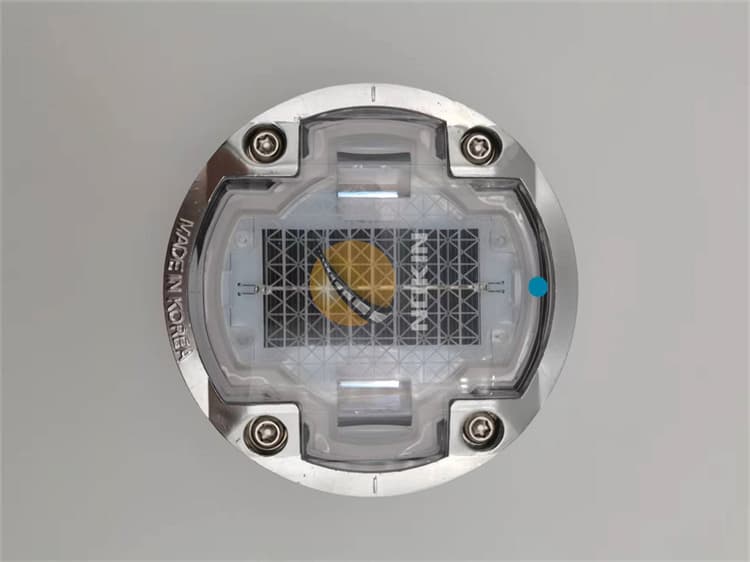
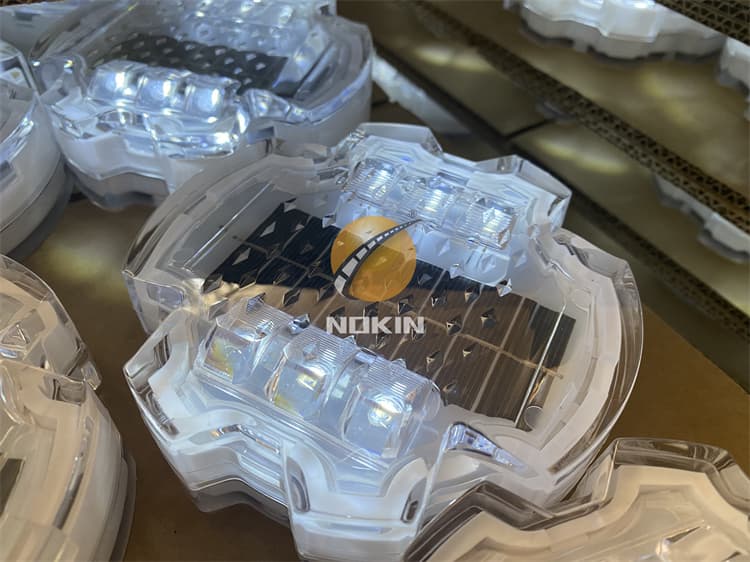
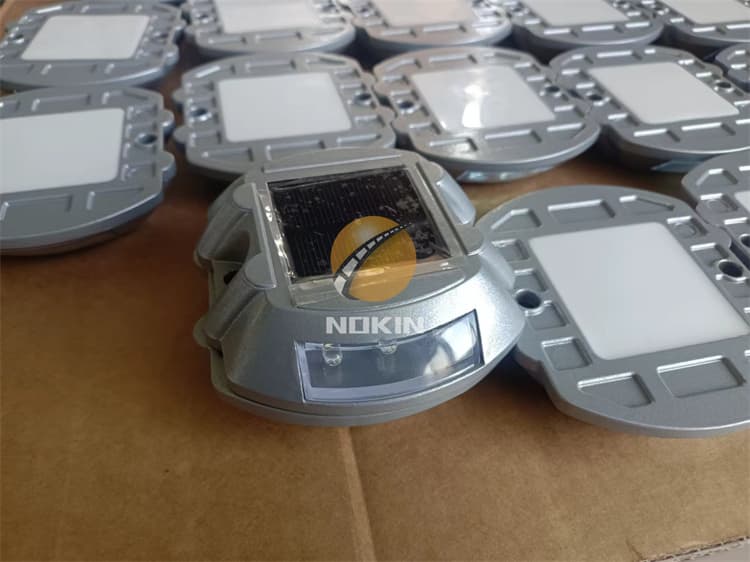
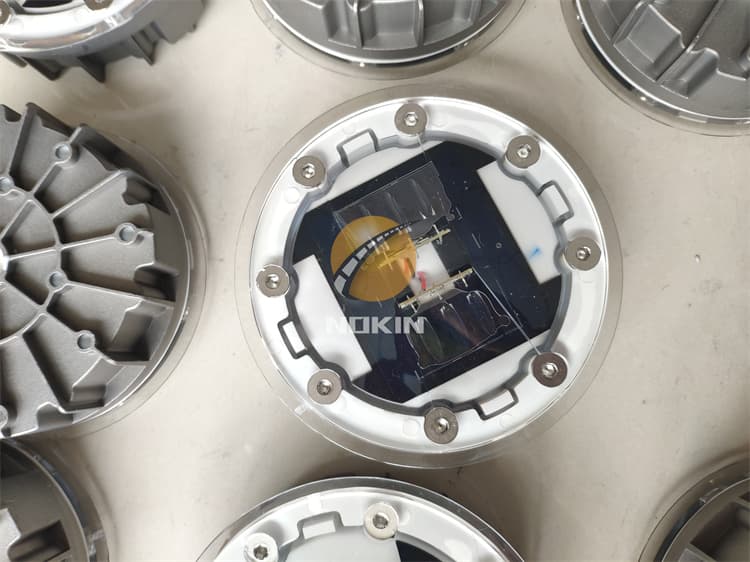
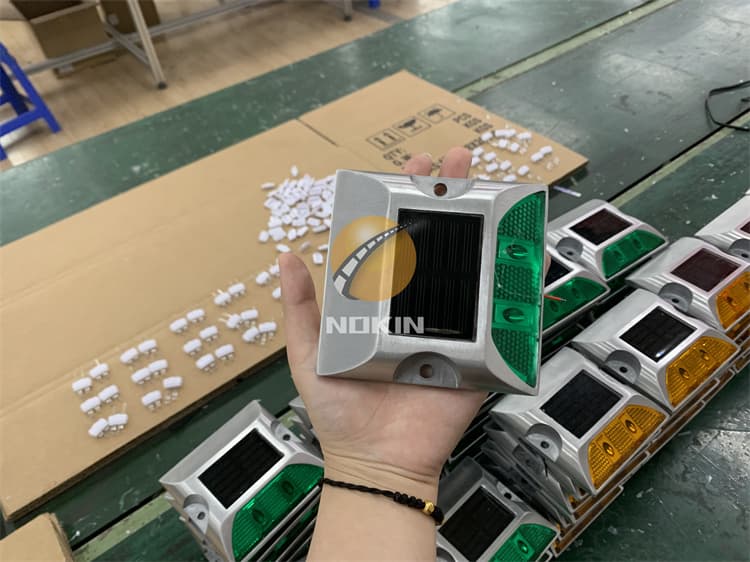
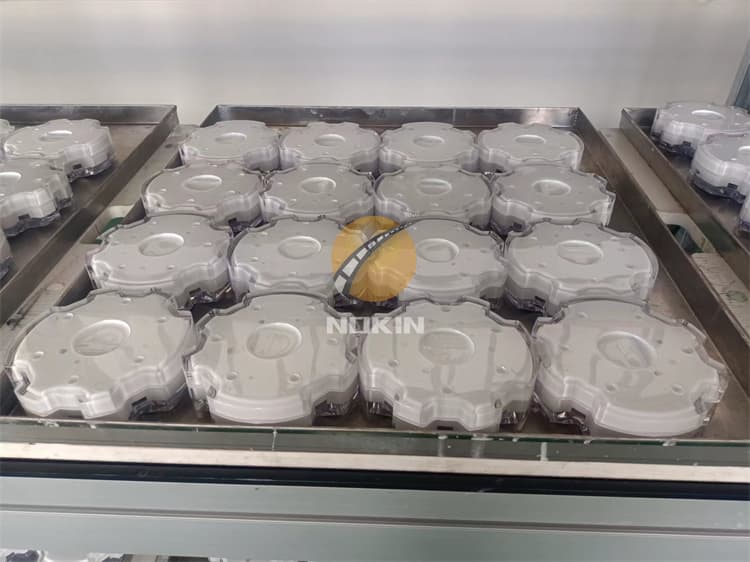
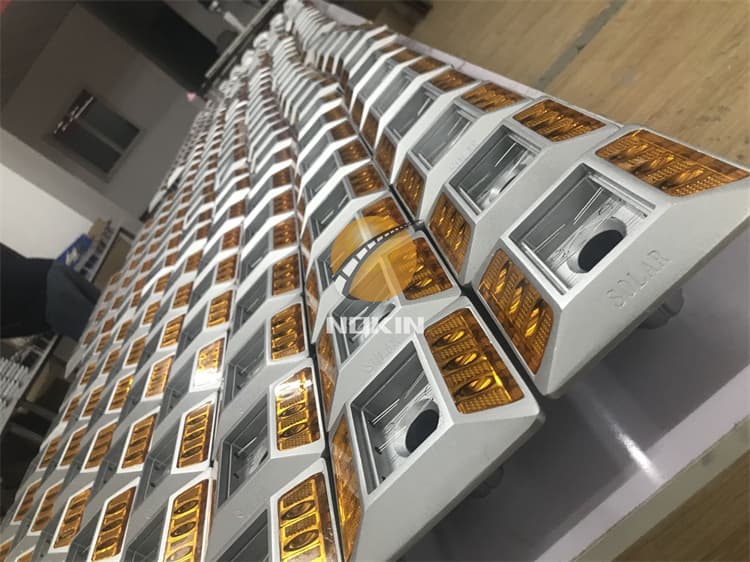
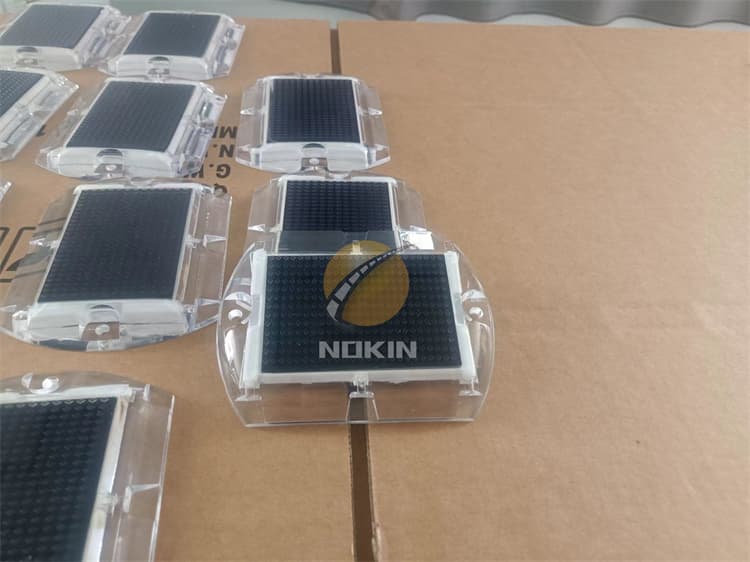
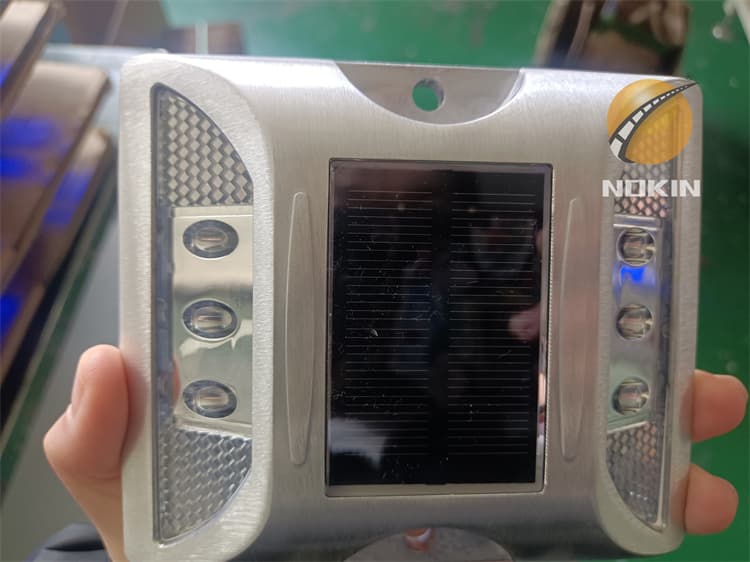
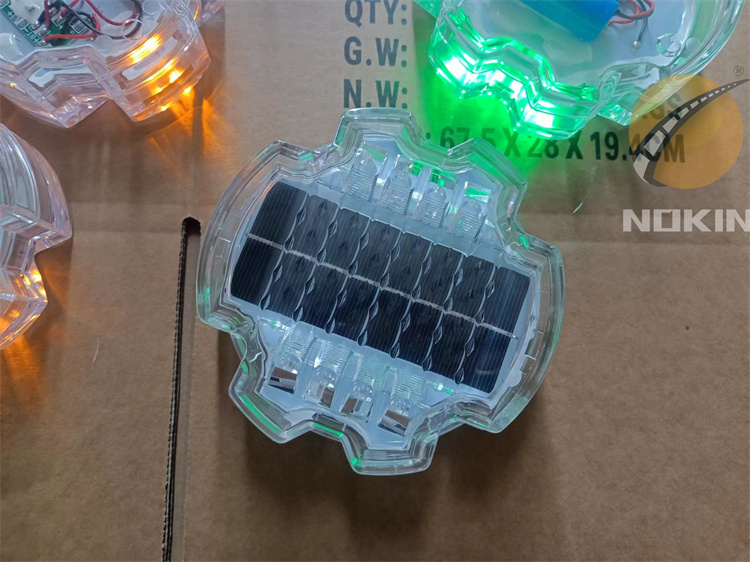
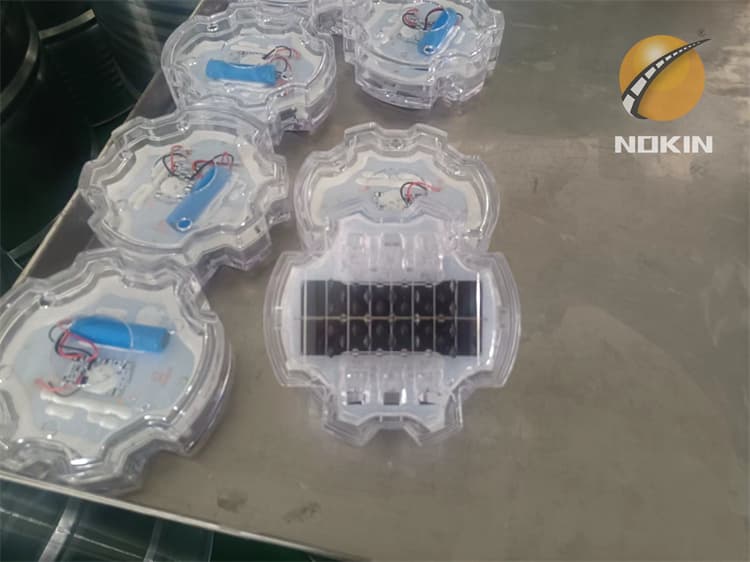
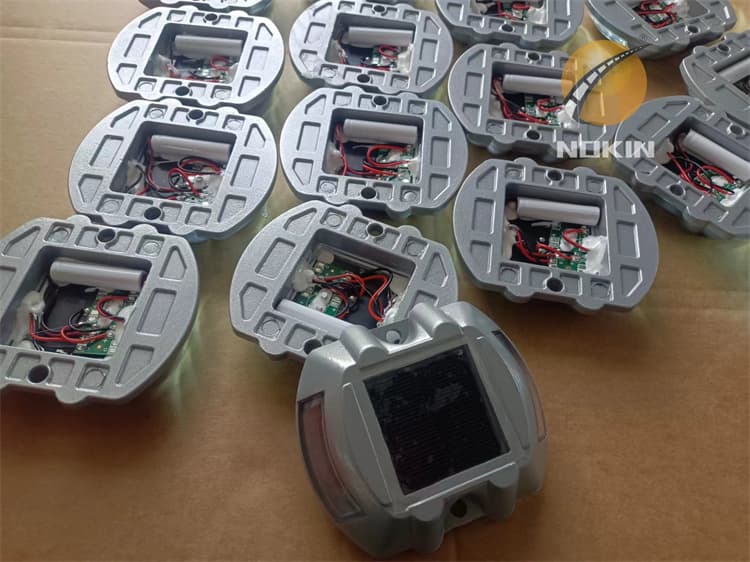
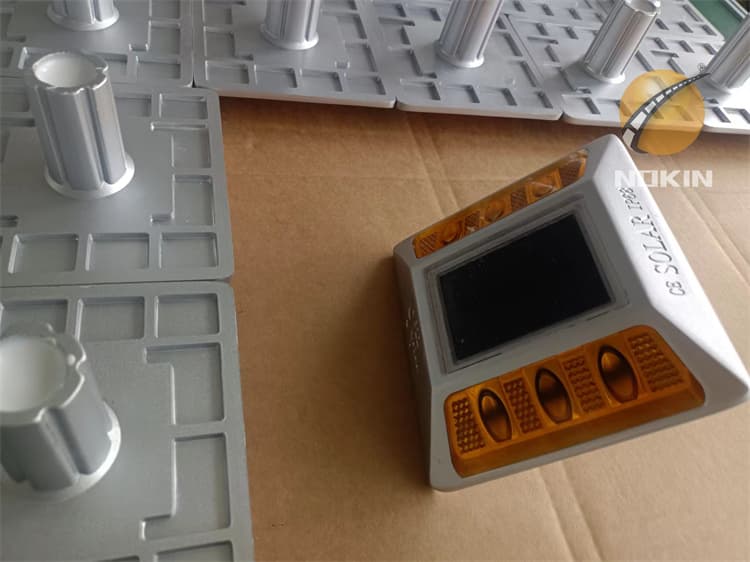
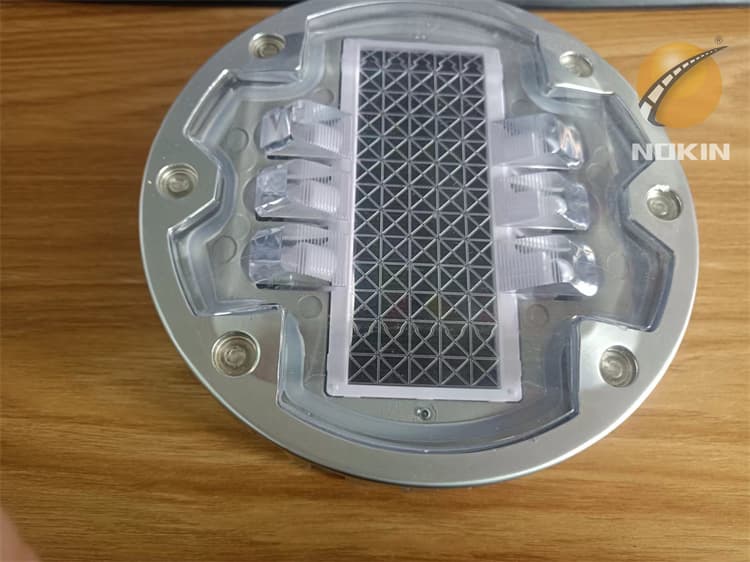
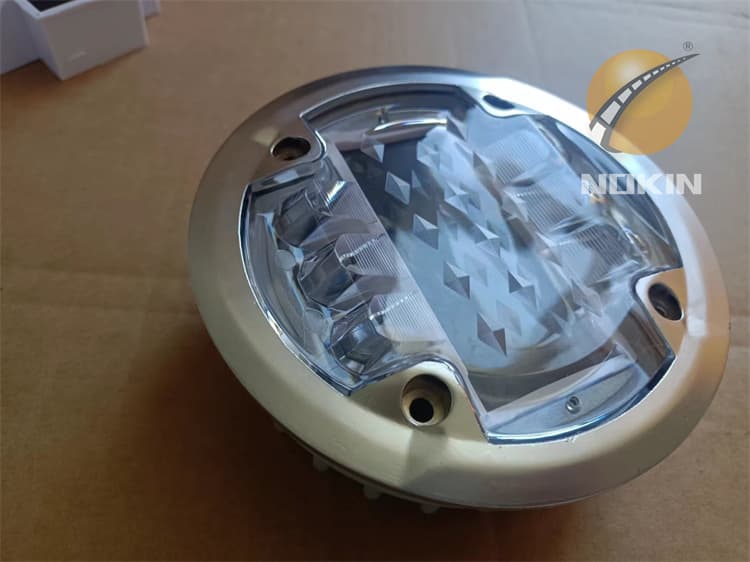
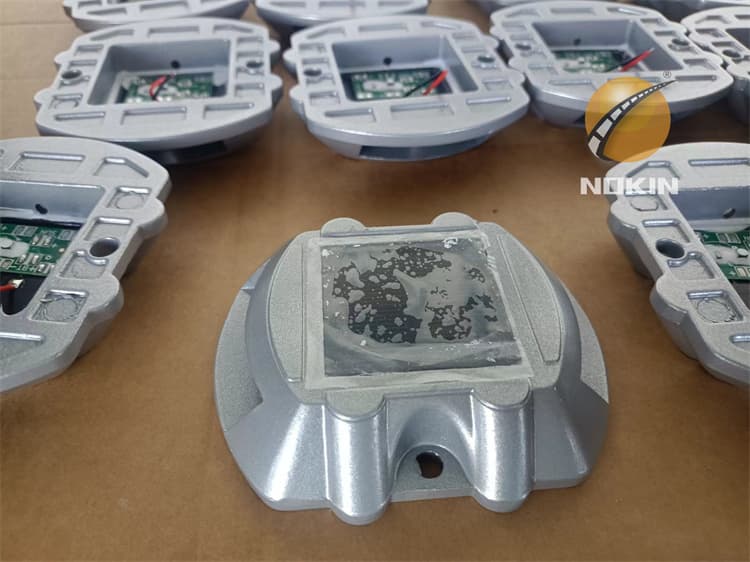
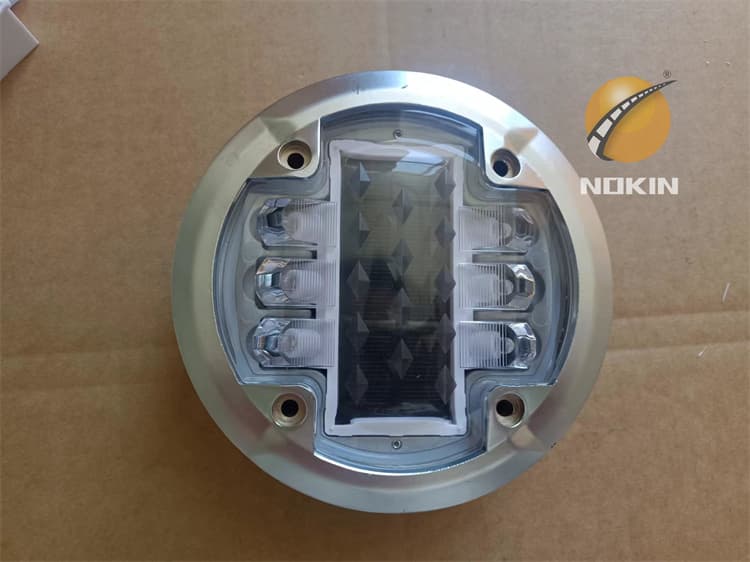
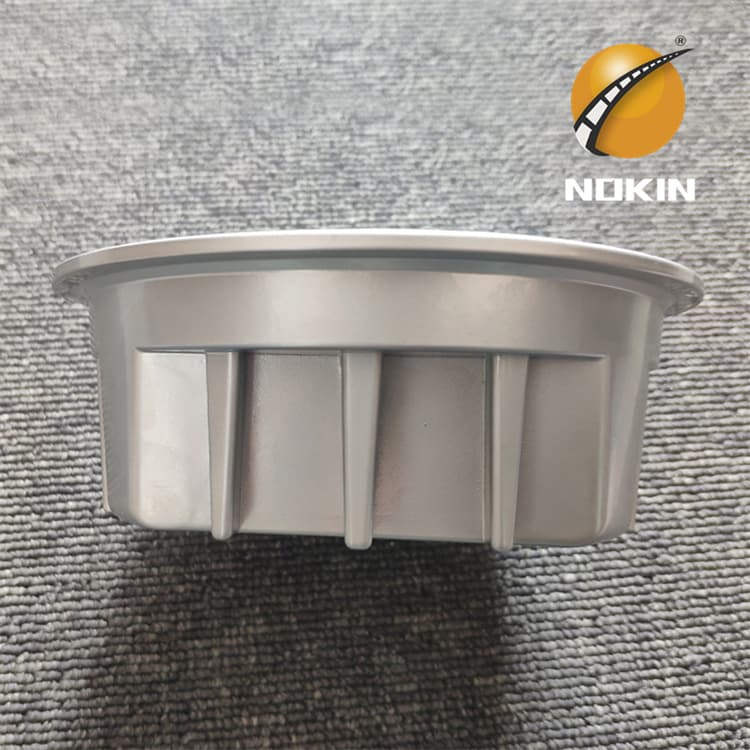
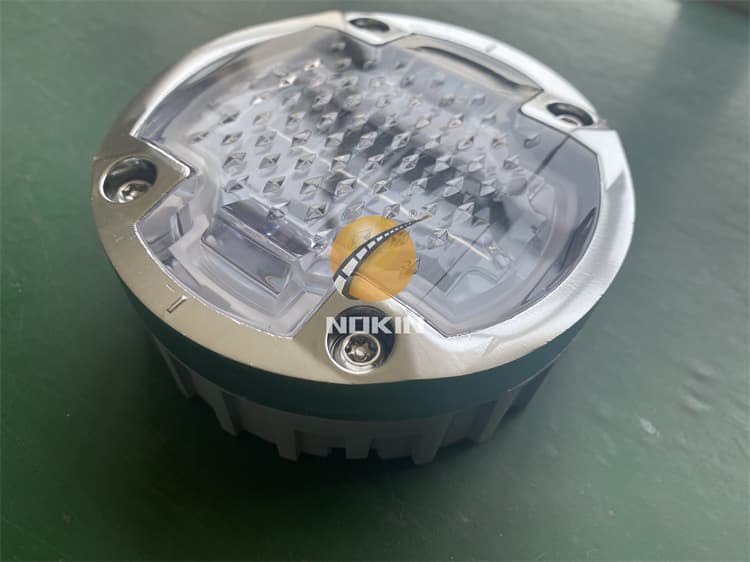
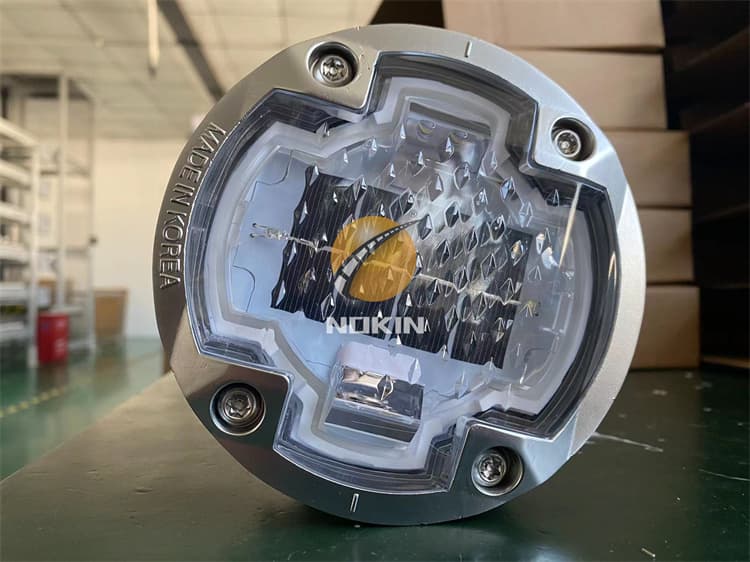
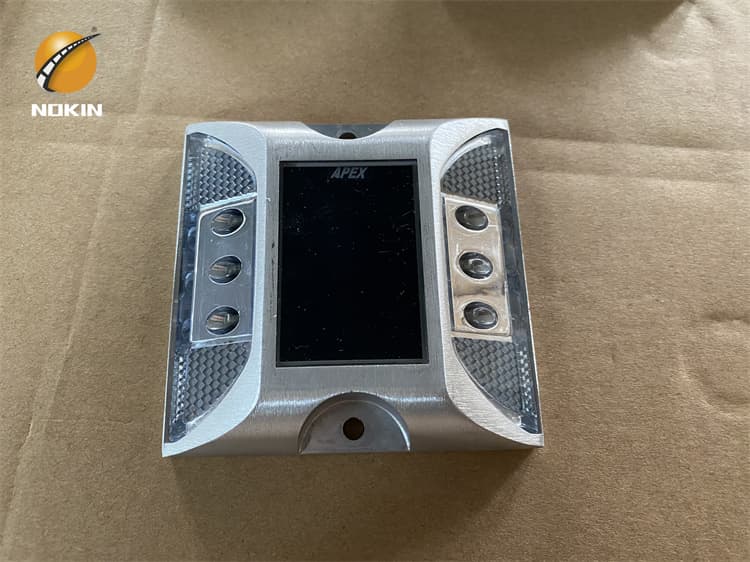
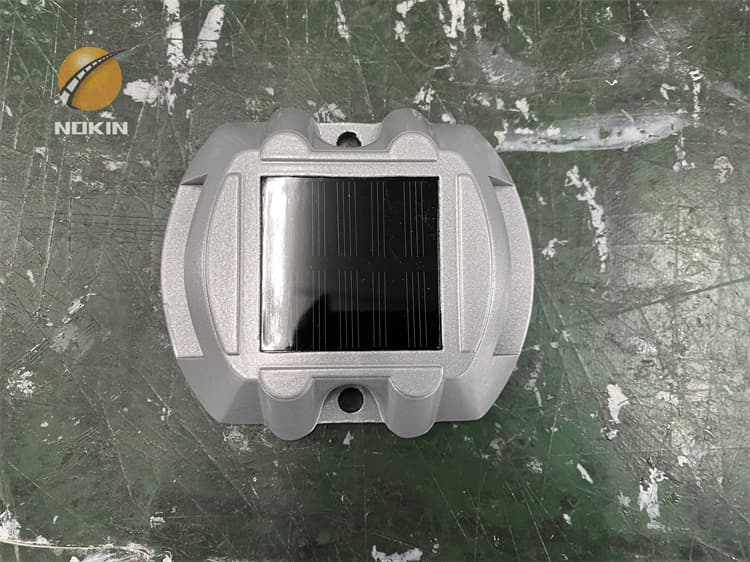
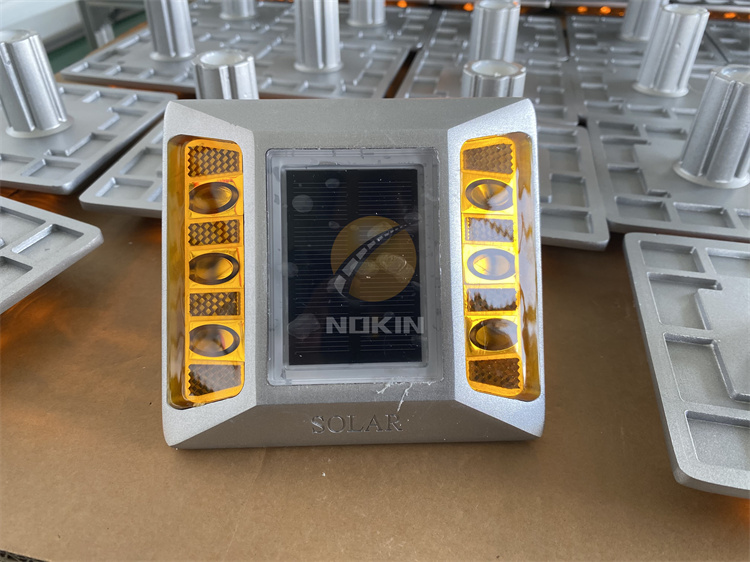
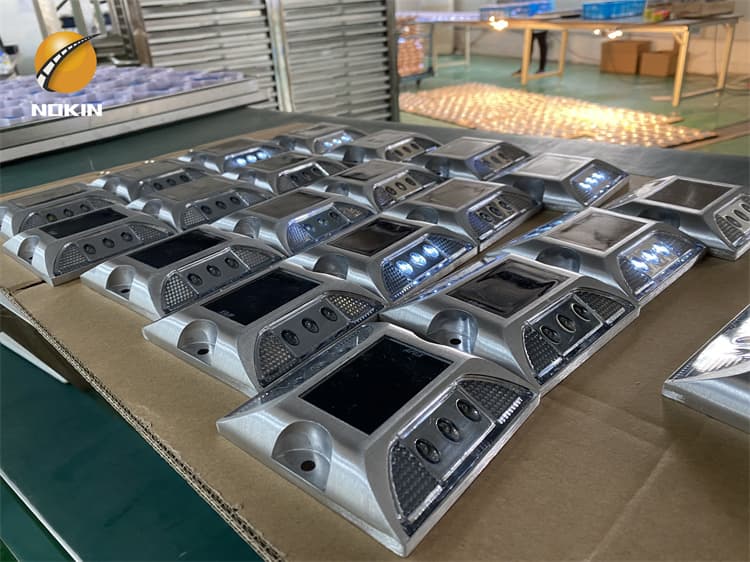
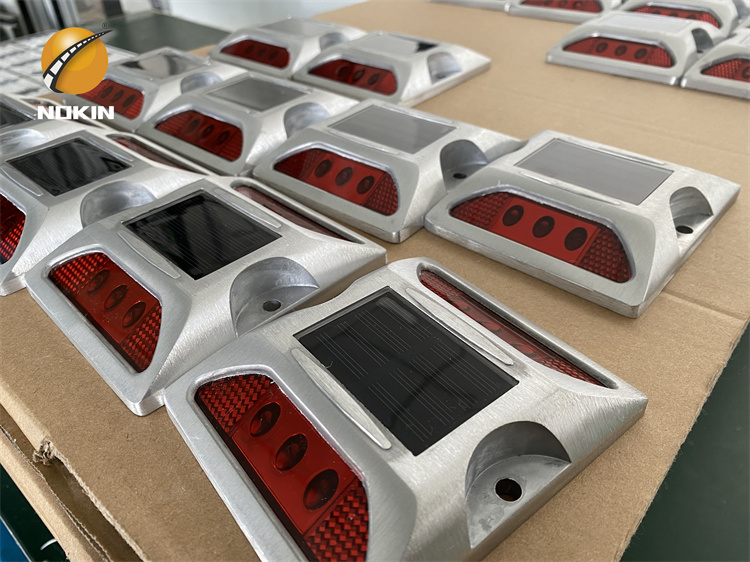
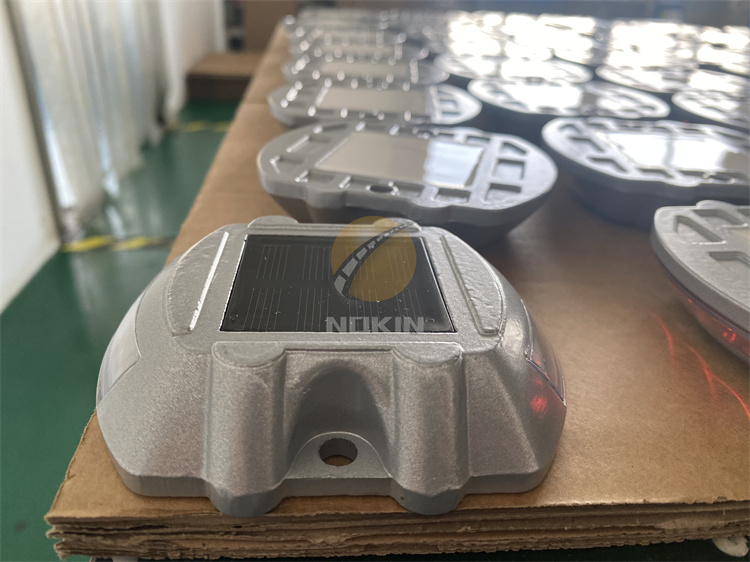
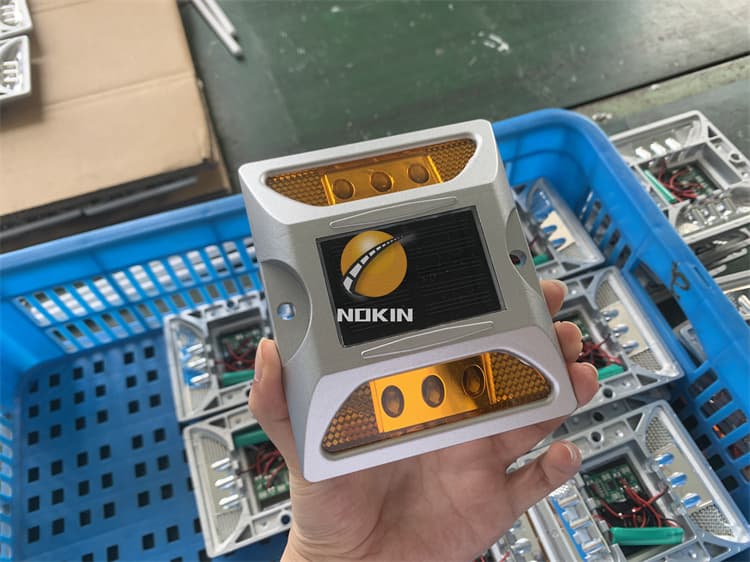
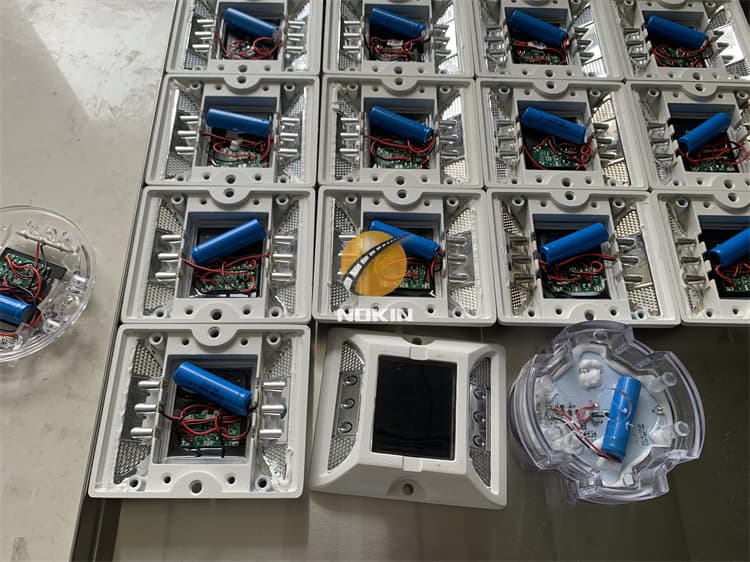
Solar road studs are flashing solar cell-powered LED low-maintenance lighting devices that delineate road edges and centrelines. Embedded in the road surface, they are an electronic improvement on the traditional cat’s eyes and raised pavement marker in that they may give drivers a larger reaction window. Solar road studs averaging about 100 mm square or 100 mm diameter and about 40 mm thick, units are extremely robust to avoid damage by passing vehicles and are normally constructed of engineering plastics and polycarbonates. The use of solar road studs reduces the necessity of headlight main beams and the accompanying hazard of dazzling oncoming drivers. They are also more visible in rain and fog conditions where the old-type retroreflectors and road markings are problematic.
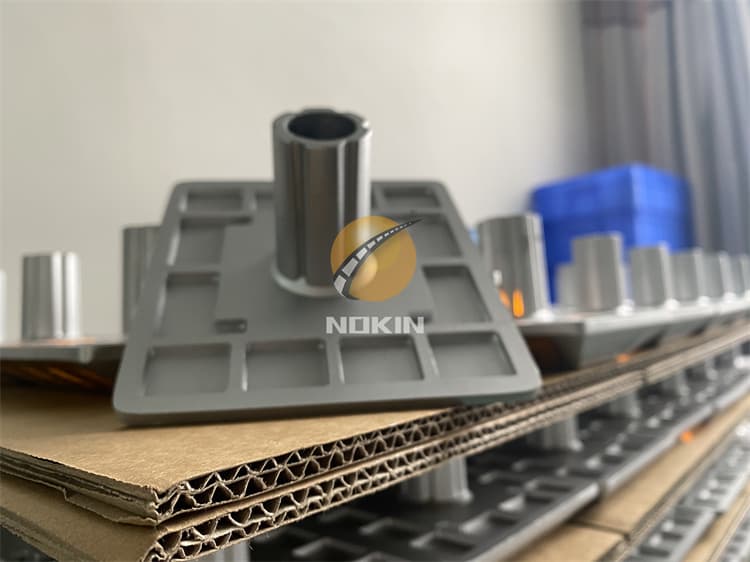
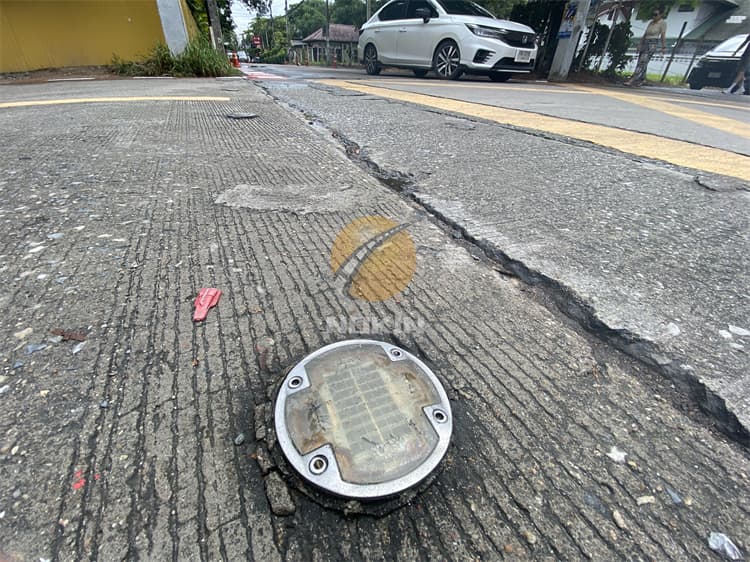
Installation Method Of Raised Solar Road Stud:
NOKIN solar pavement markers do not rely on headlights to delineate the road ahead. Using bright LEDs, light from each marker can be seen up to 100m (320ft) away during nighttime darkness. For a night or fog use, electronics in the markers monitor ambient light levels, activating the LEDs when the light drops below factory preset levels. They are recharged by sunlight and lower-level light. NOKIN provides road guidance long before normal “high-visibility” markings and reflective RPMs become visible.