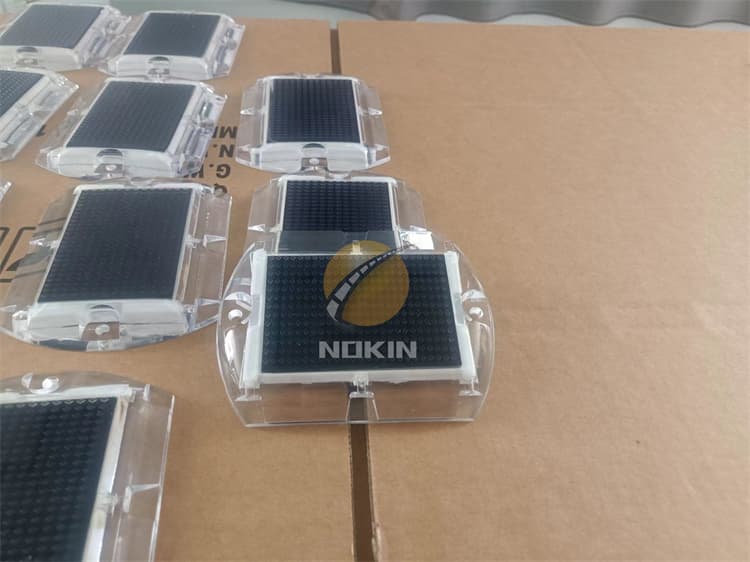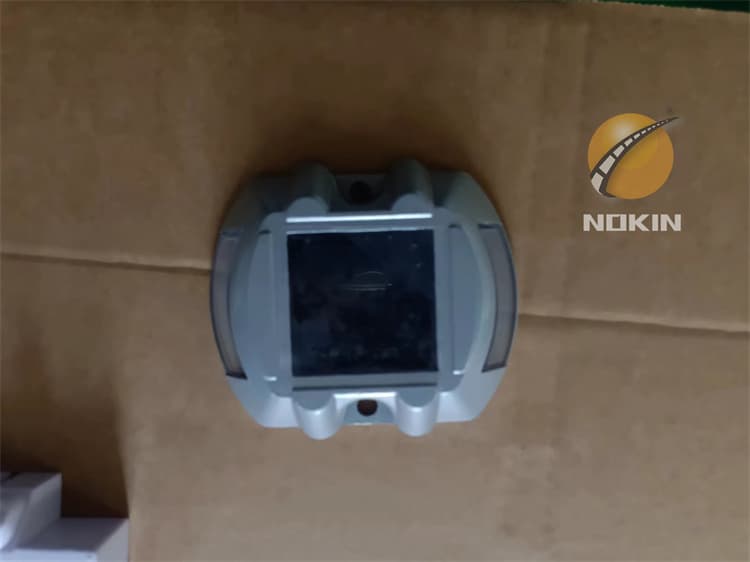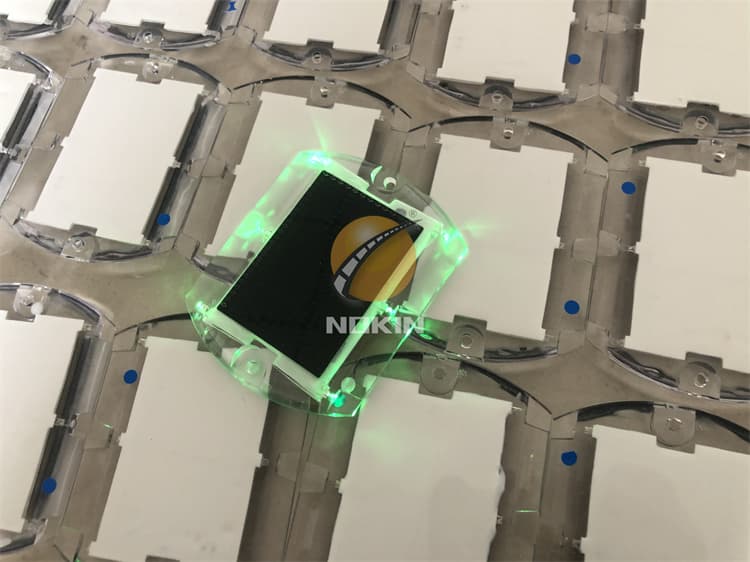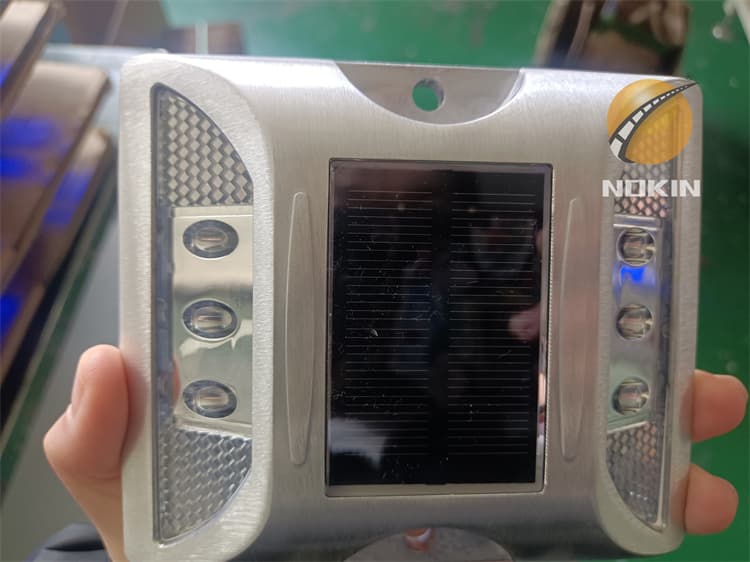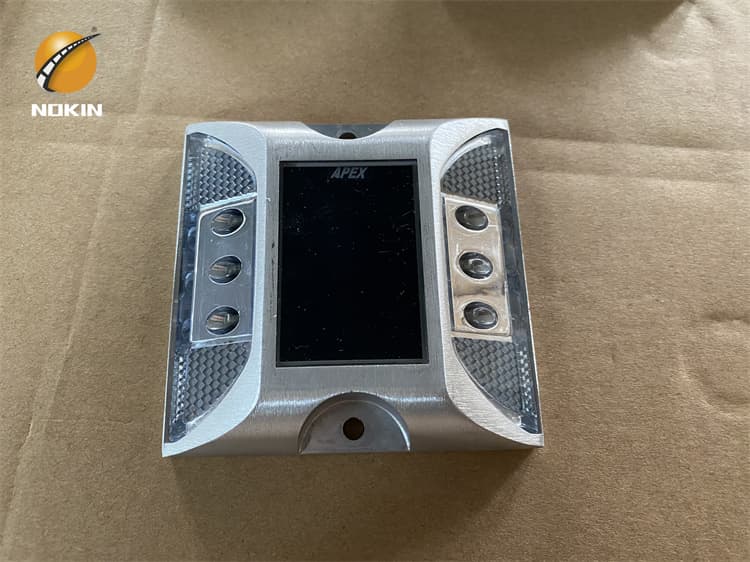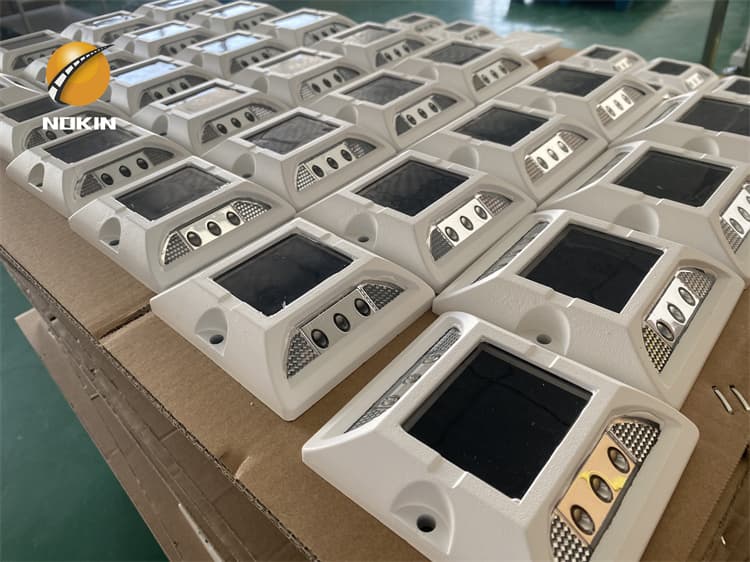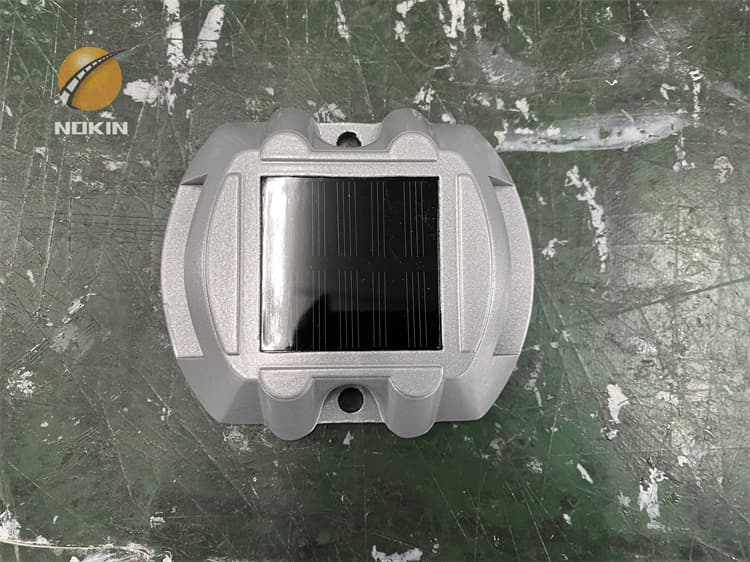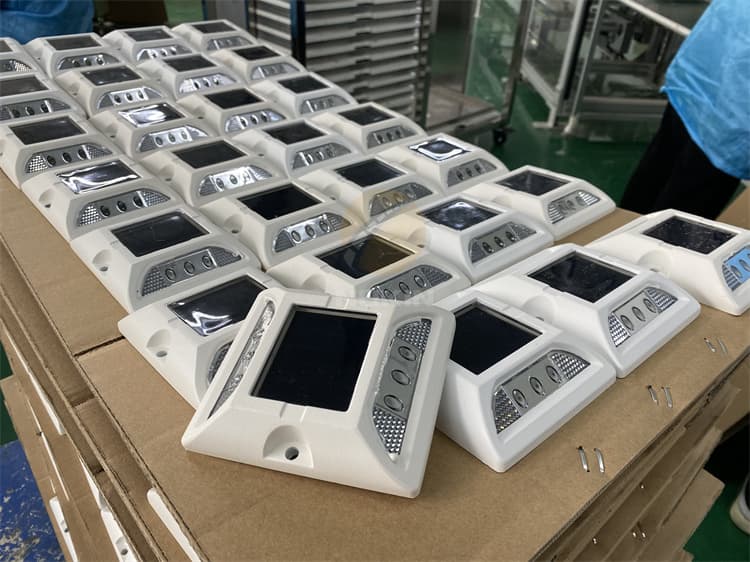
Solar Motorway Road Studs Price
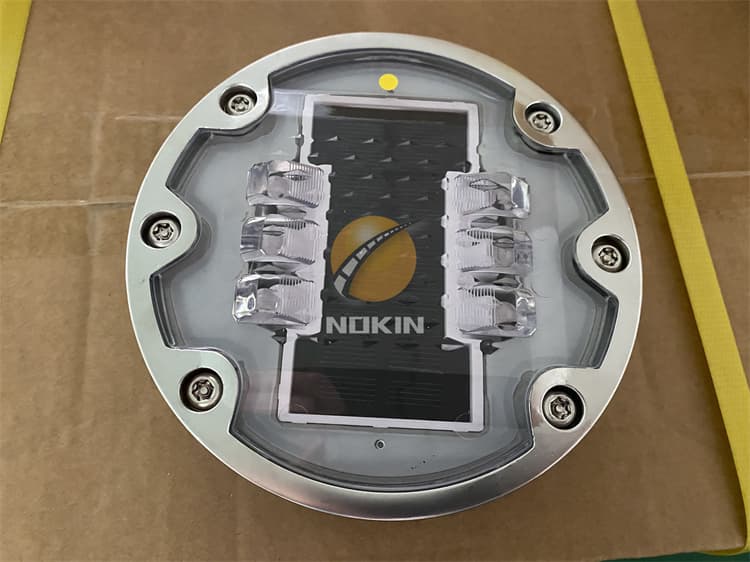
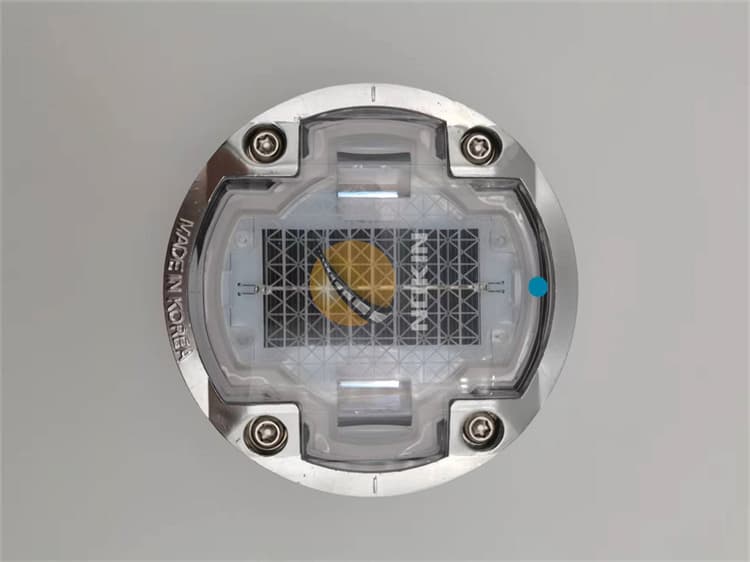
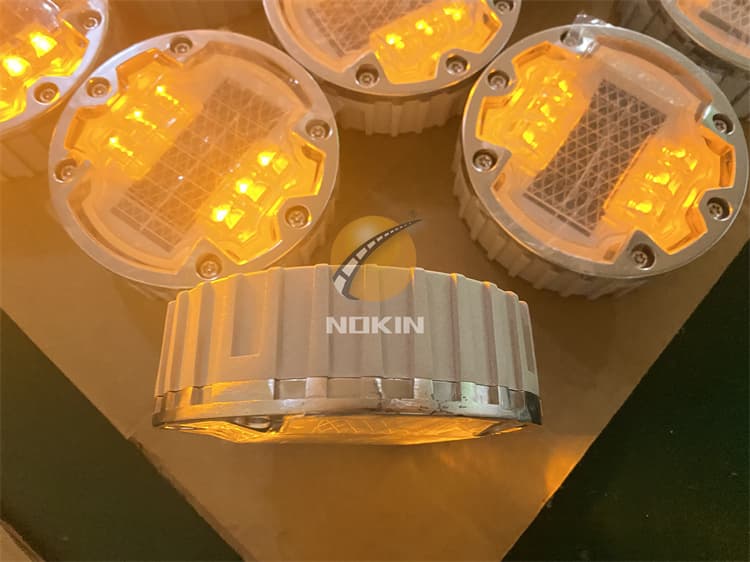
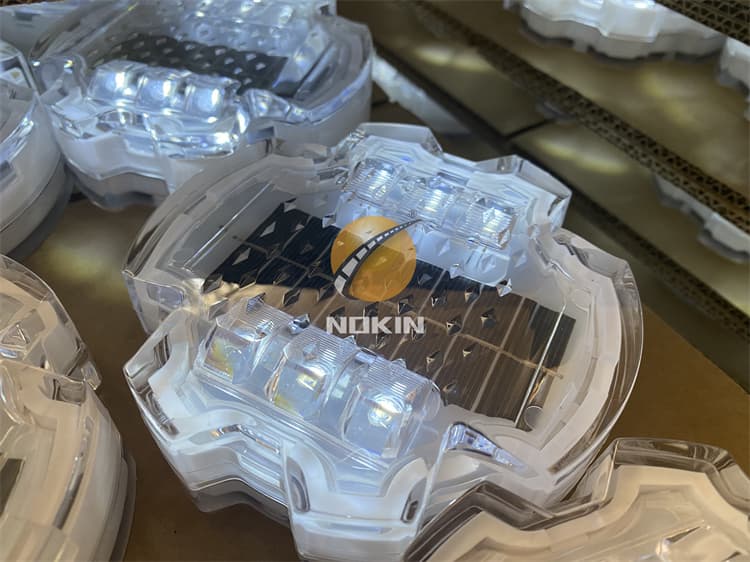
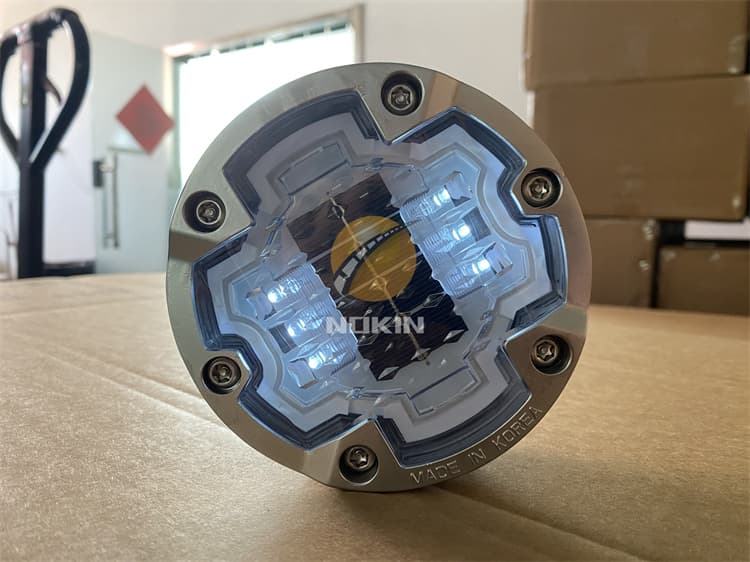
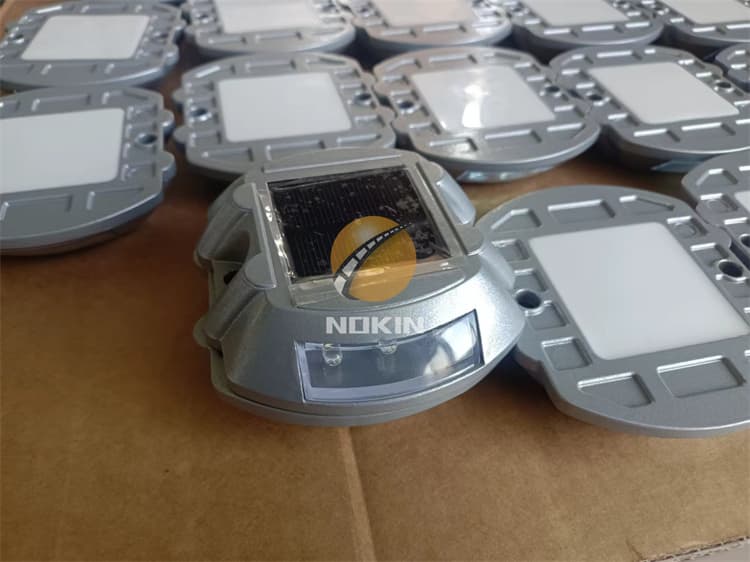
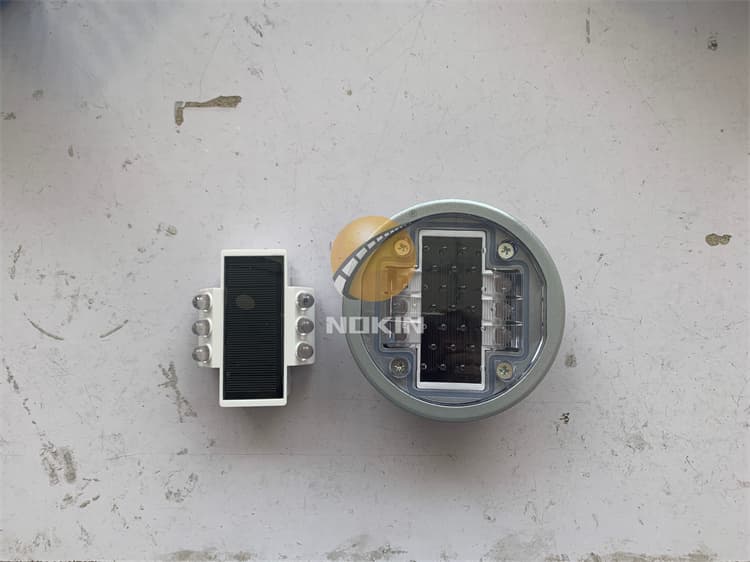
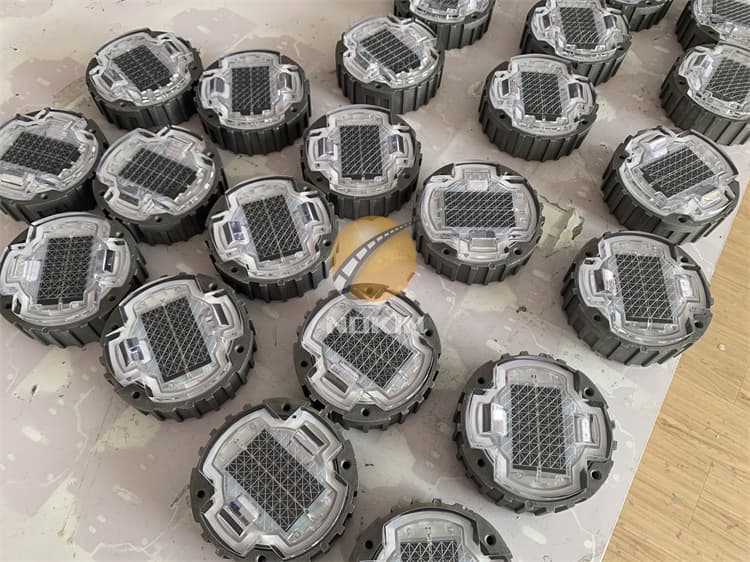
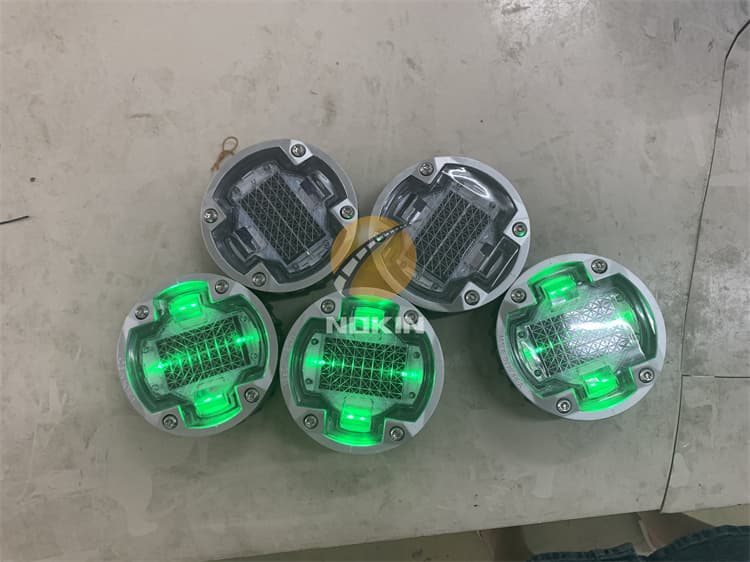
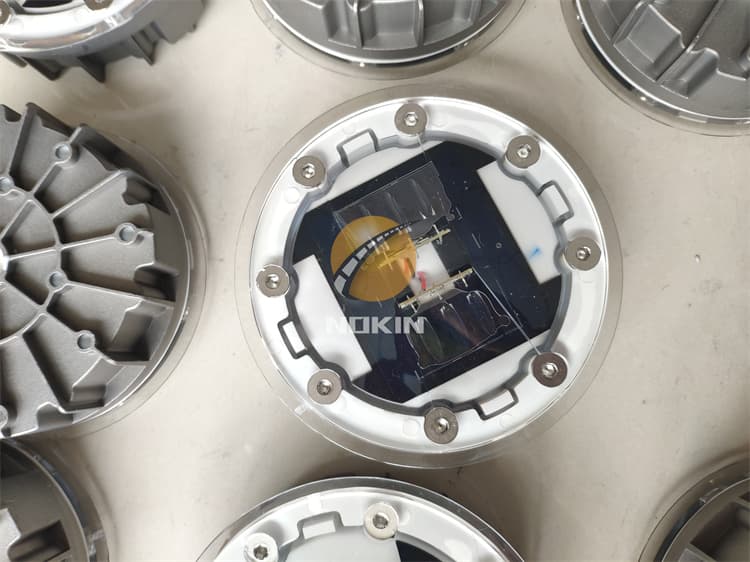
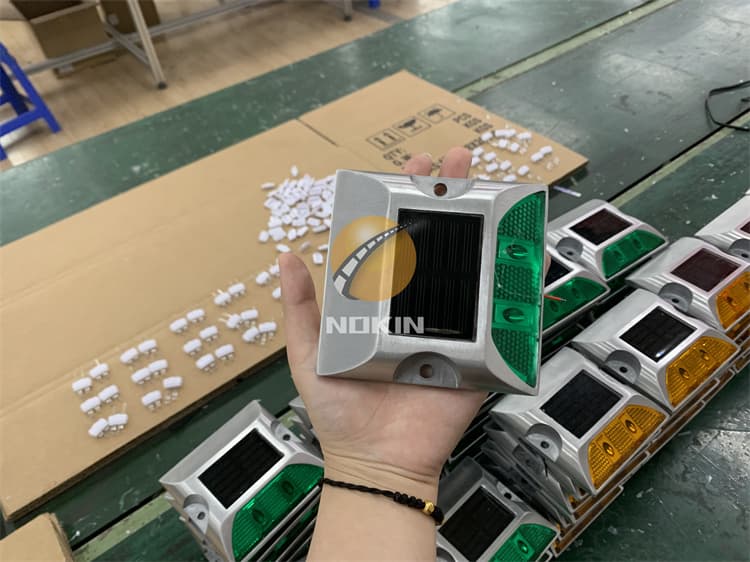
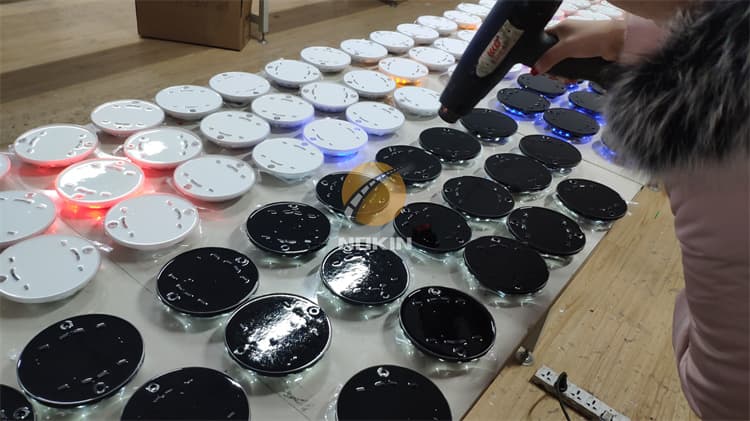
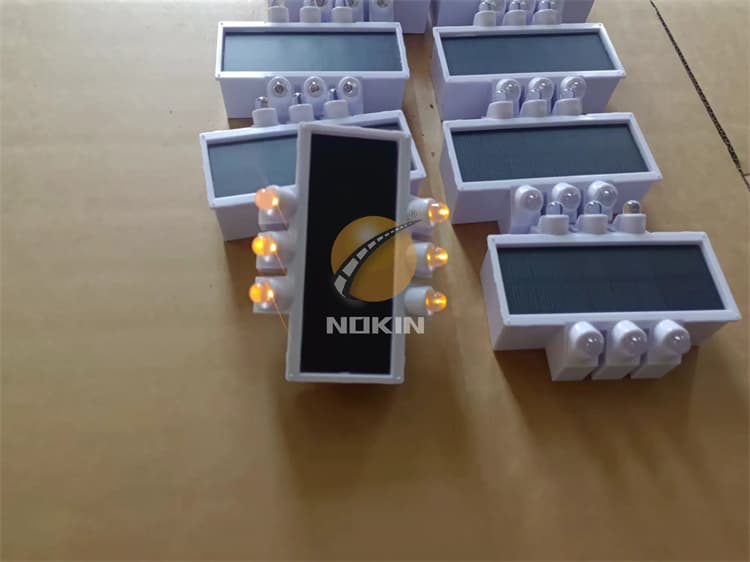
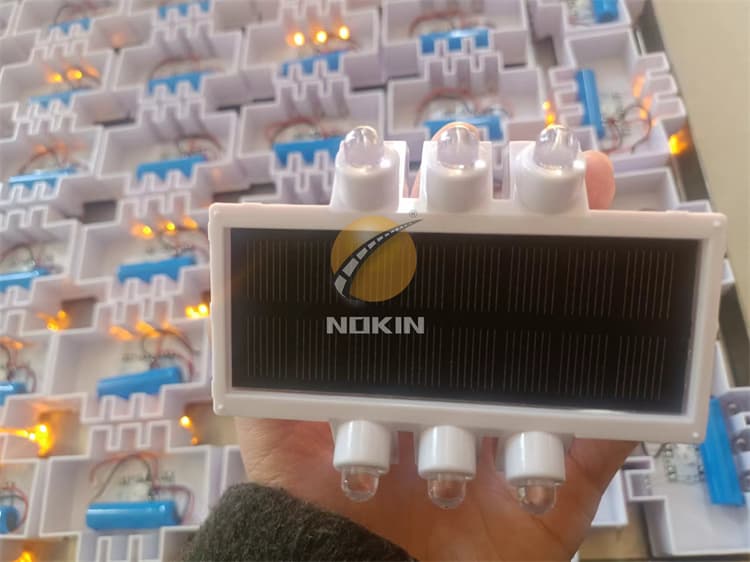
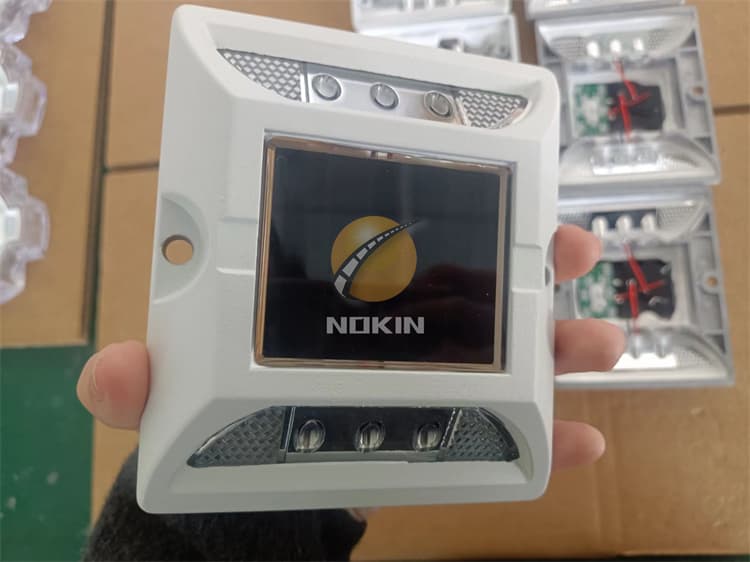
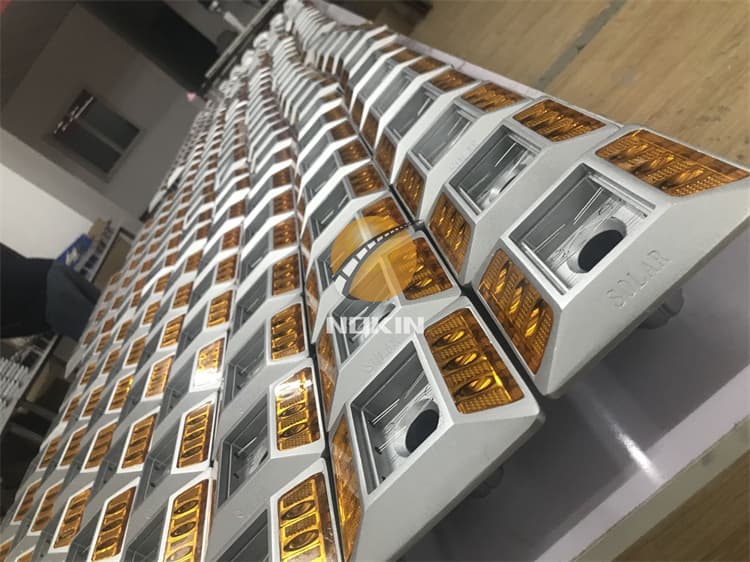
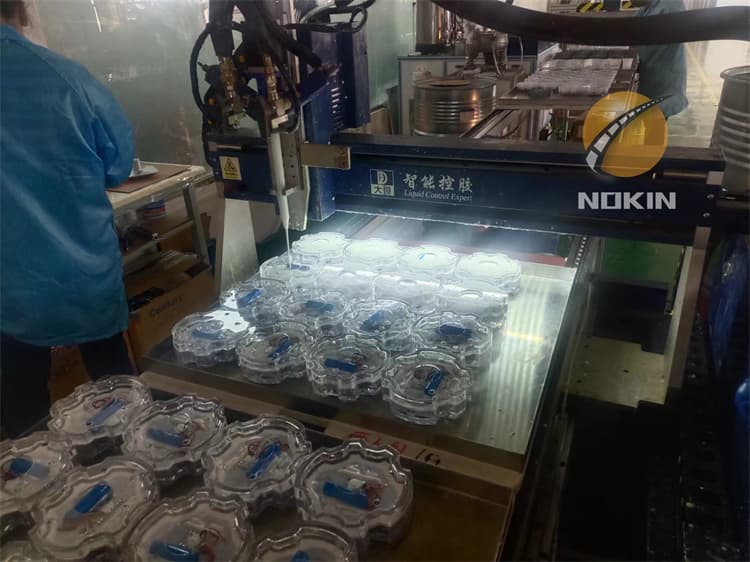
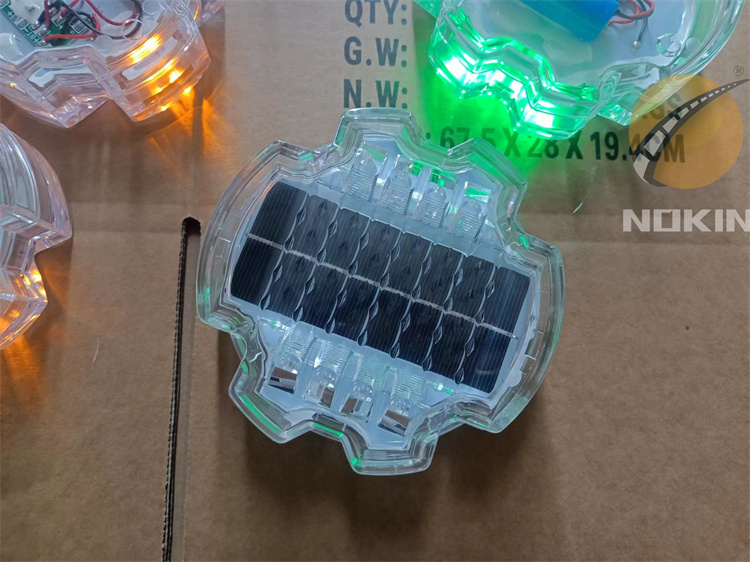
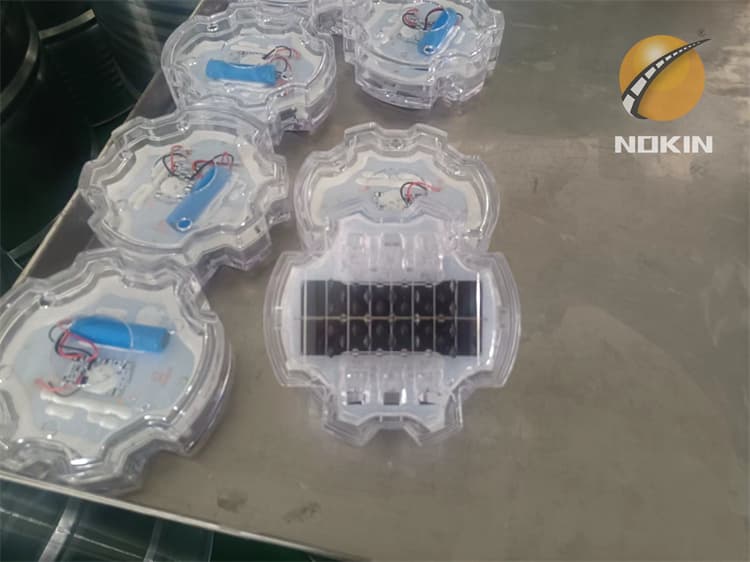
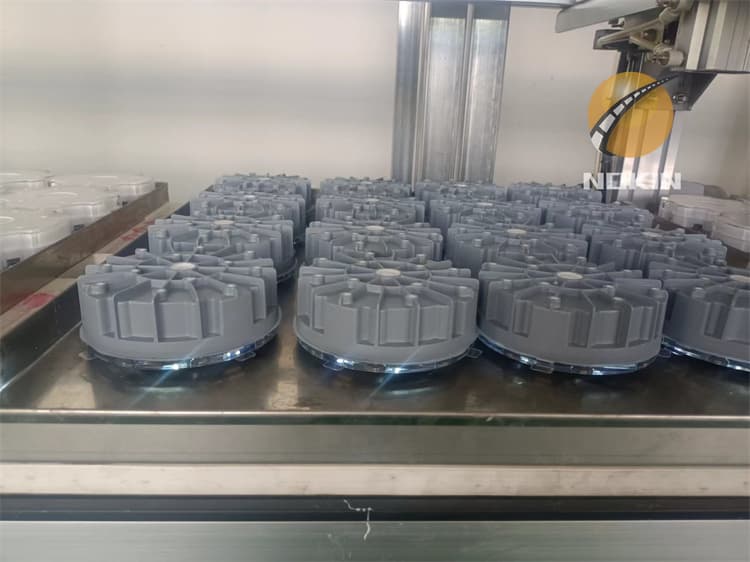
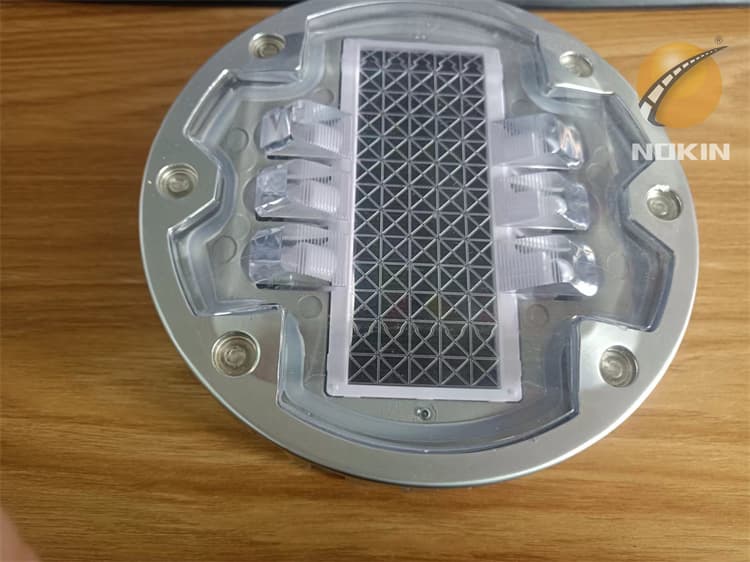
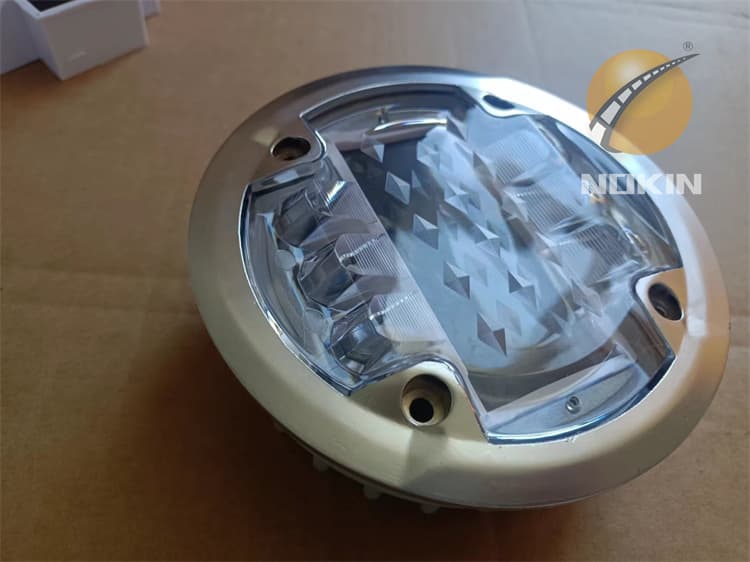
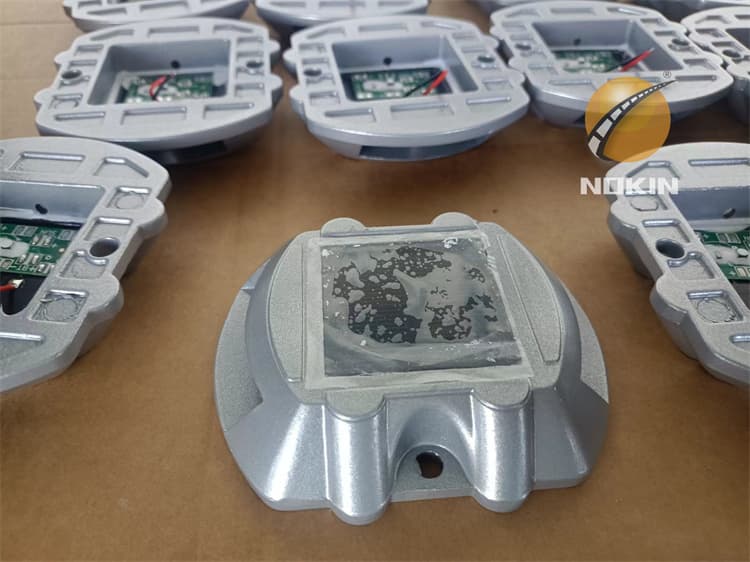
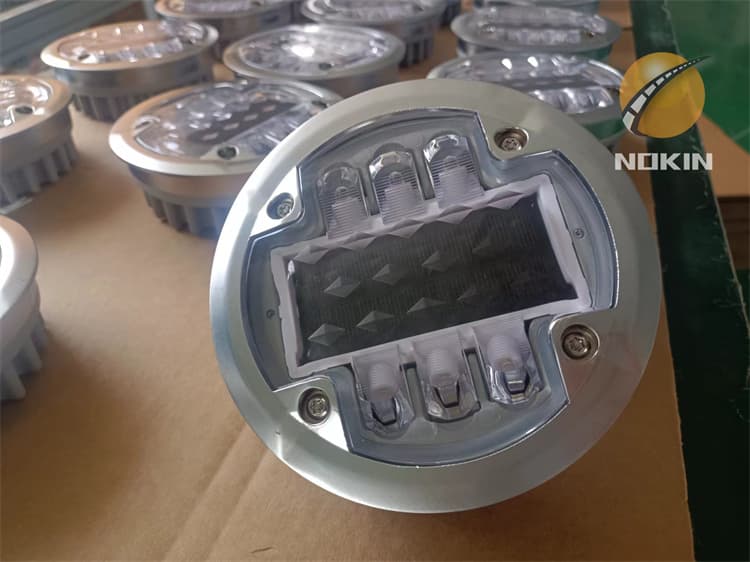
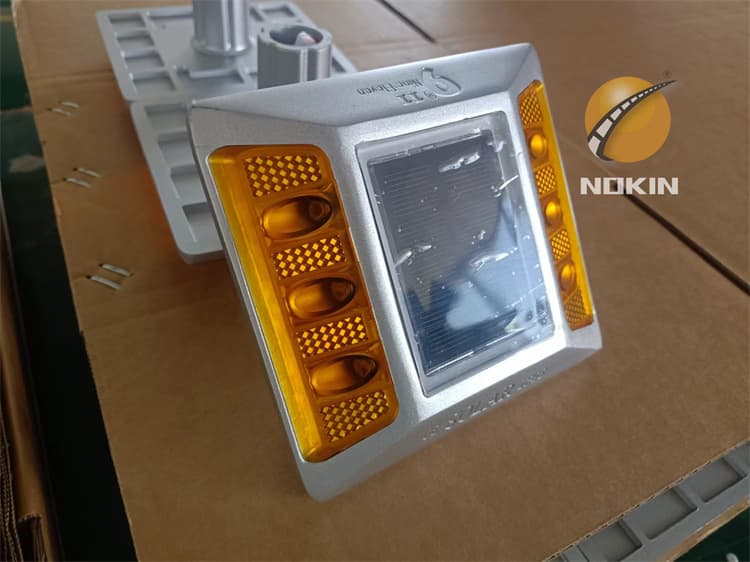
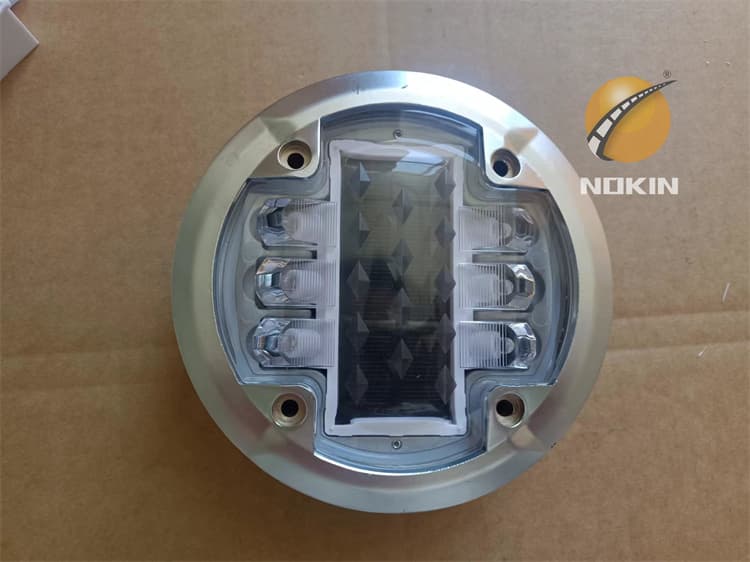
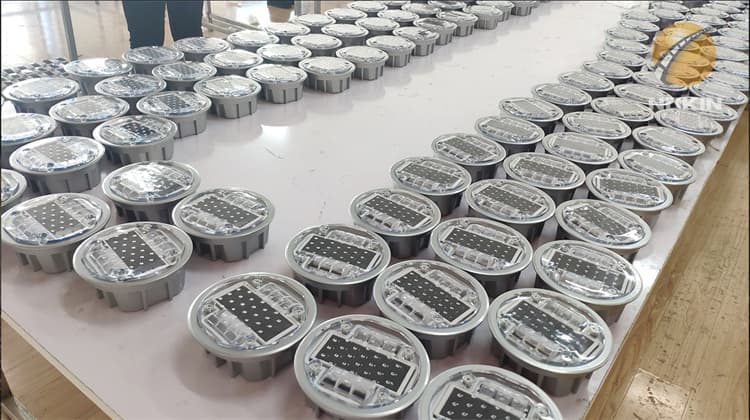
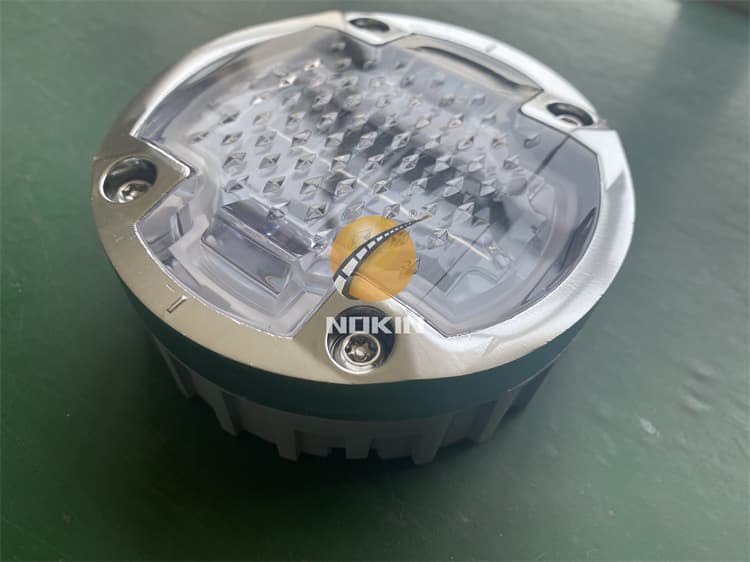
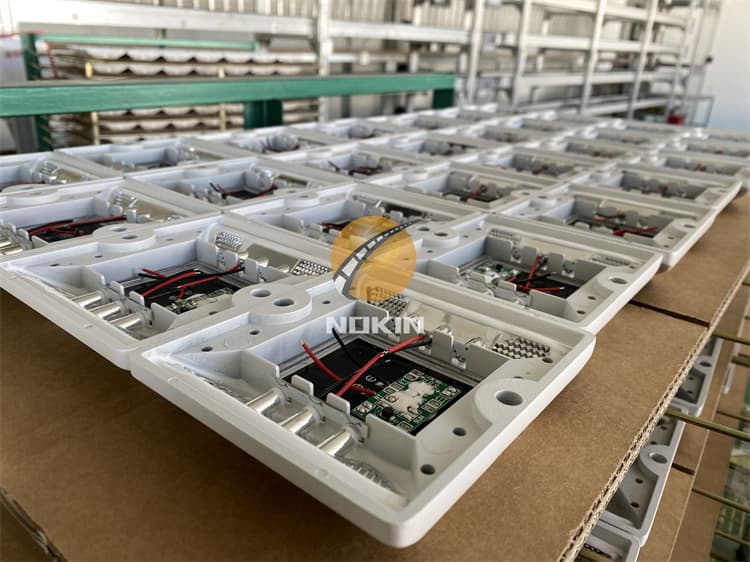
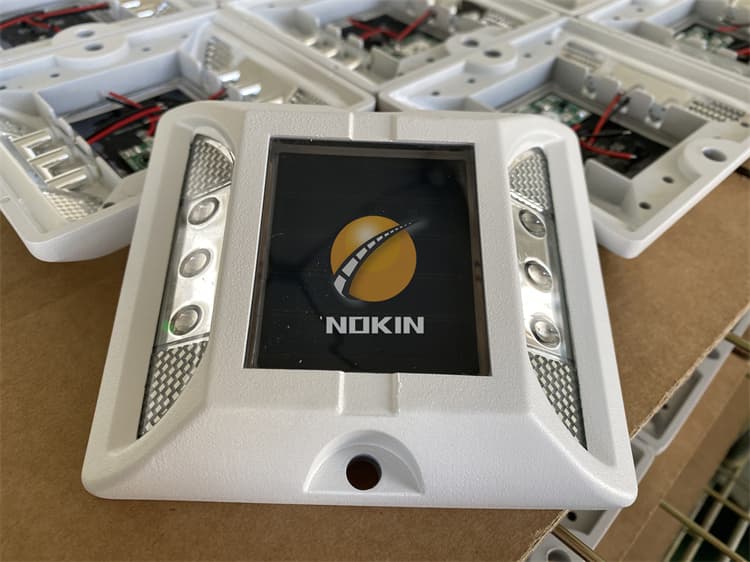
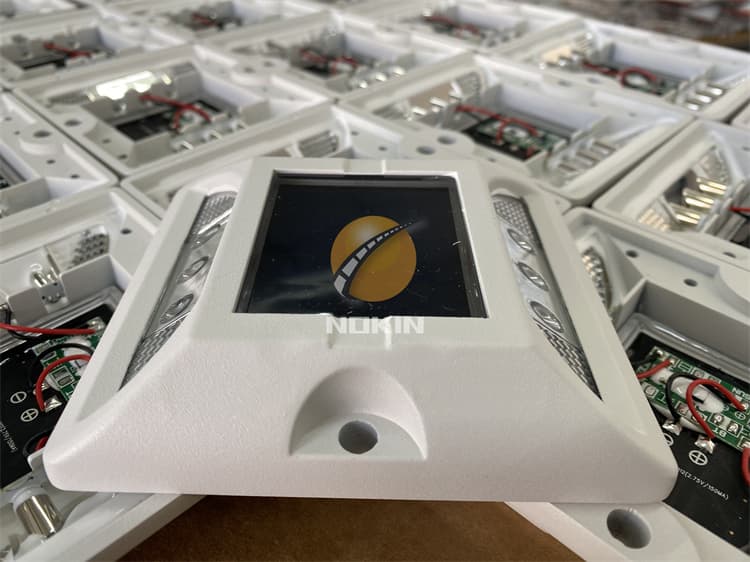
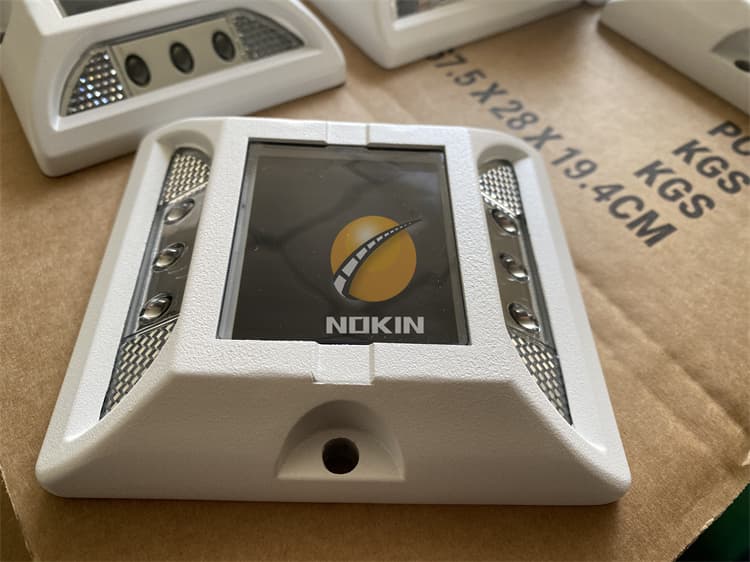
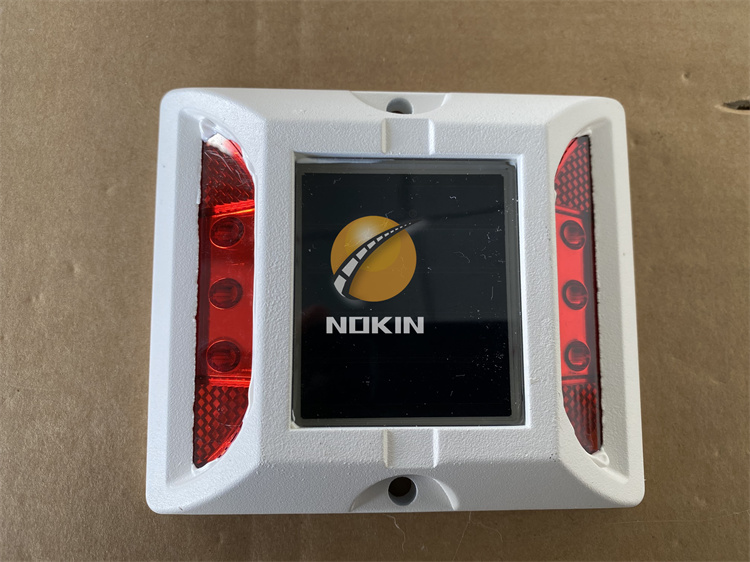
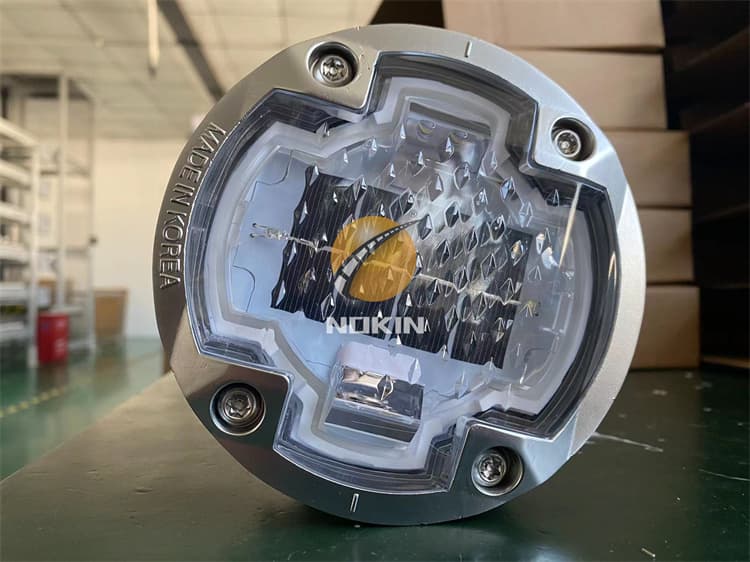
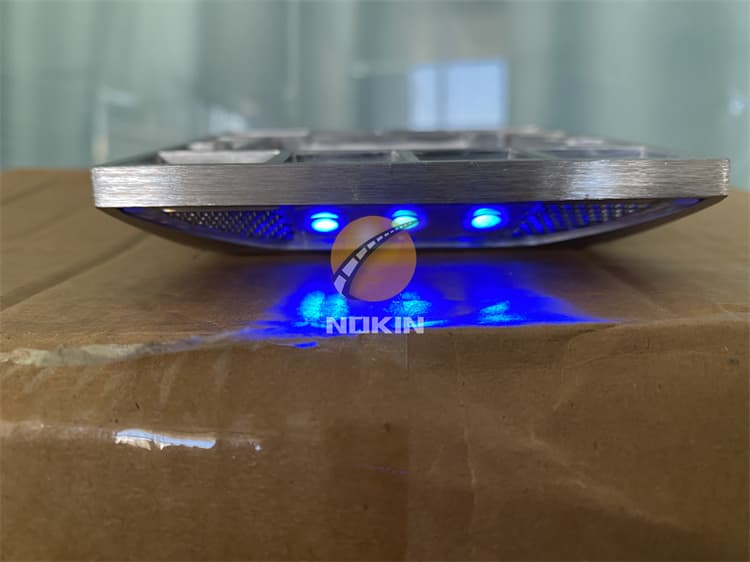
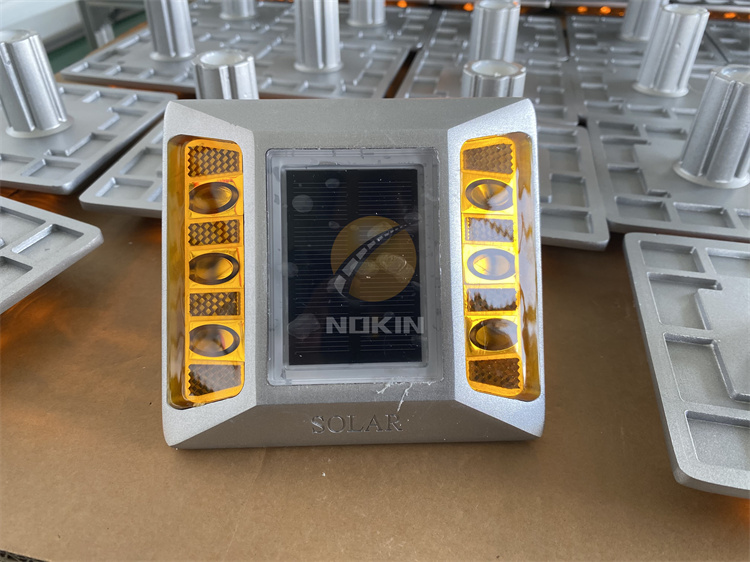
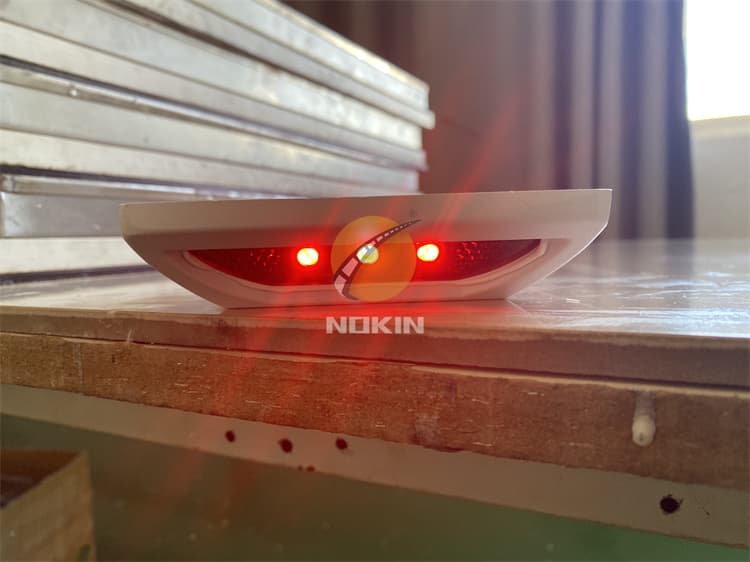
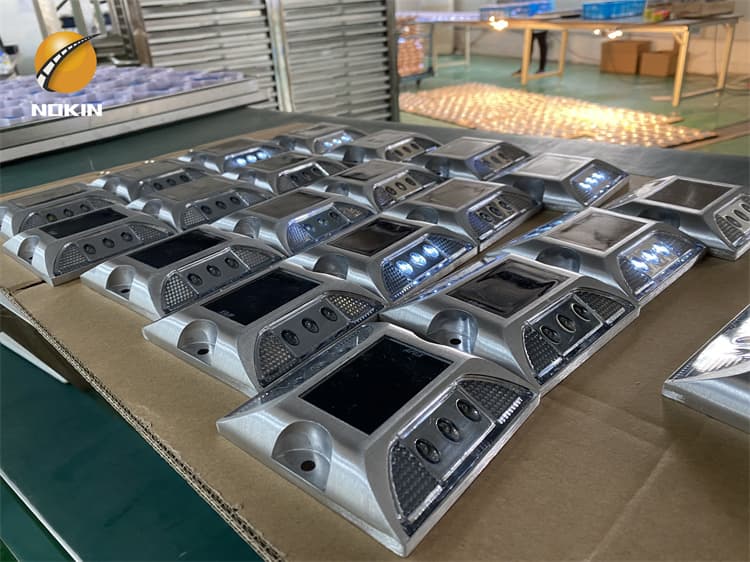
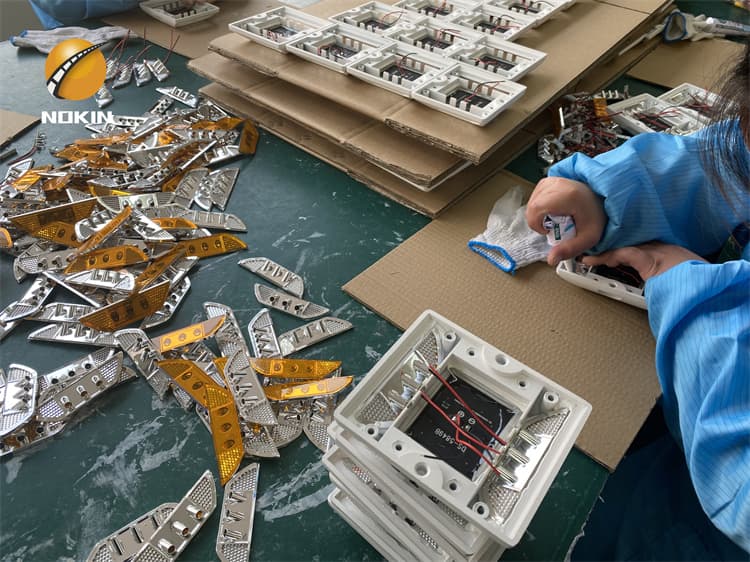
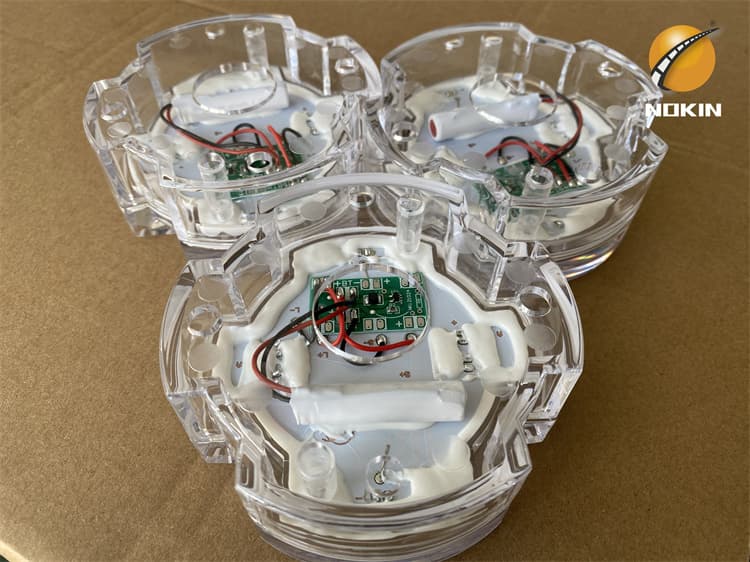
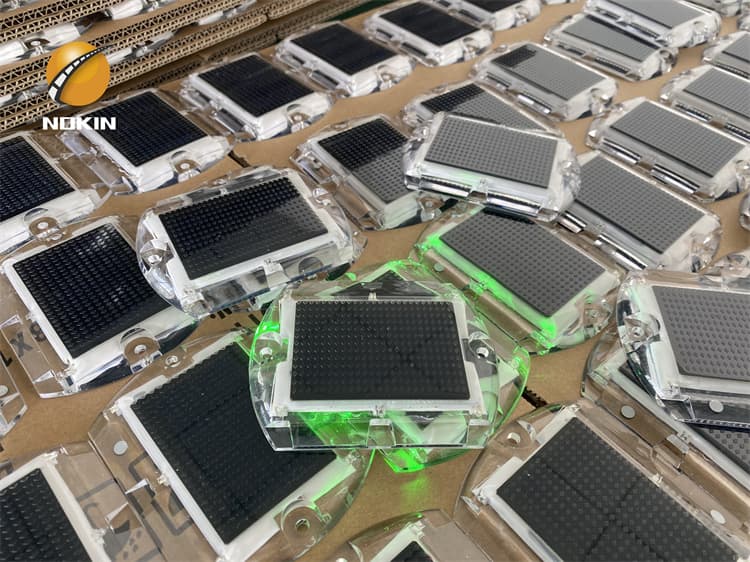
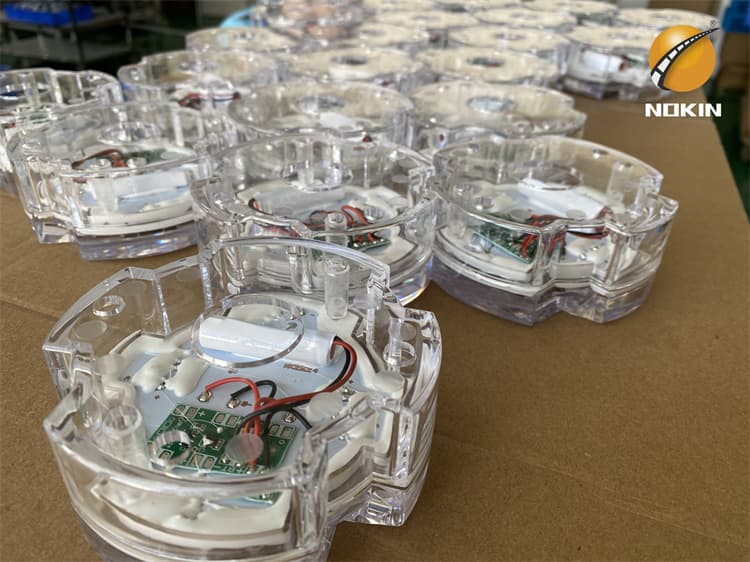
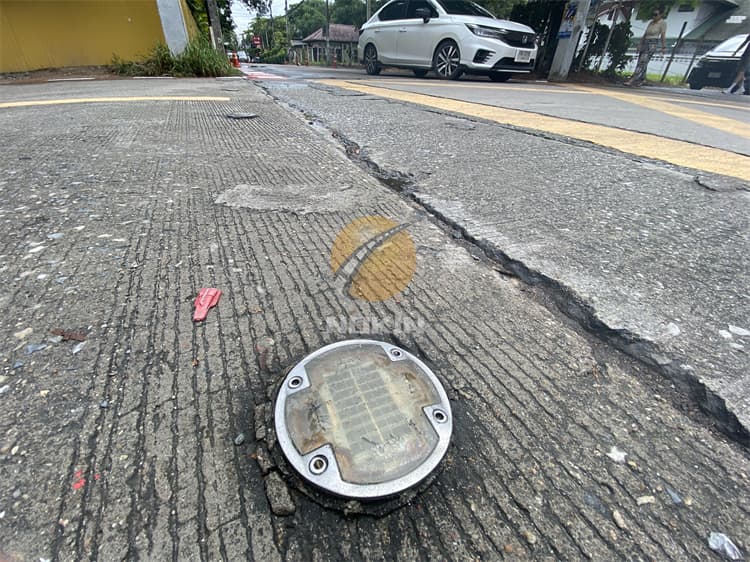
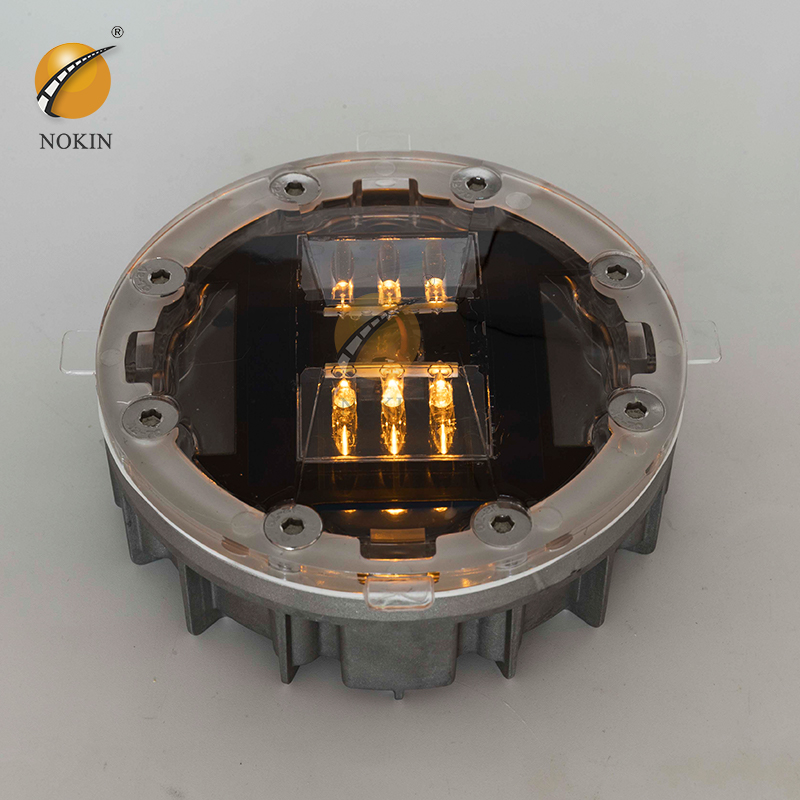
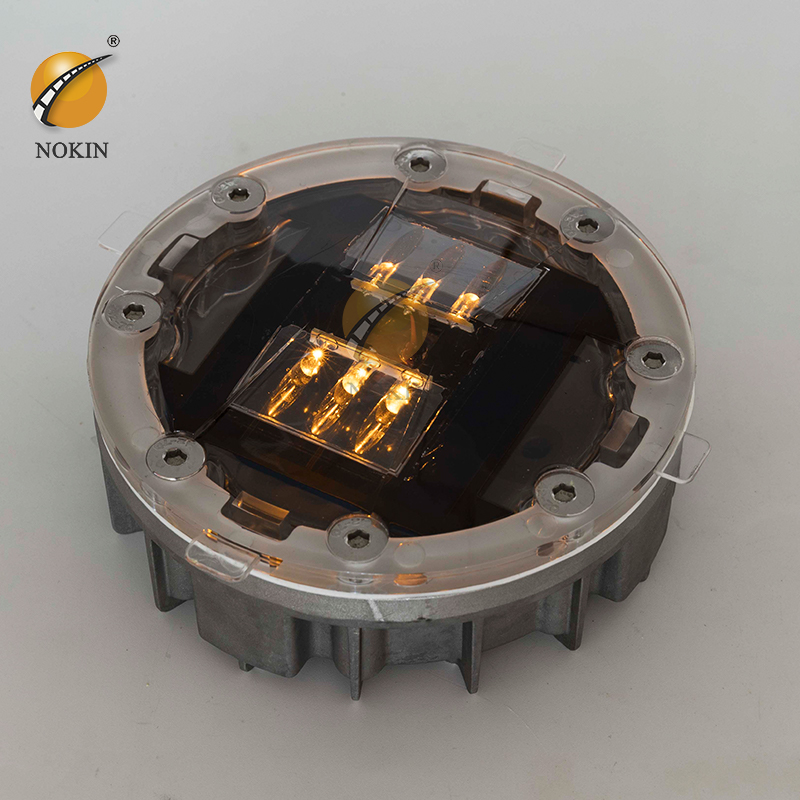
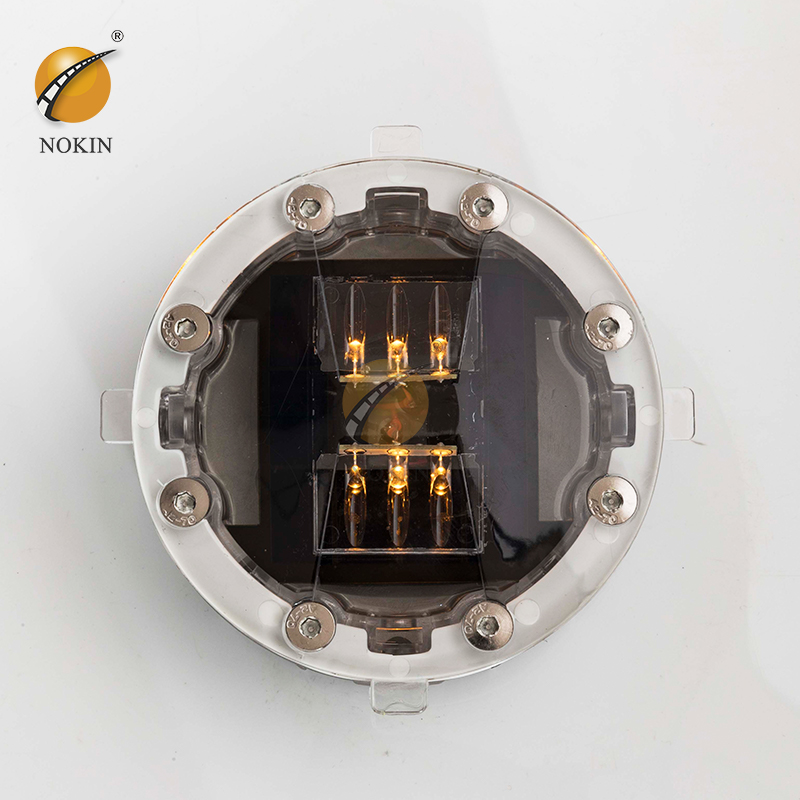
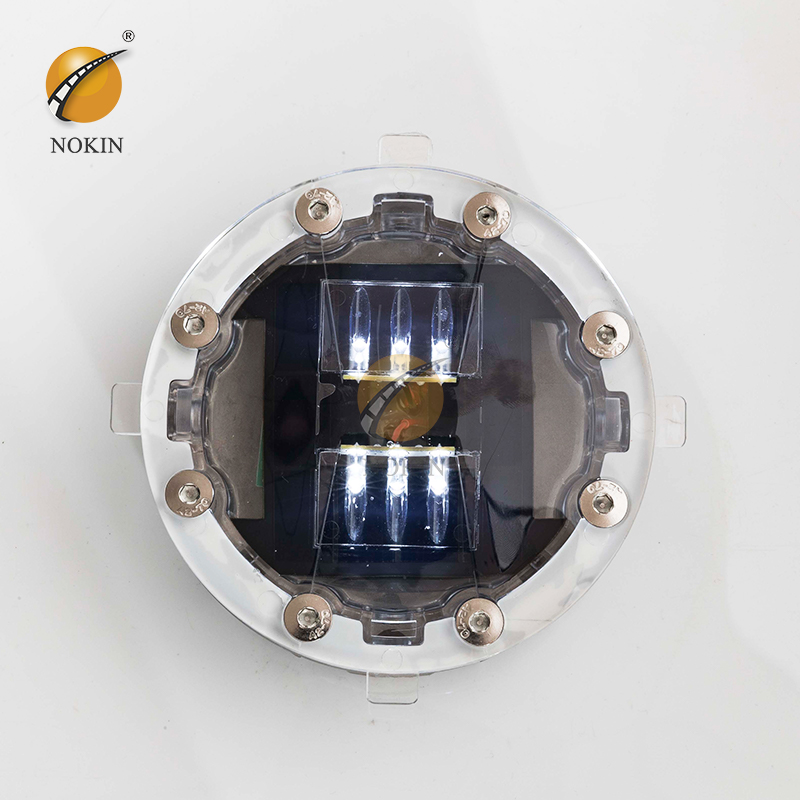
With the popularity of artificial intelligence technology, the public is becoming more and more interested in new smart products. The increasingly popular autonomous driving technology, smart home, and smart home appliances emerge in endlessly. People are yearning for an intelligent lifestyle more and more, and solar road studs are also an intelligent road warning sign, which facilitates our daily life. Solar road stud lights are raised signs installed on the road, mainly to guide and indicate vehicles at night. It is generally installed on the edge of the road or on the main line of the road. It can also work normally under bad weather conditions and improve road traffic safety.
Send Inquiry
Quote Online
Share:
Content
With the popularity of artificial intelligence technology, the public is becoming more and more interested in new smart products. The increasingly popular autonomous driving technology, smart home, and smart home appliances emerge in endlessly. People are yearning for an intelligent lifestyle more and more, and solar road studs are also an intelligent road warning sign, which facilitates our daily life. Solar road stud lights are raised signs installed on the road, mainly to guide and indicate vehicles at night. It is generally installed on the edge of the road or on the main line of the road. It can also work normally under bad weather conditions and improve road traffic safety.
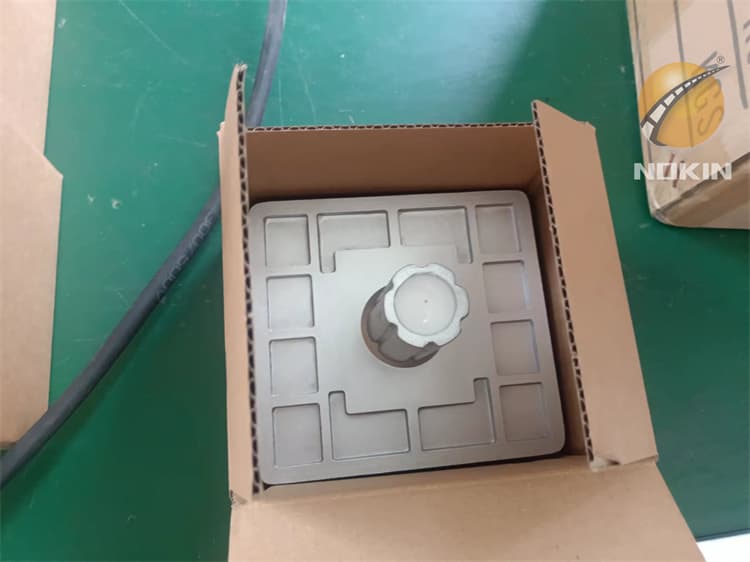
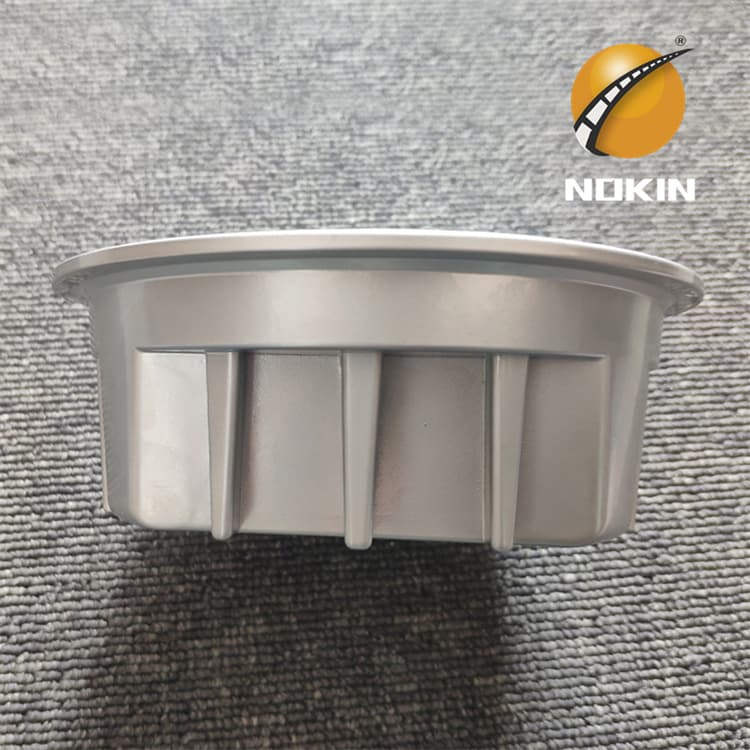
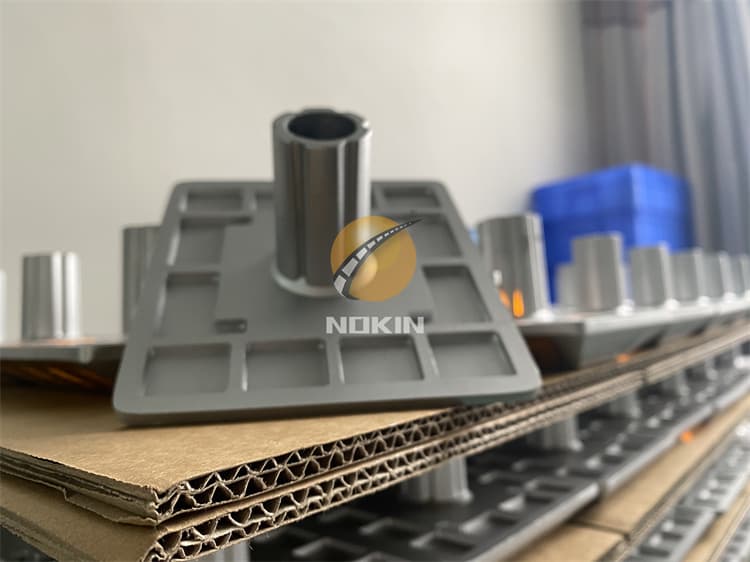
Installation Method Of Raised Solar Road Stud:
Carefully mark the distance between the placement of solar road stud lights. To prevent an adverse effect on the ground, use a proper tool such as Core Drill. Drill 35mm and the depth will be 55mm.
Remove all debris from the installation hole.
Pour epoxy into the holes per the manufacturer’s instruction.
Verify that the installation hole is straight. Verify that the installation hole is large enough to allow the epoxy to surround the solar-led road stud shaft.
Set the lighting surface of the solar road stud to the desired viewing angle. Verify the epoxy is evenly adhering to the installation hole and solar marker shaft. Verify the bottom of the solar road marker is firmly installed on the installation surface allowing for zero surface float; to occur. (space between installation surface and bottom of the solar marker).
After curing the LED solar road stud for 6-8 hours, remove the installation of the isolation facility.
The recommended spacing between each solar road stud is as follows:
Highways and Expressways
7 – 8 yards (5 – 6 meters)
Dangerous Entrances and Exits
4 – 5 yards (2 – 3 meters)
Access or Exit ways for Hospitals, Parking Lots, etc.
0.5 – 3 yards (0.5 – 2 meters)
The spacing between each solar stud is also according to your actual application requirements, the above values are for reference only.
FAQ
Q1: What about the application of the road stud?
A1: Road Delineation, Accident black spots/cluster sites, Hazardous roads, Areas adversely affected by poor visibility, Cycle path, Car parks, Sidelines of highways, roadsides, partition areas, bridge roads, road curves, T-Intersection, highway exits, and many more applications.
Q2.what color do you have?
A2: We have Yellow/white/red/blue/green color
Q3: Can I have a sample order for road studs?
A3: Yes, we welcome sample orders to test and check quality. Mixed samples are acceptable.
Q4: How do you ship the goods and how long does it take to arrive?
A4: We usually ship by DHL, UPS, FedEx, or TNT. It usually takes 3-5 days to arrive. Airline and sea shipping is also optional.
Q5: Is it OK to print my logo on a led light product?
A5: Yes. Please inform us formally before our production and confirm the design first based on our sample.
Q6: Do you offer a guarantee for the products?
A6: Yes, we offer a 2-5 years warranty on our products.
Inquiry
More