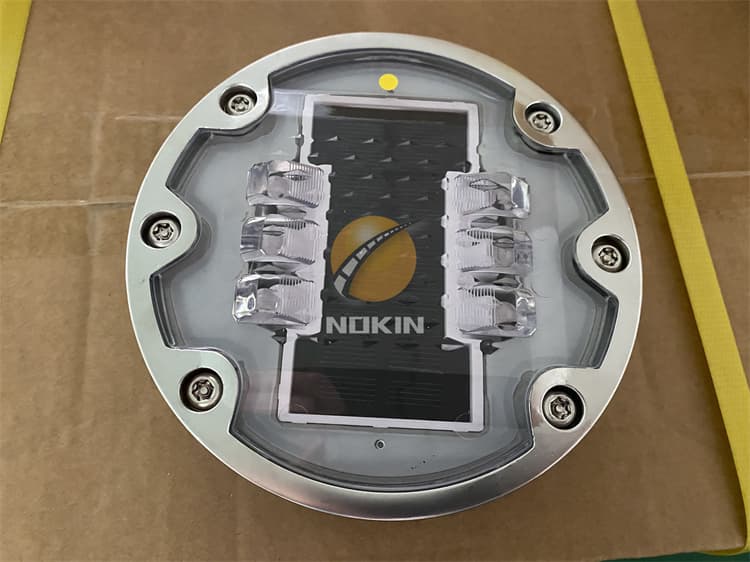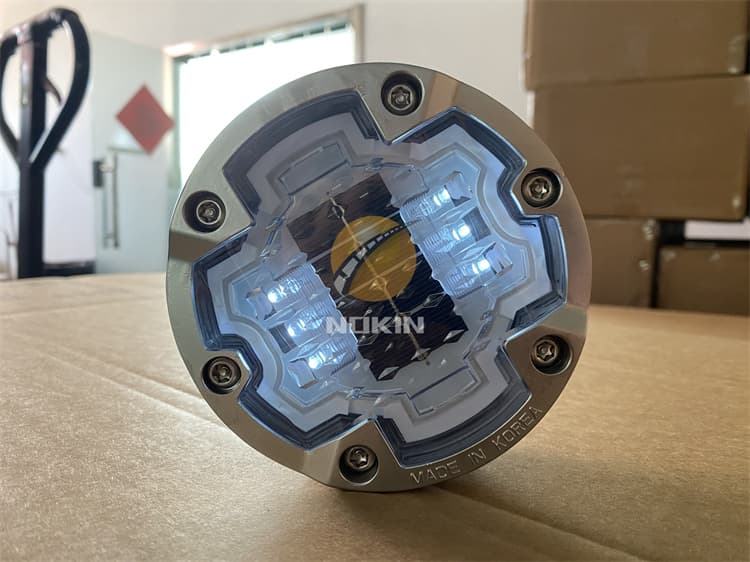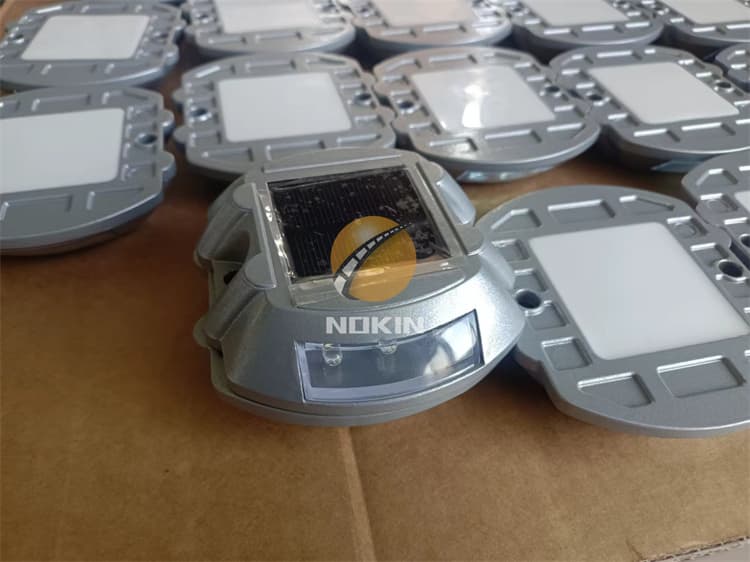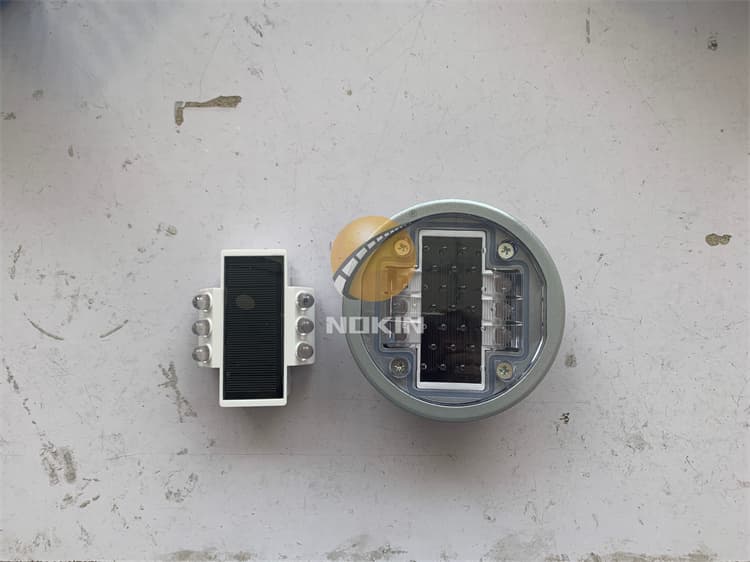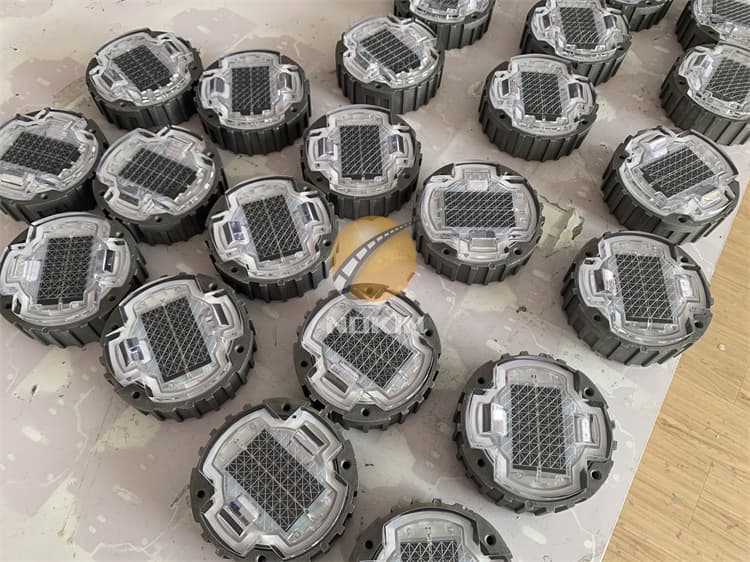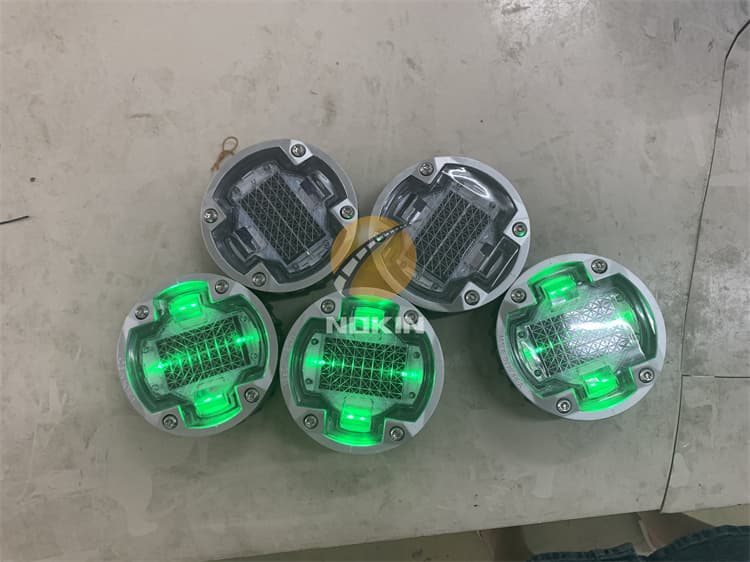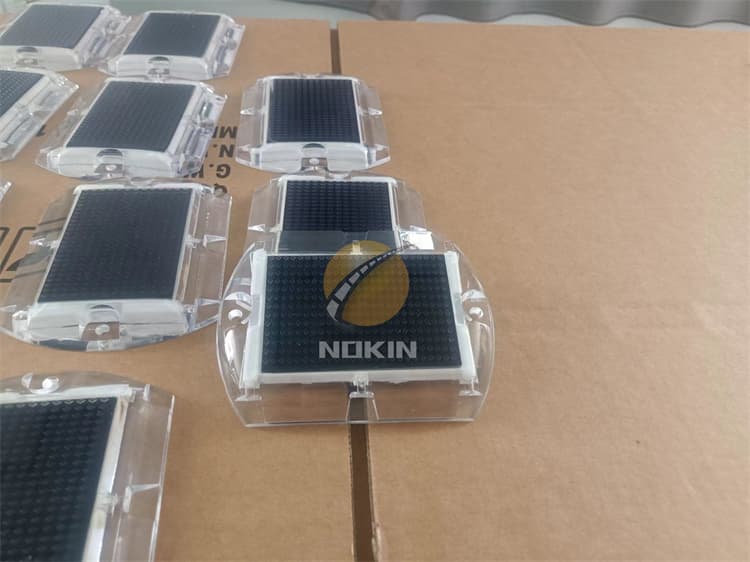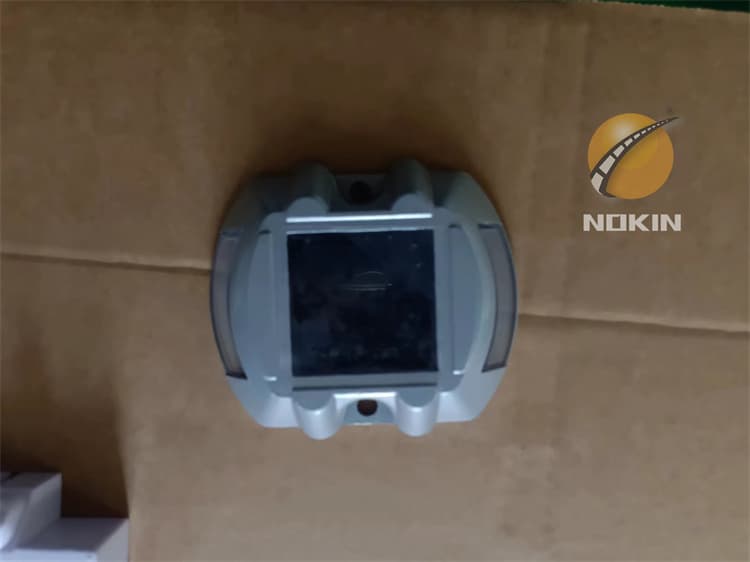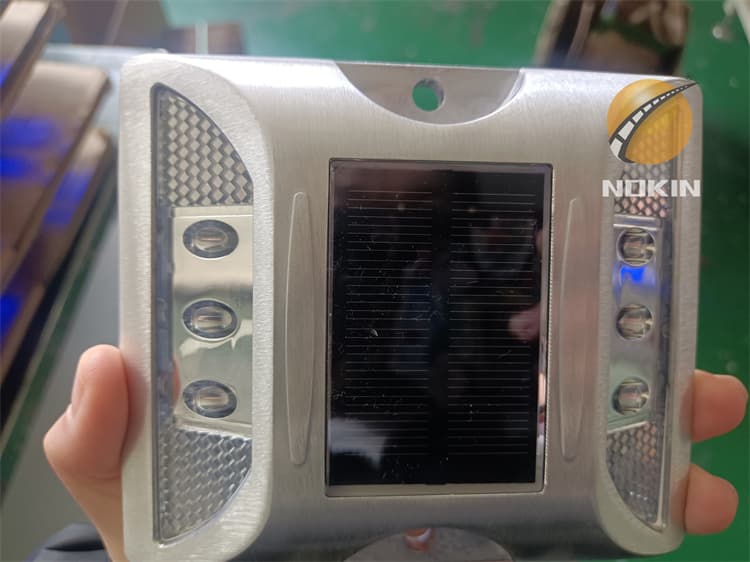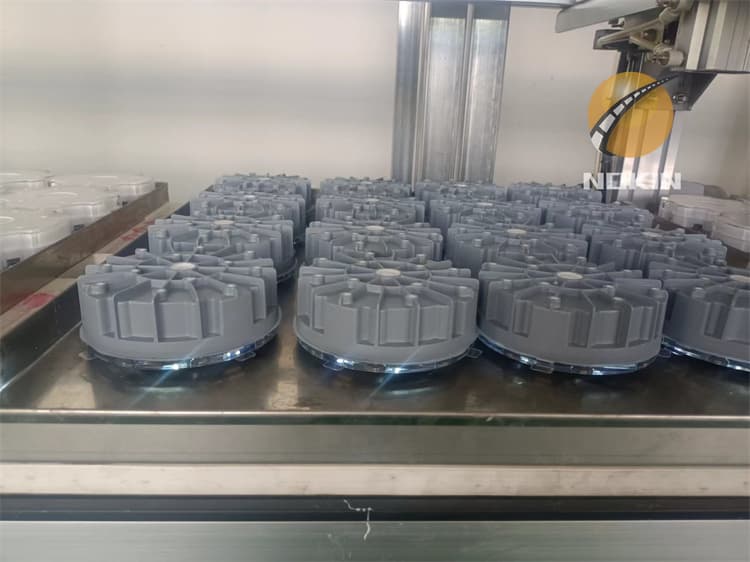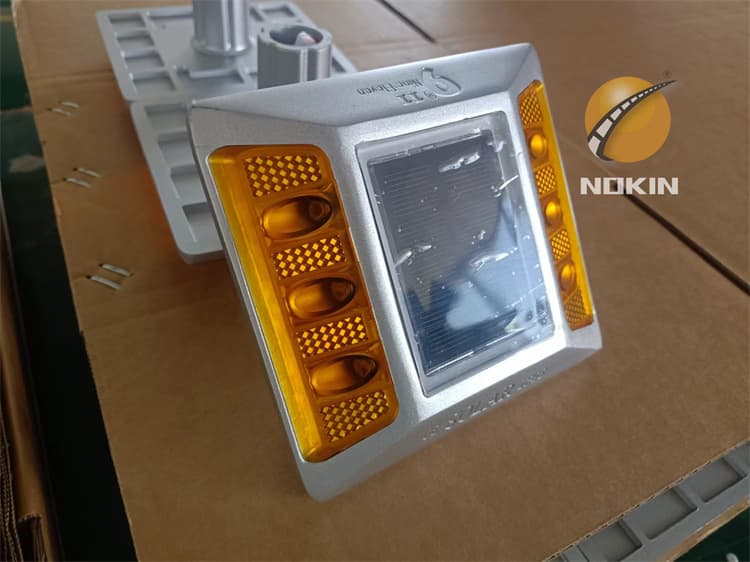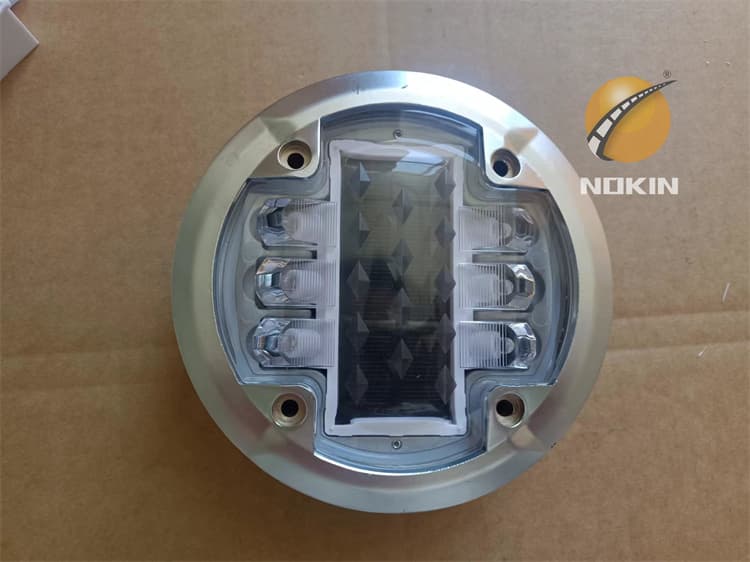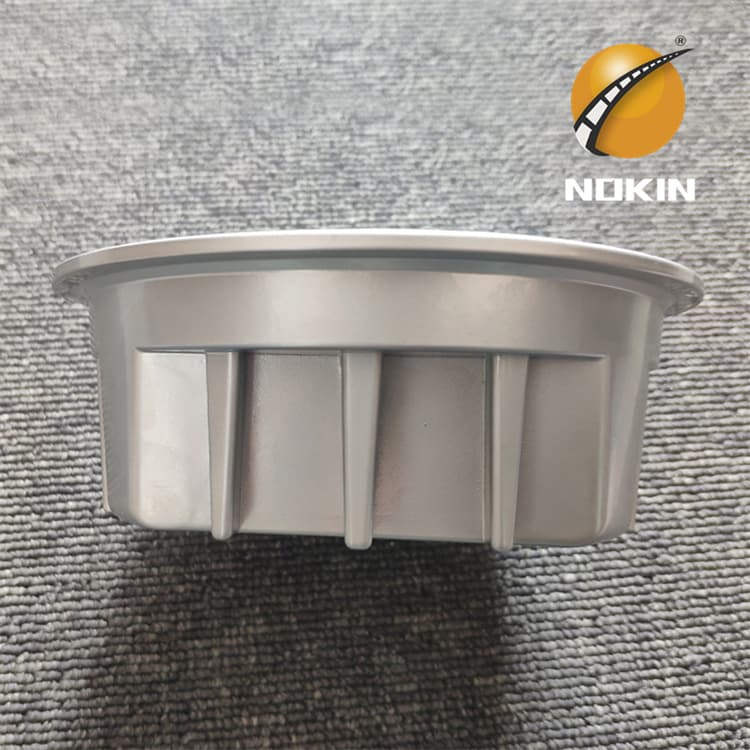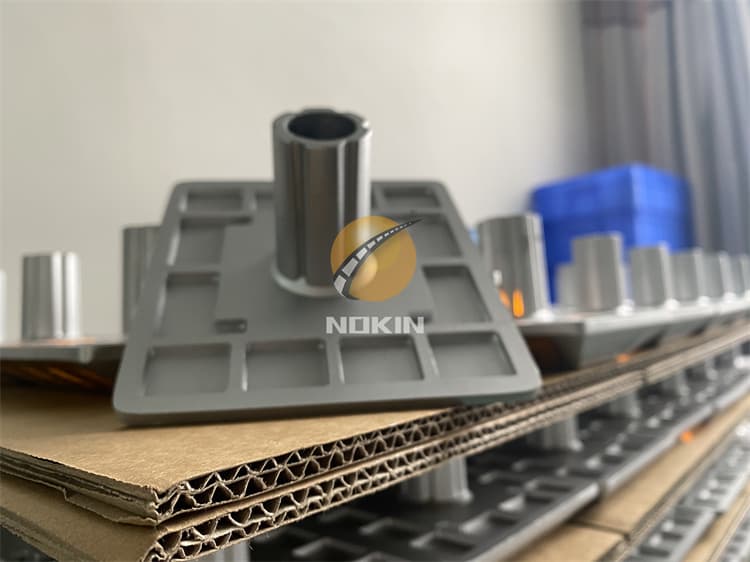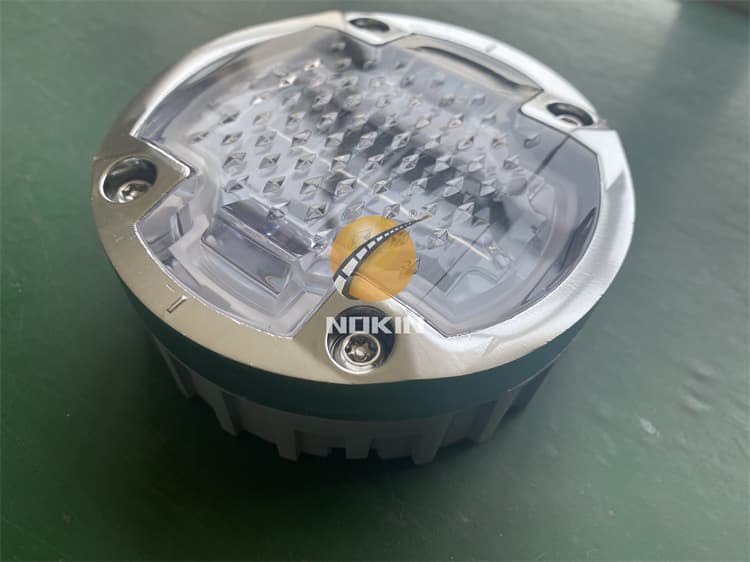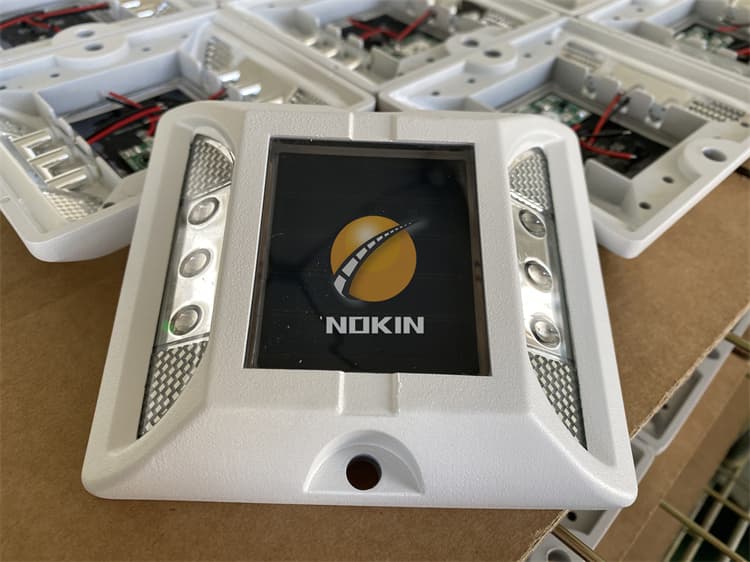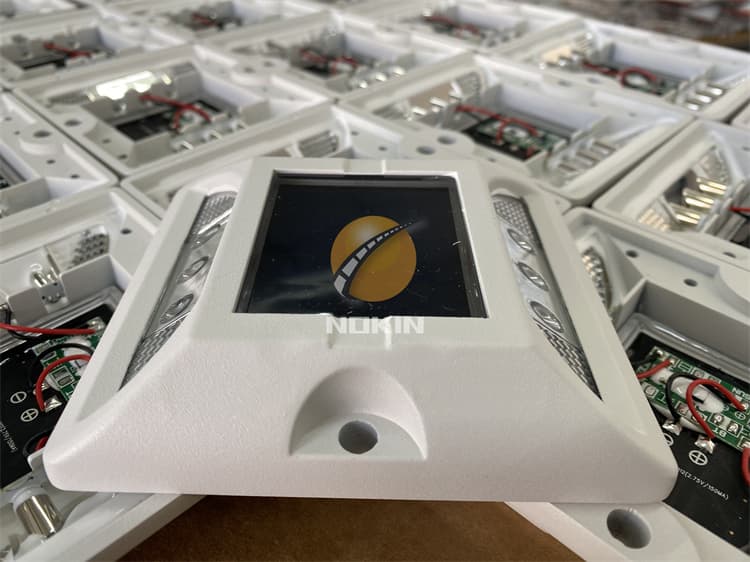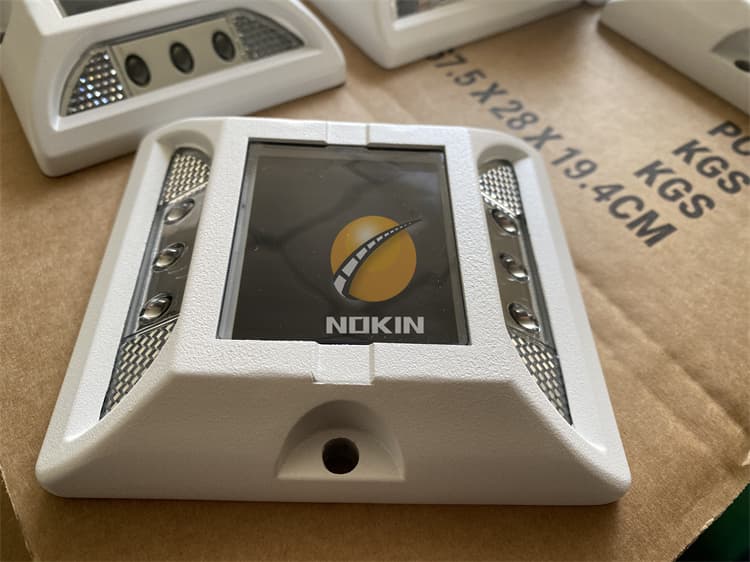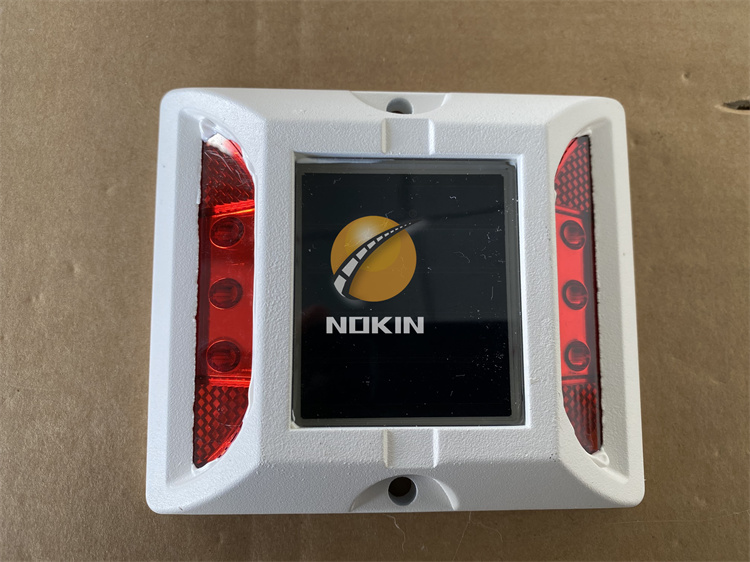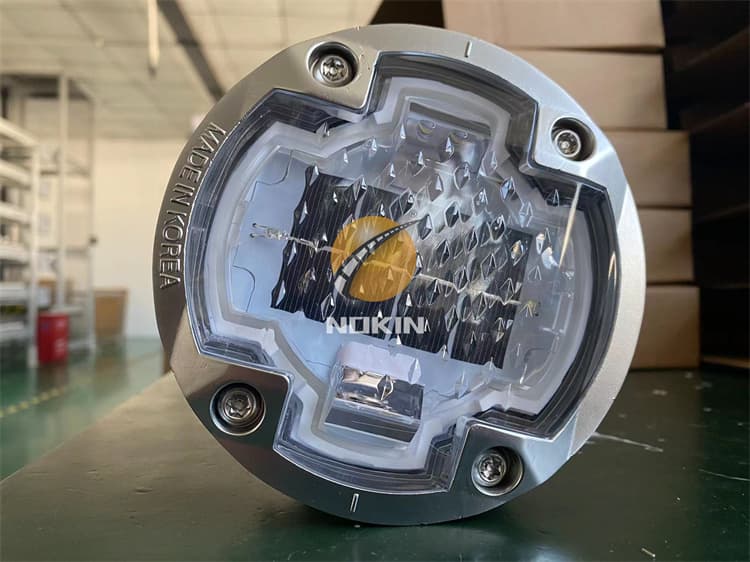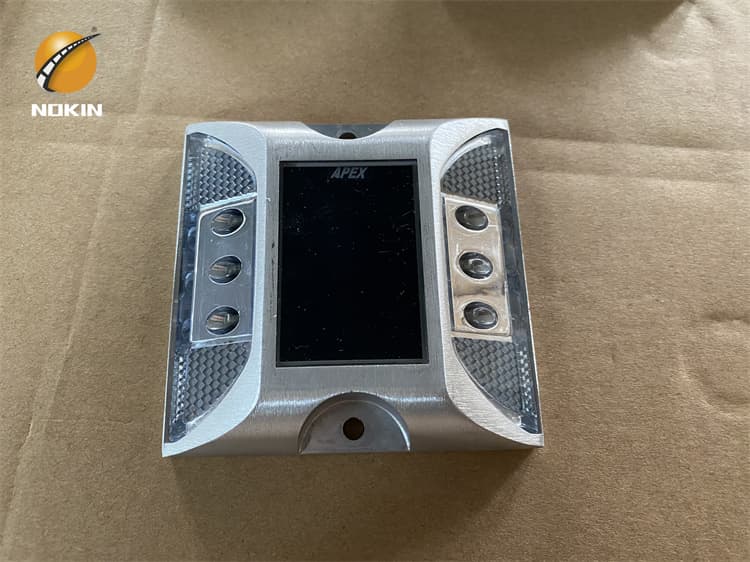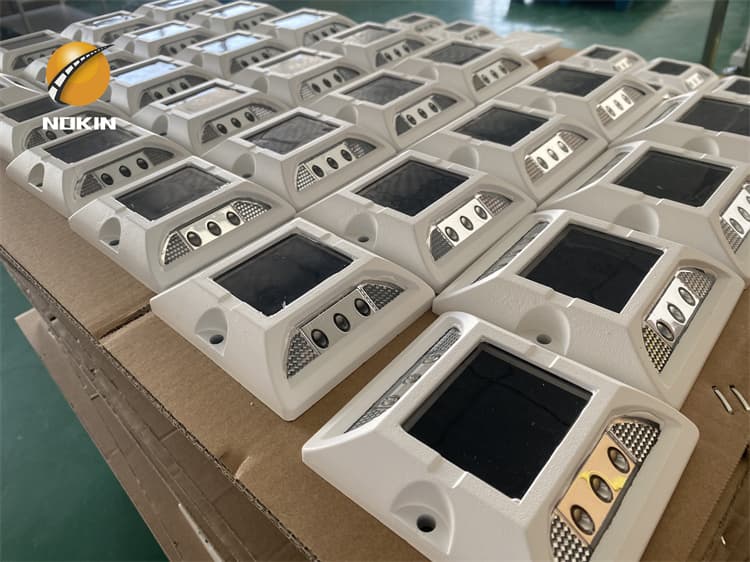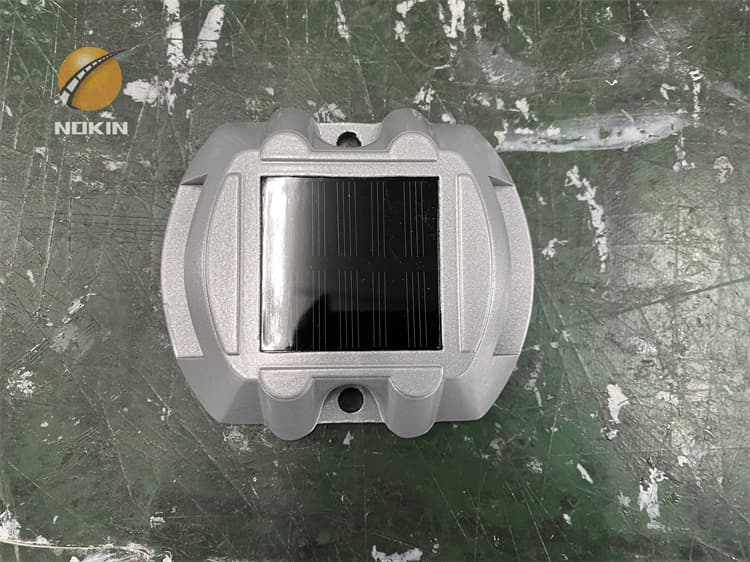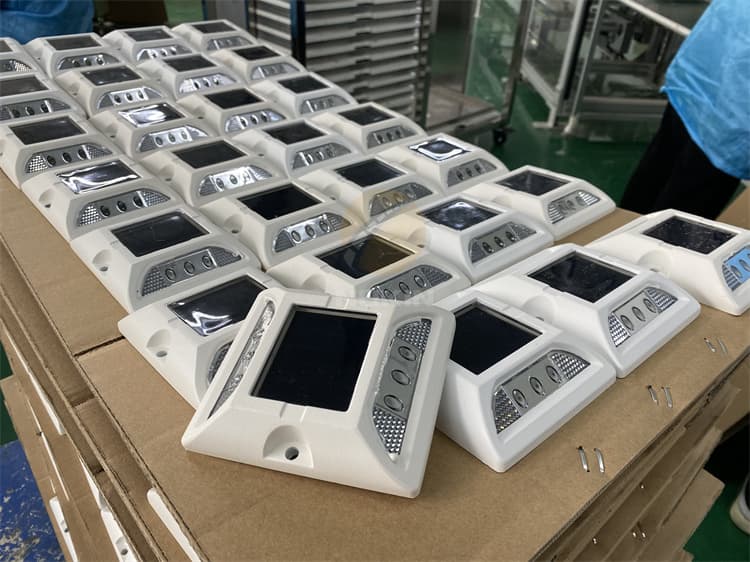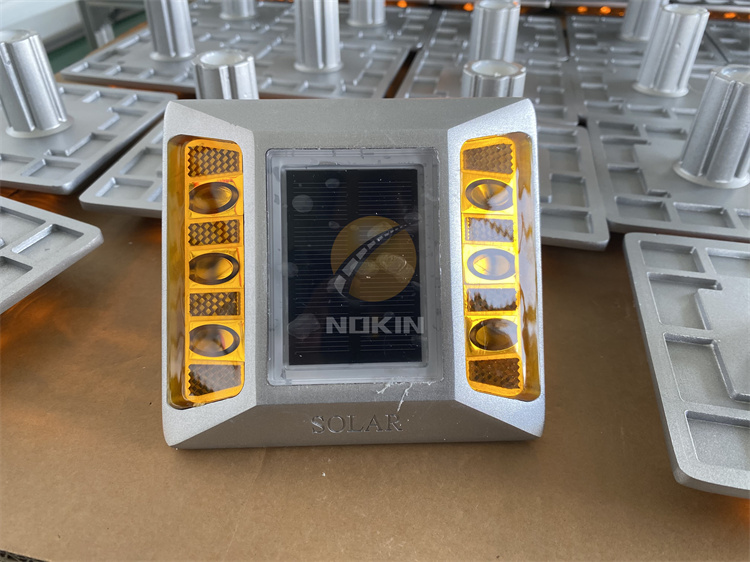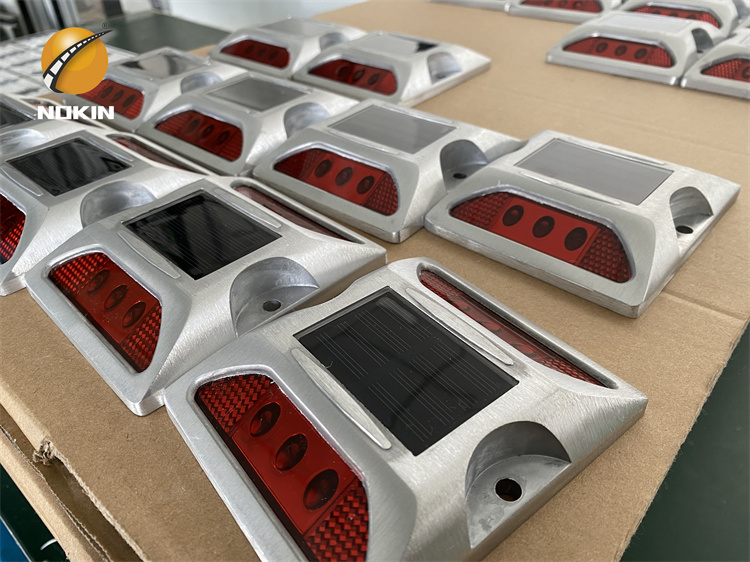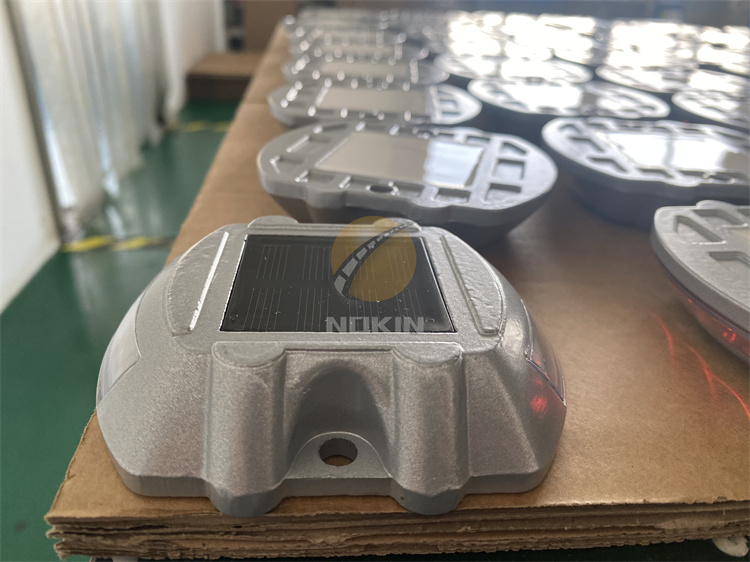
Hot Sale Led Aluminum Road Stud For Pedestrian
Proper installation is crucial for the effectiveness and longevity of solar road studs. By following this step-by-step guide and adhering to safety and quality standards, you can ensure that these studs serve their purpose in enhancing road safety and visibility.
Send Inquiry
Quote Online
Share:
Content
The installation of solar road studs is a critical aspect of enhancing road safety and visibility, especially during nighttime hours. Proper installation ensures these studs function effectively. In this article, we provide a step-by-step guide to help you correctly install solar road studs on your roads or highways.
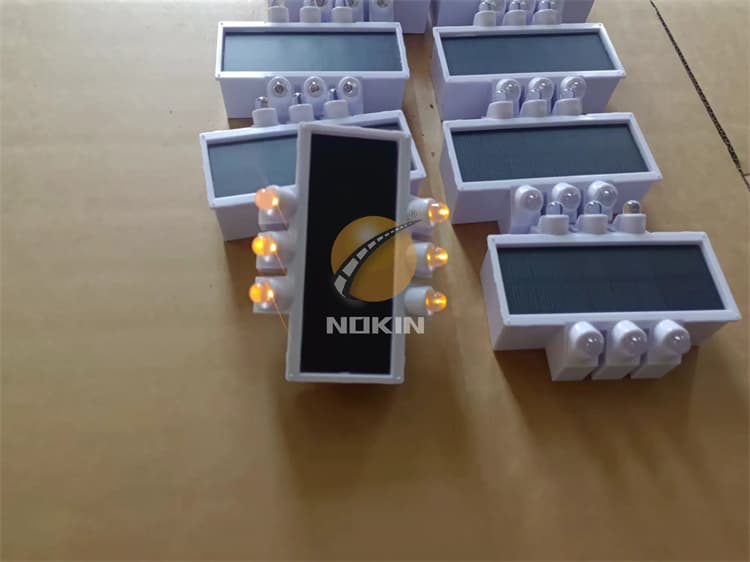
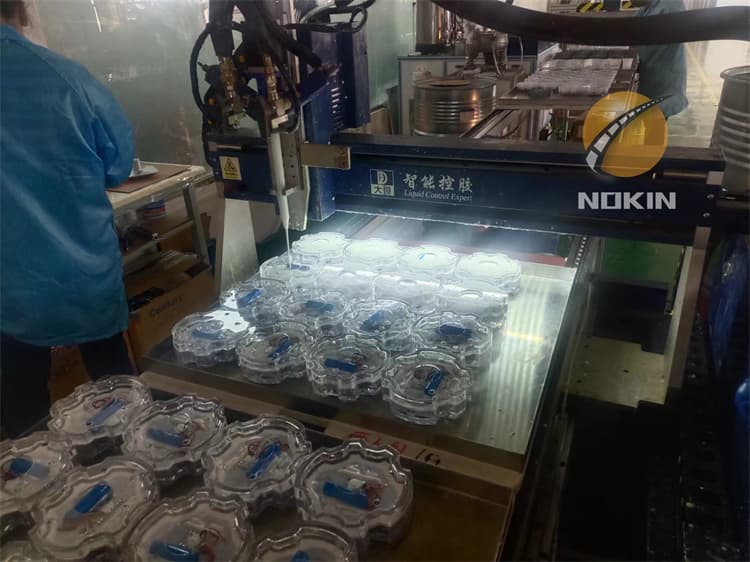
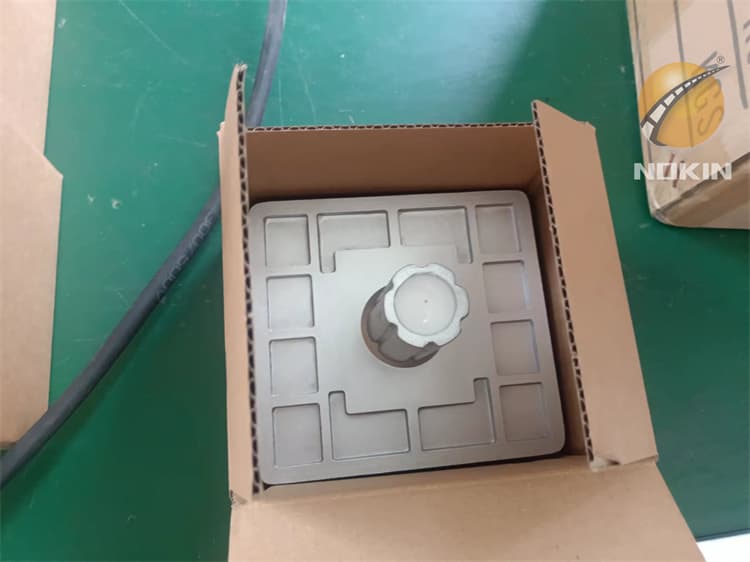
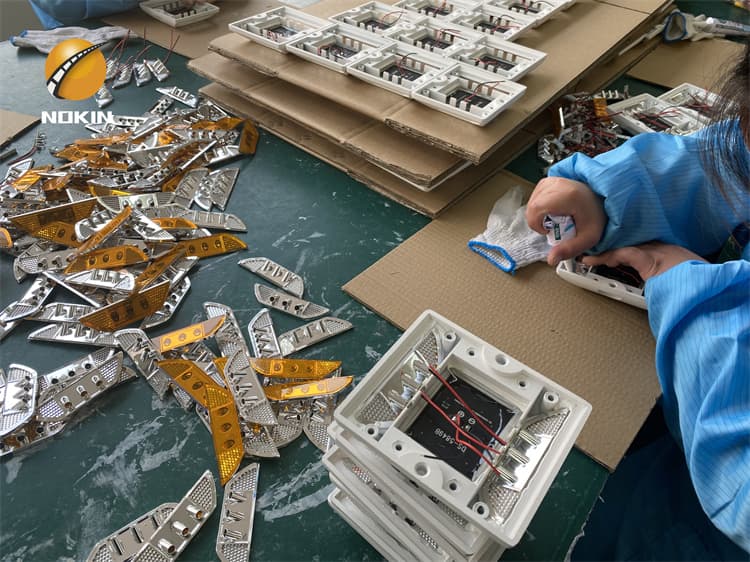
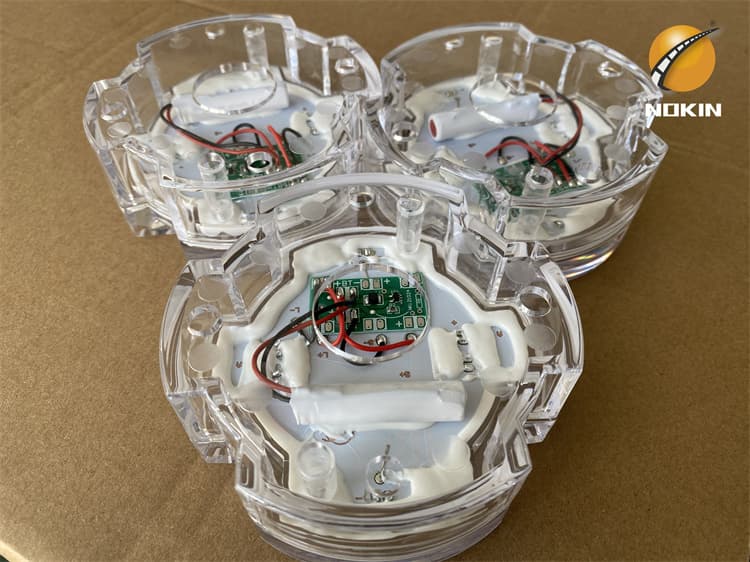
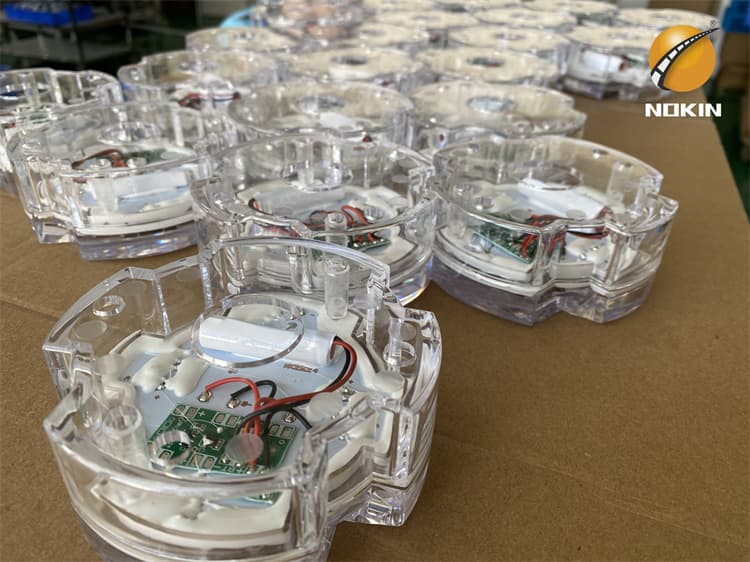
1. Gather the Necessary Equipment: Before you begin, ensure you have all the necessary equipment and materials, including solar road stud lights, mounting adhesive, a drill with a core bit, a caulking gun, and safety gear.
2. Plan the Installation Locations: Determine the precise locations where the solar road studs will be installed. Consider factors such as road layout, visibility requirements, and safety regulations.
3. Prepare the Installation Site: Clean the installation area thoroughly to remove any debris, dirt, or oil. This ensures a secure and lasting bond between the road surface and the road studs.
4. Mark the Installation Points: Use chalk or temporary markers to indicate where each solar road stud will be placed. This step helps ensure proper alignment and spacing.
5. Drill Holes: Using the drill with a core bit, create holes at the marked locations. The size of the holes should match the diameter of the solar road studs.
6. Apply Mounting Adhesive: Squeeze mounting adhesive into each hole, ensuring it fills the space completely. The adhesive provides a secure bond between the road stud and the road surface.
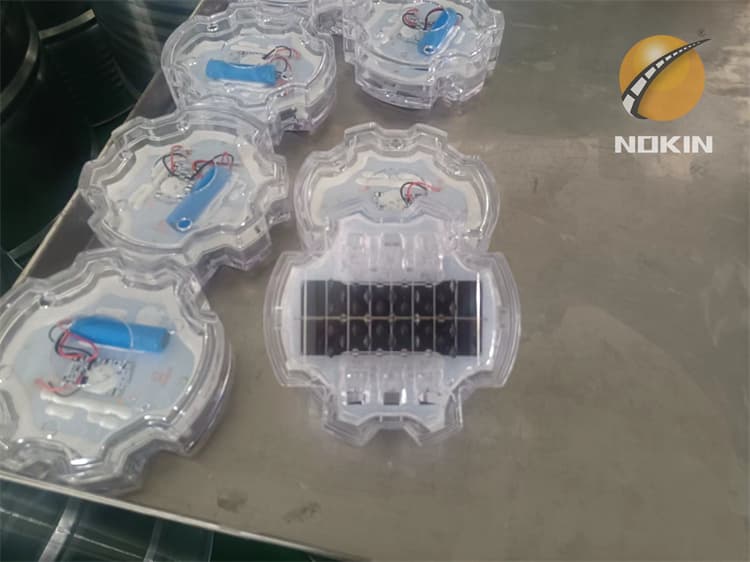
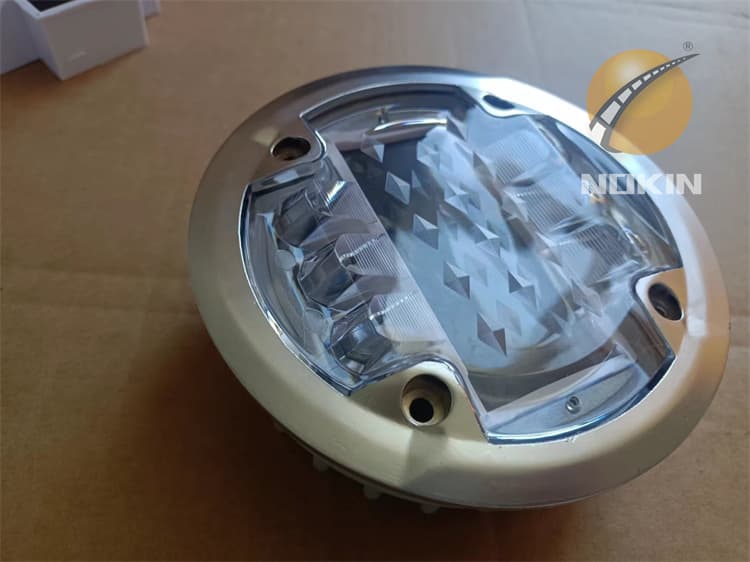
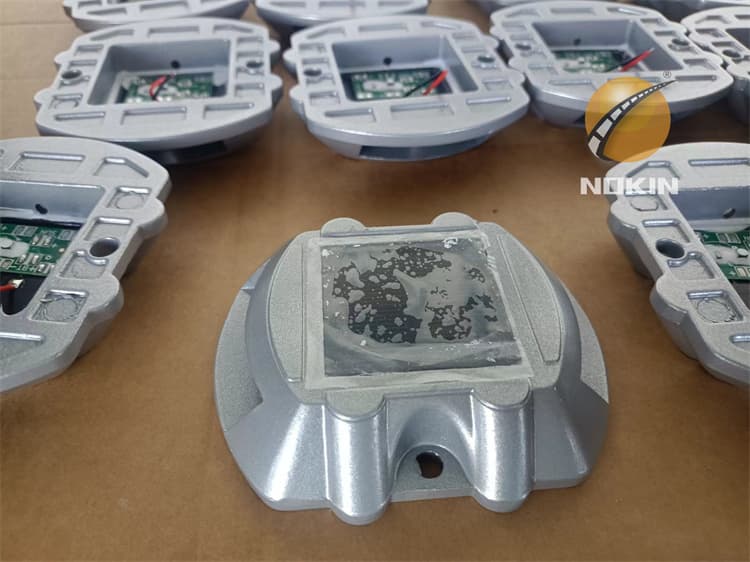
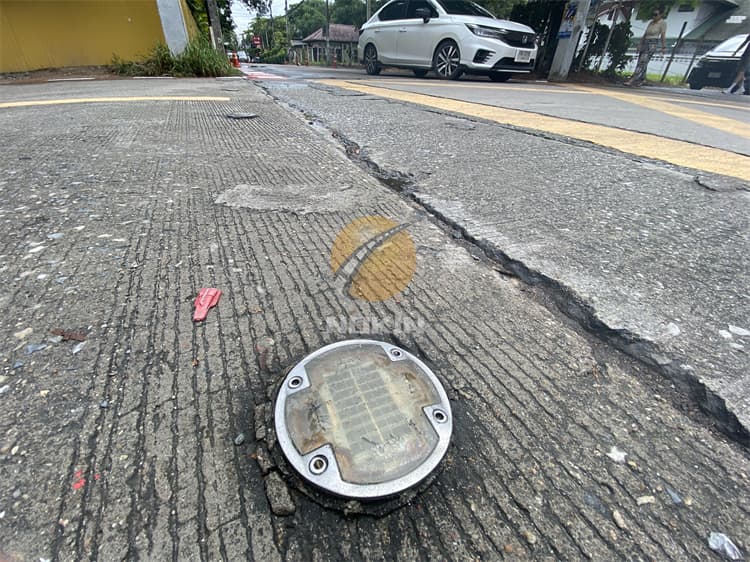
7. Insert the Solar Road Studs: Gently insert the solar-powered road studs into the holes filled with adhesive. Ensure that they are flush with the road surface and properly aligned.
8. Secure and Clean: Wipe away any excess adhesive and make sure the studs are firmly in place. Use caution to avoid displacing them during this process.
9. Allow Adhesive to Cure: The curing time for the adhesive may vary depending on the product. Follow the manufacturer’s instructions for the specific adhesive used.
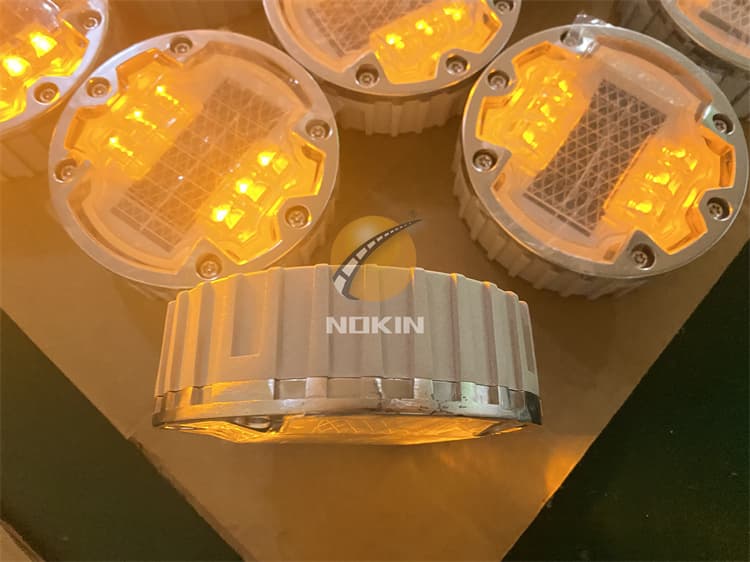
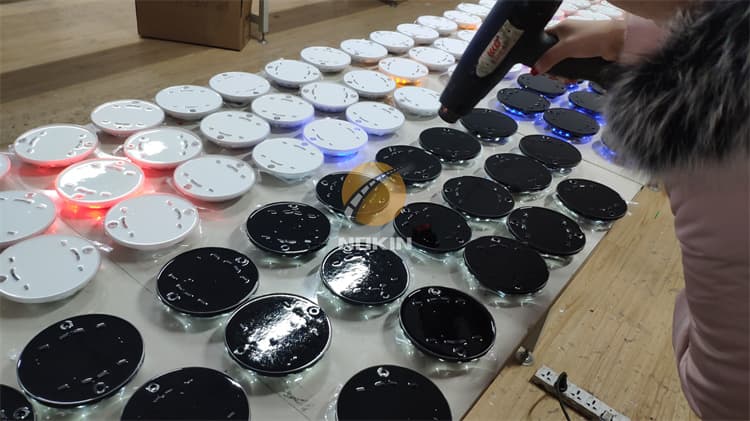
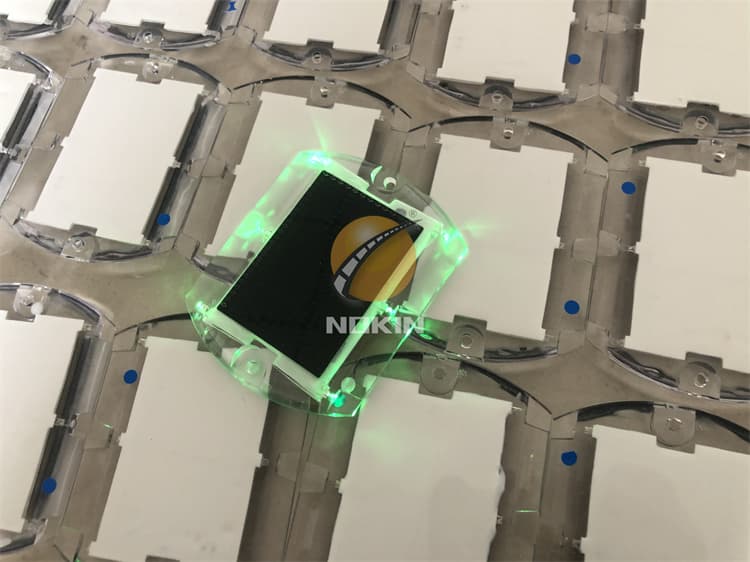
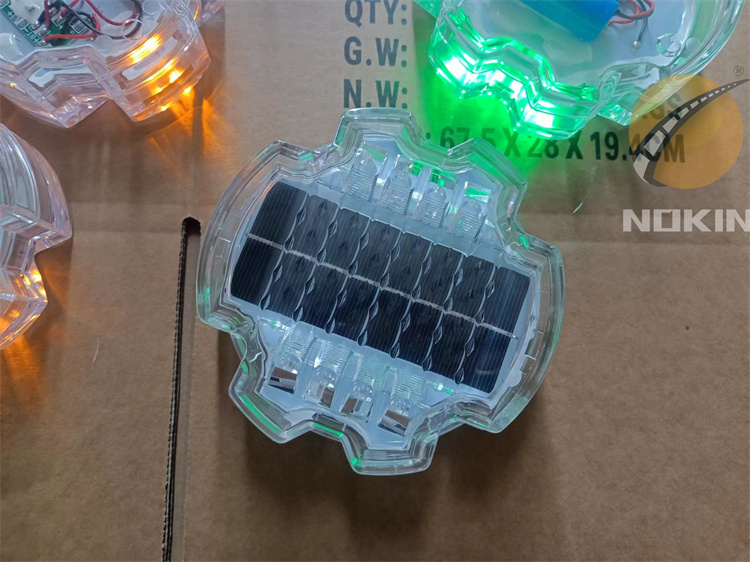
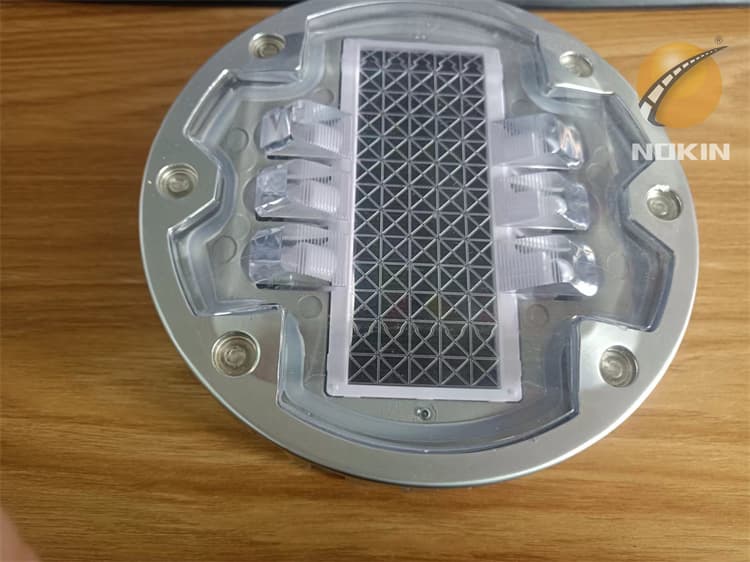
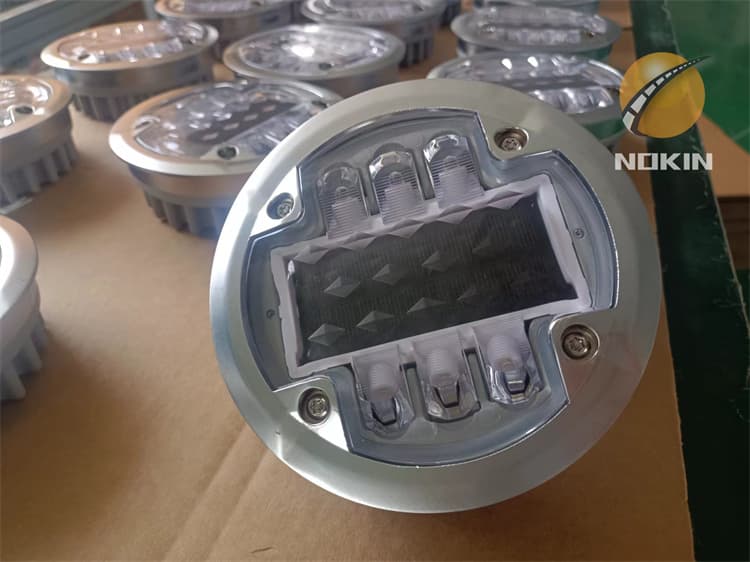
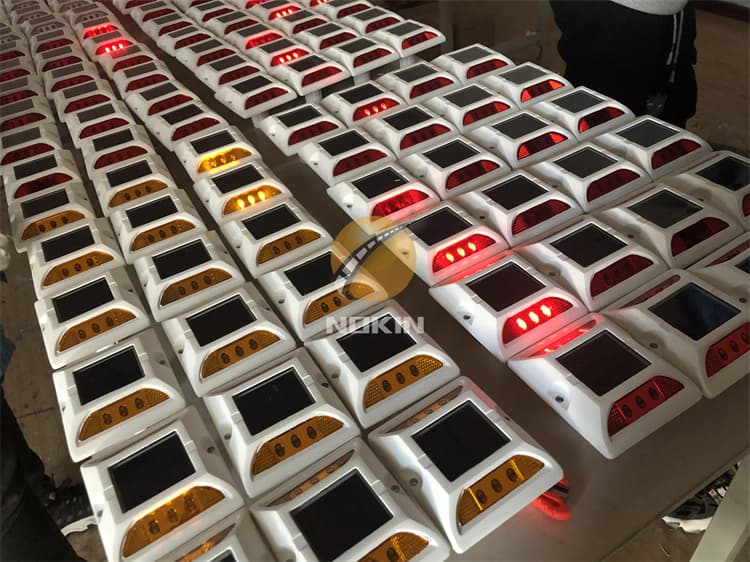
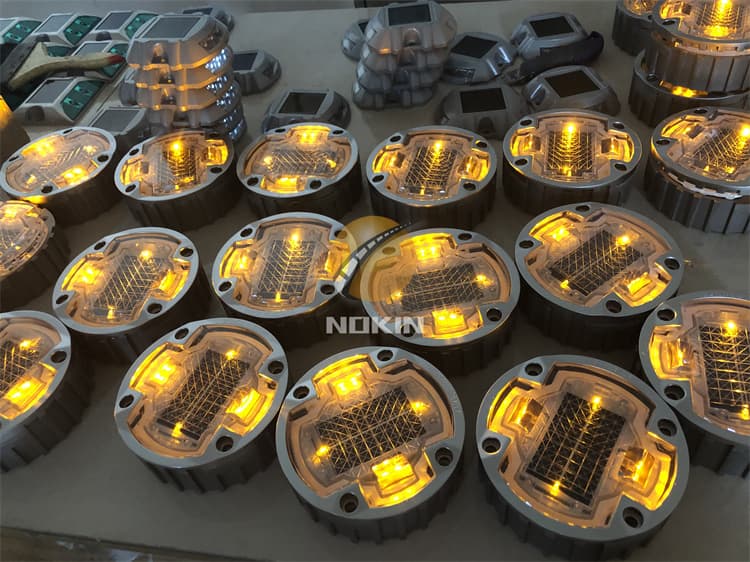
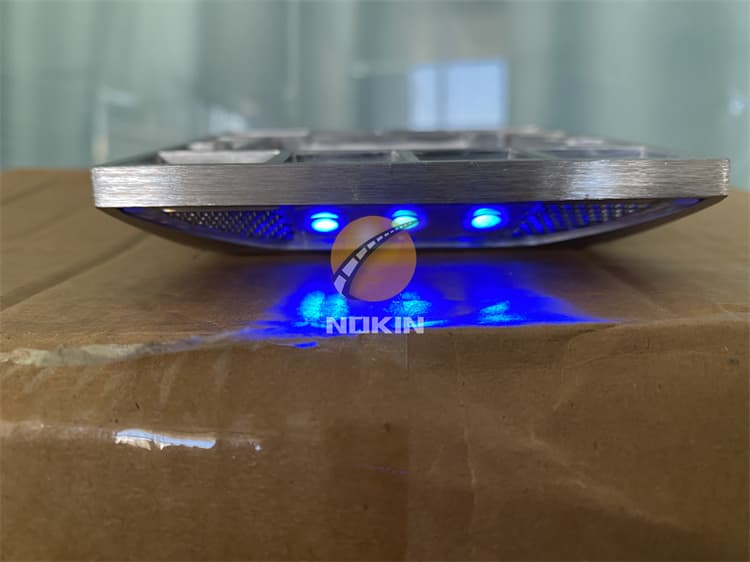
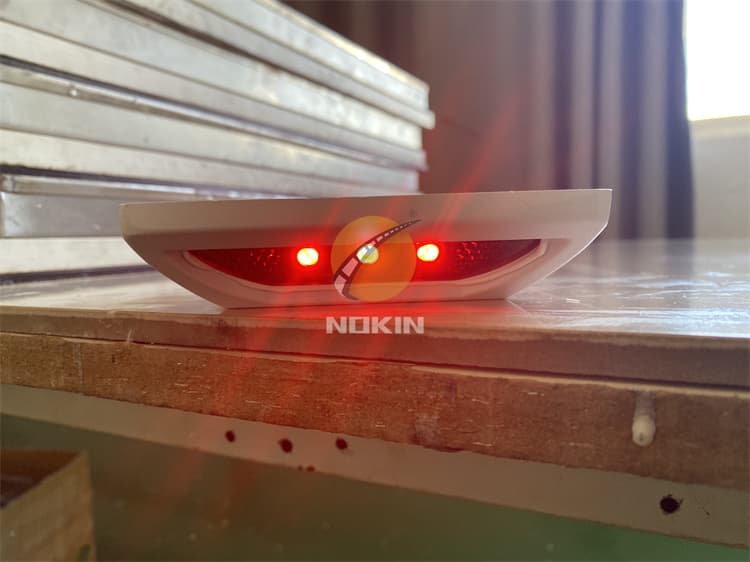
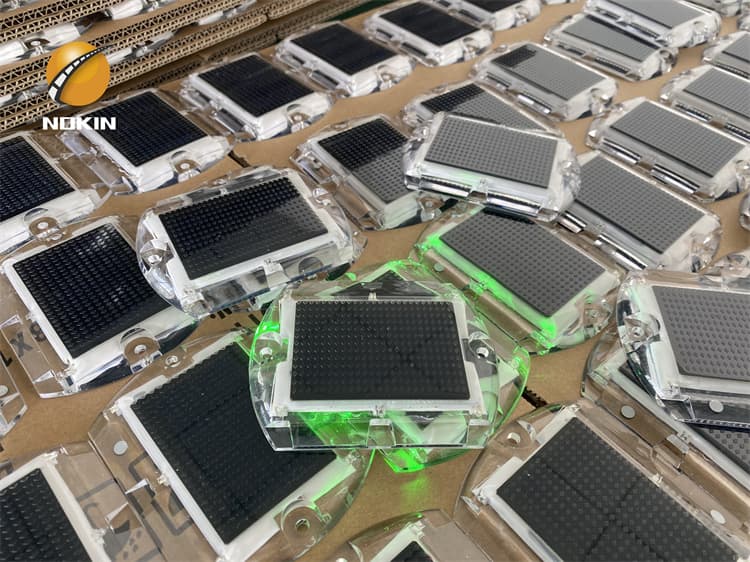
10. Test and Activate: After the adhesive has fully cured, test the solar LED road stud lights to ensure they are functioning correctly. Activate their solar panels to charge their batteries.
11. Conduct Regular Maintenance: Regularly inspect and clean the solar road studs to maintain their effectiveness. Replace any damaged studs promptly.
Proper installation is crucial for the effectiveness and longevity of solar road studs. By following this step-by-step guide and adhering to safety and quality standards, you can ensure that these studs serve their purpose in enhancing road safety and visibility.
Inquiry
More