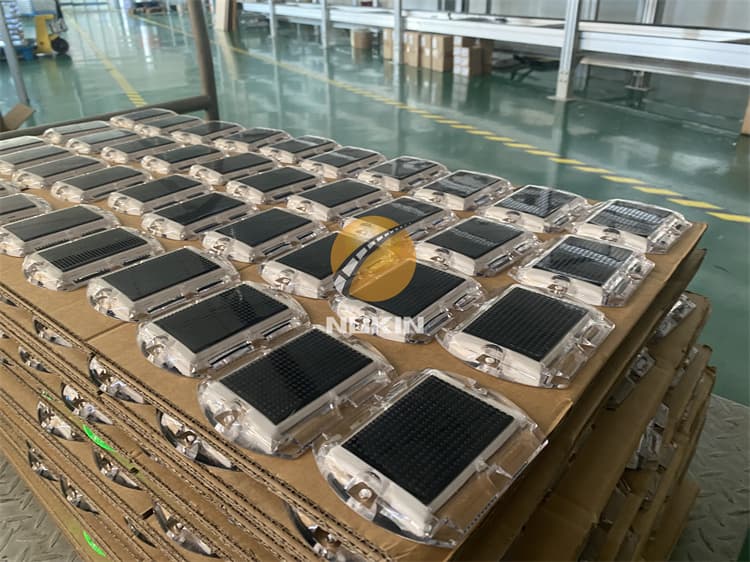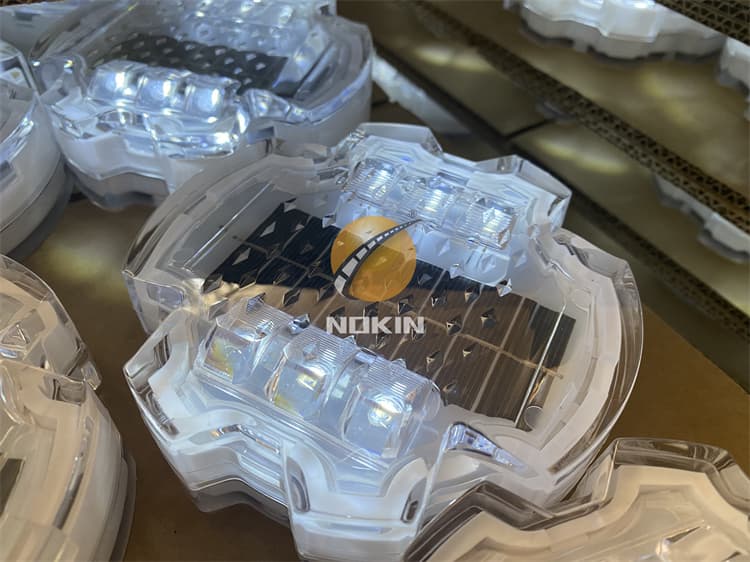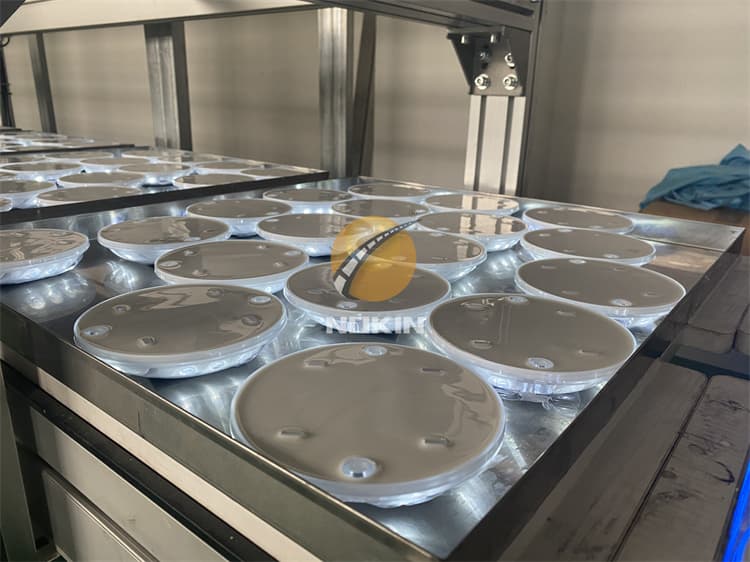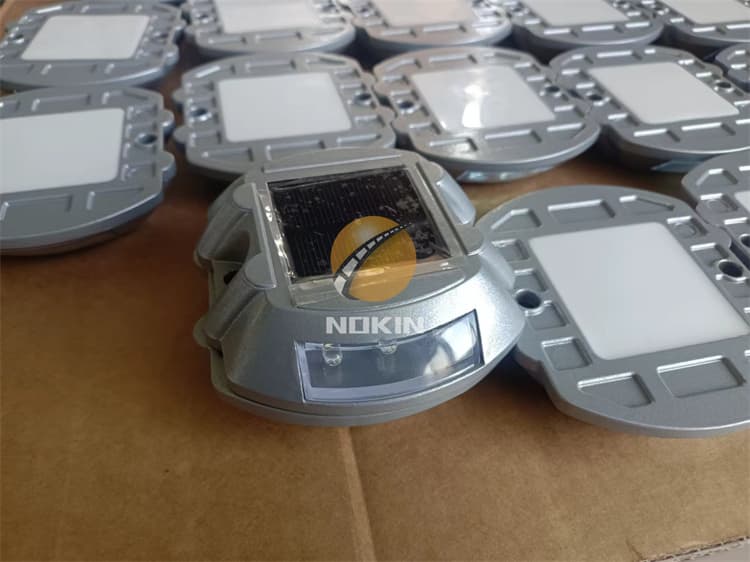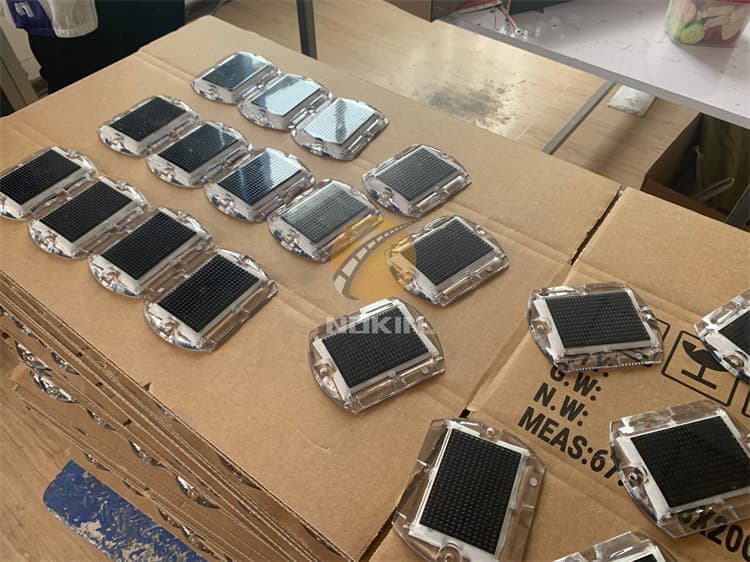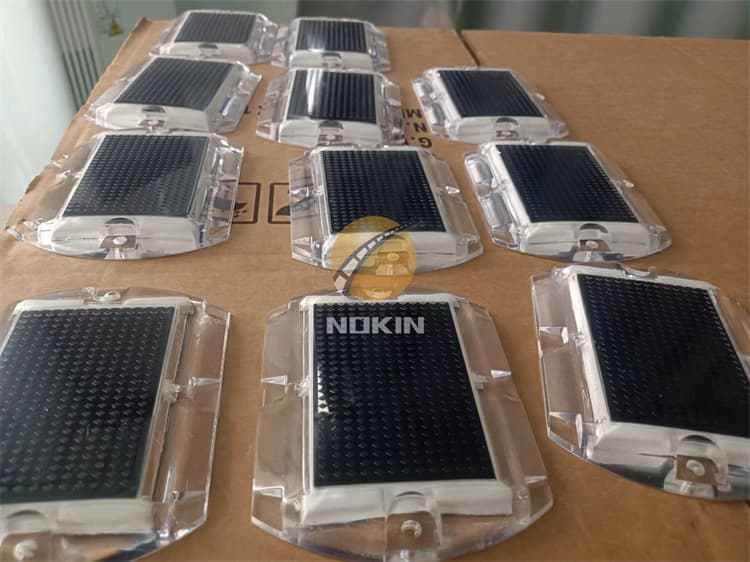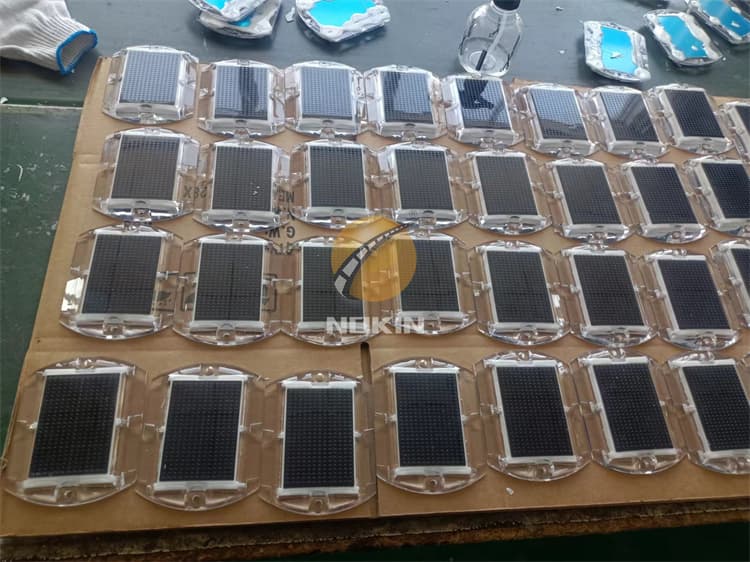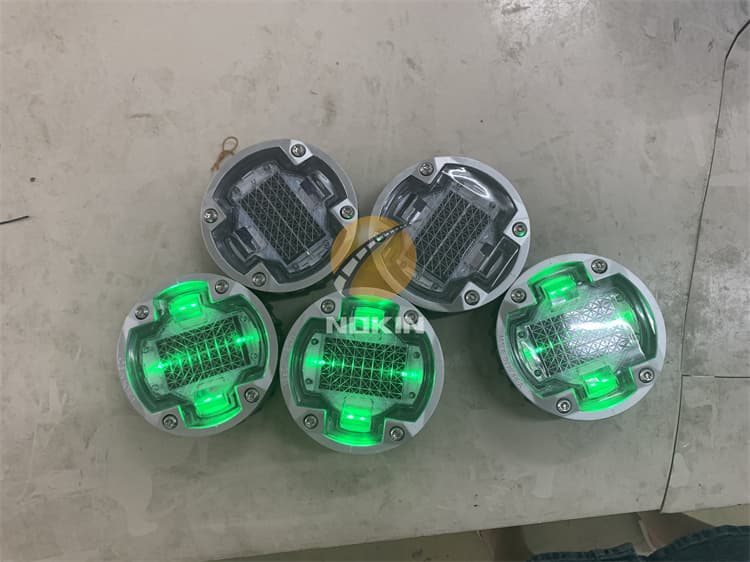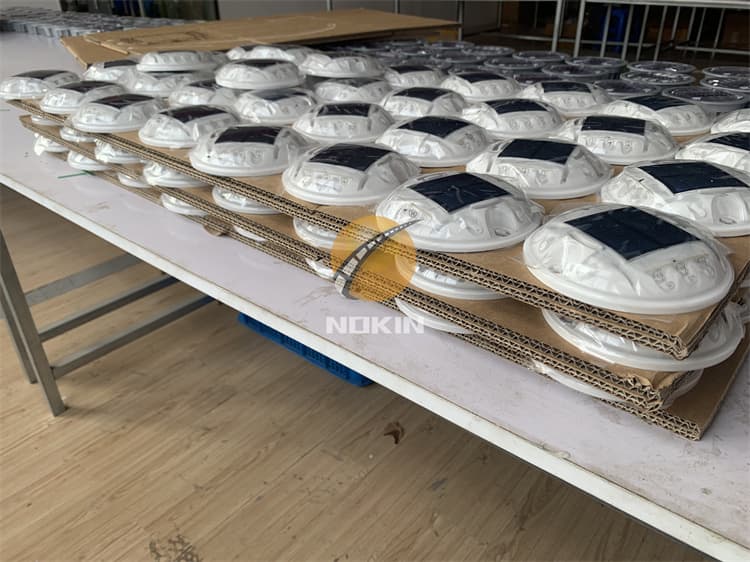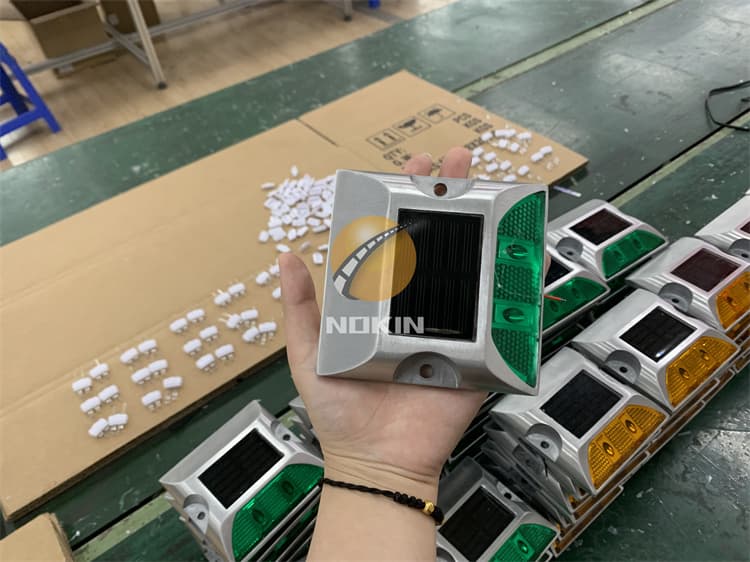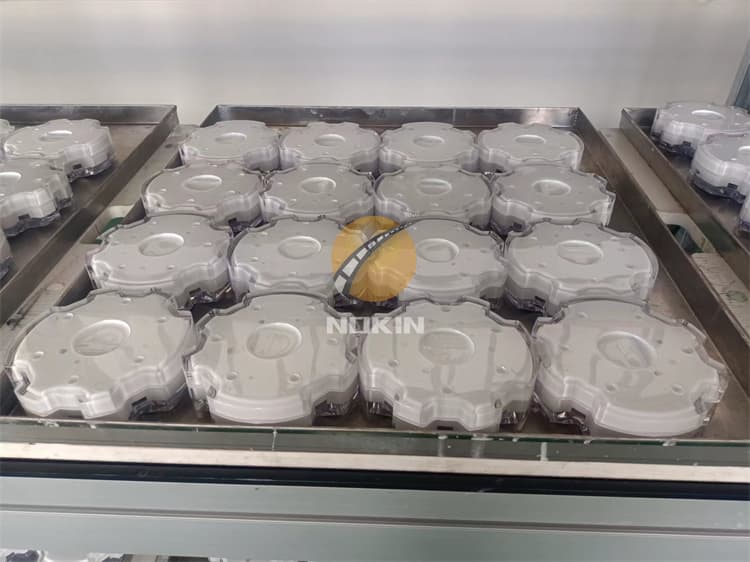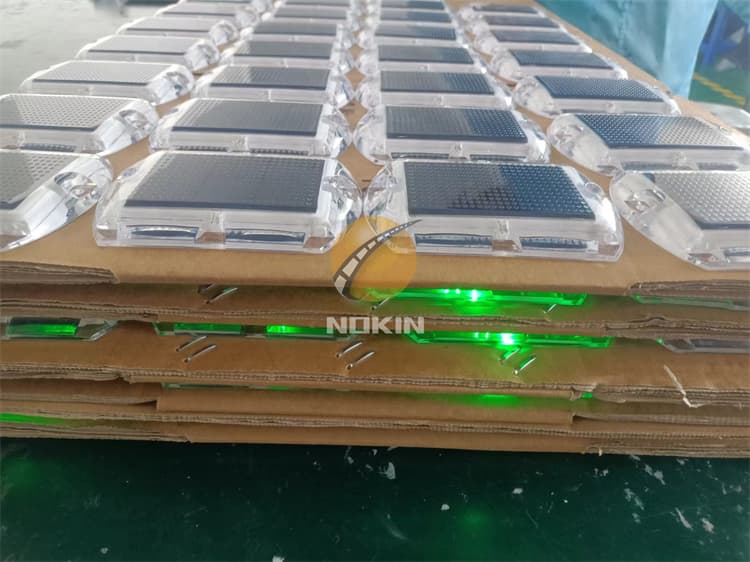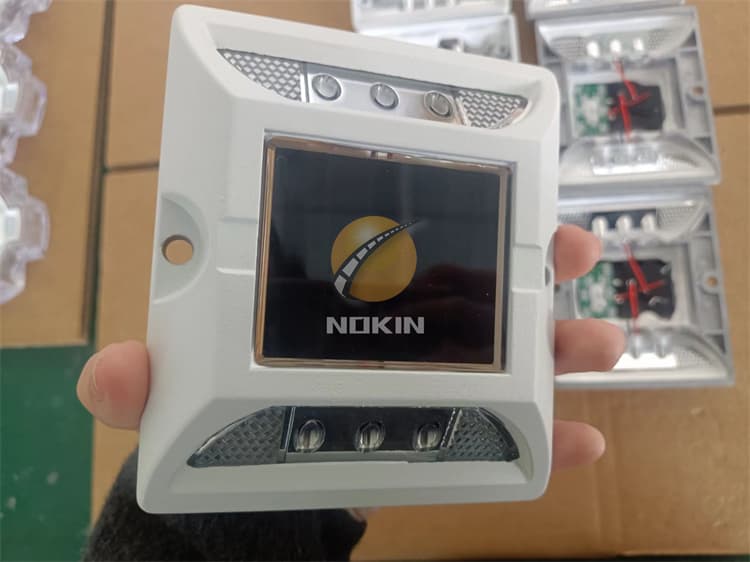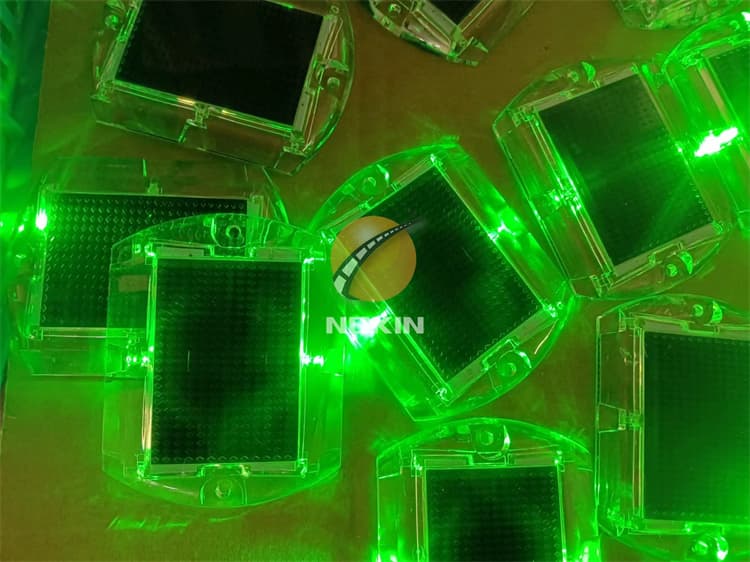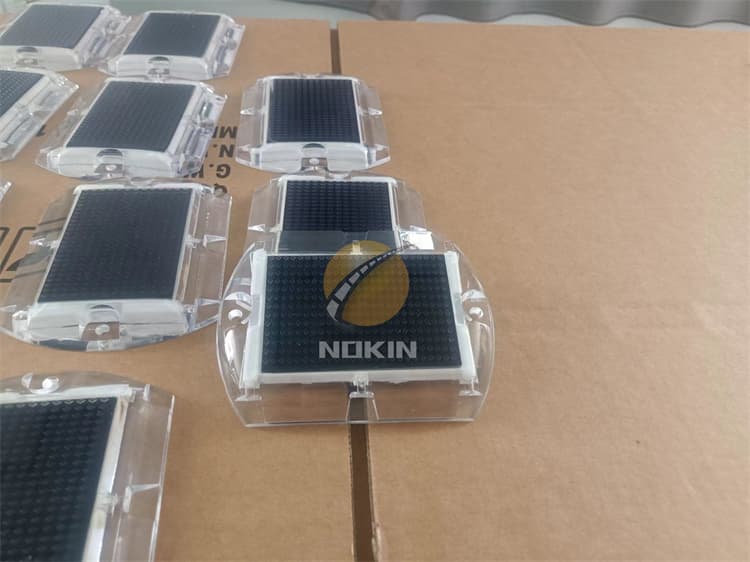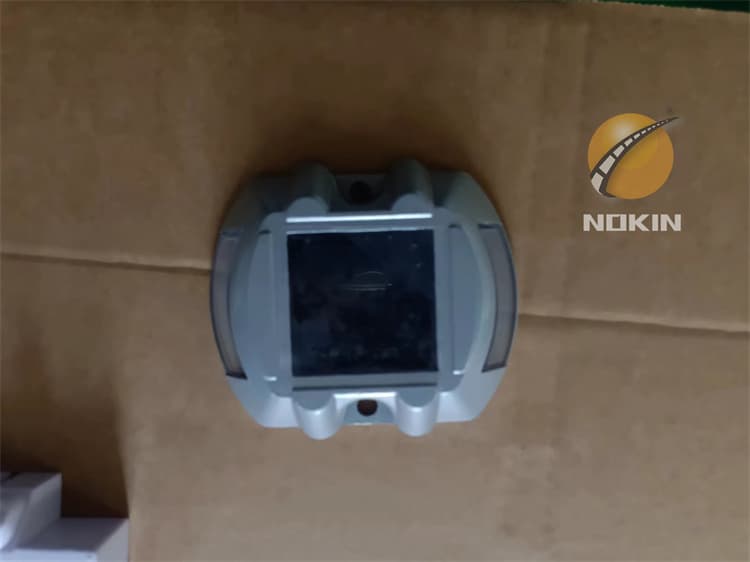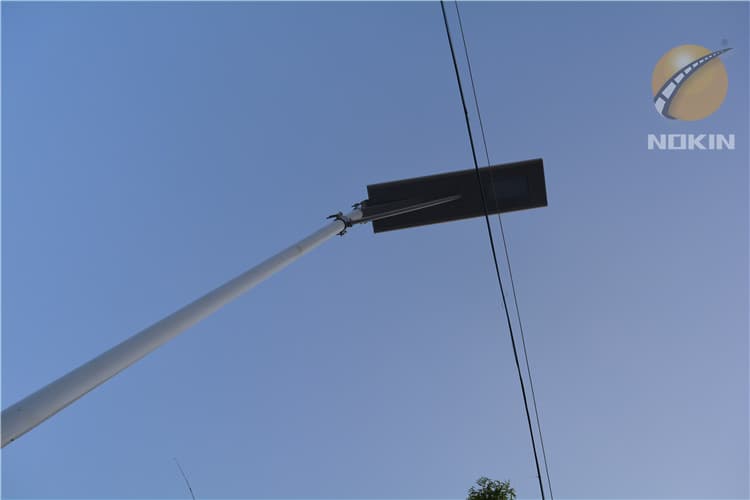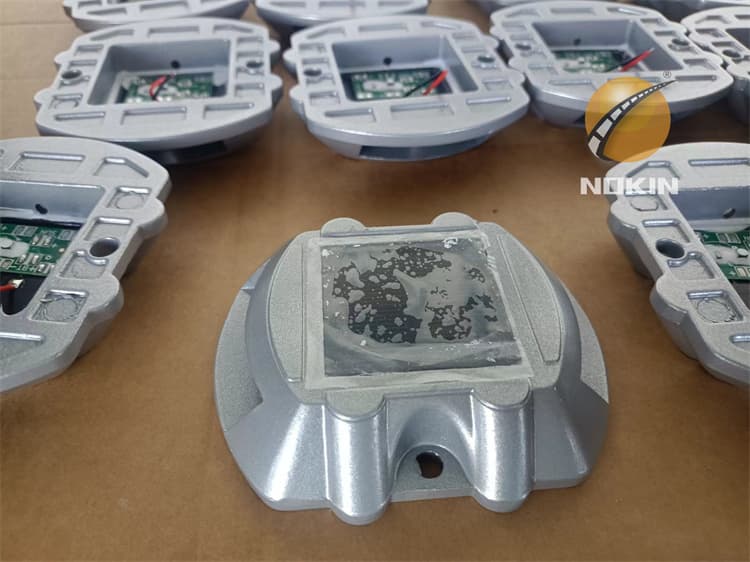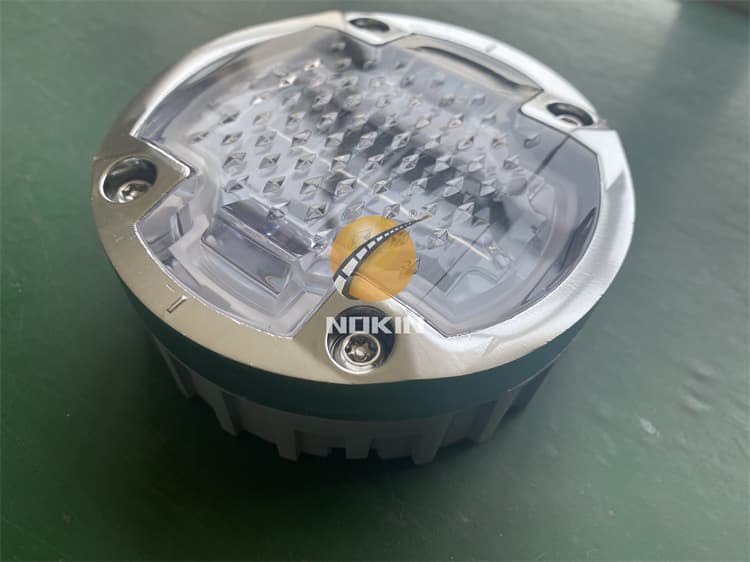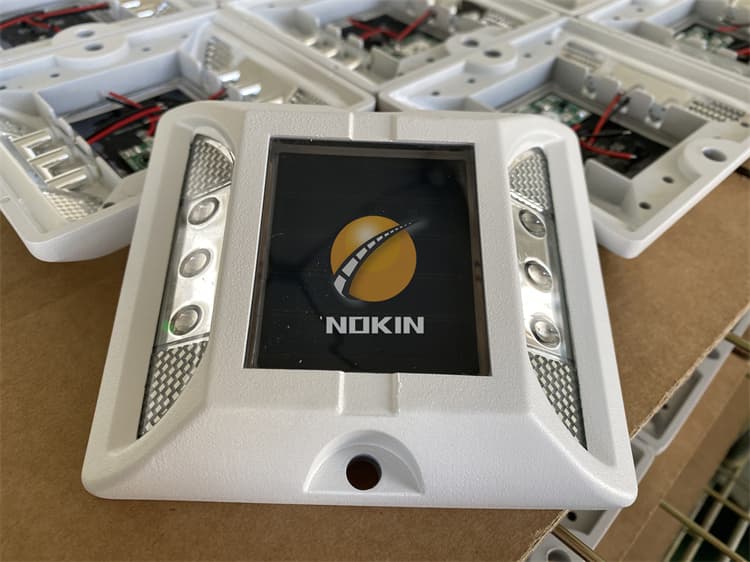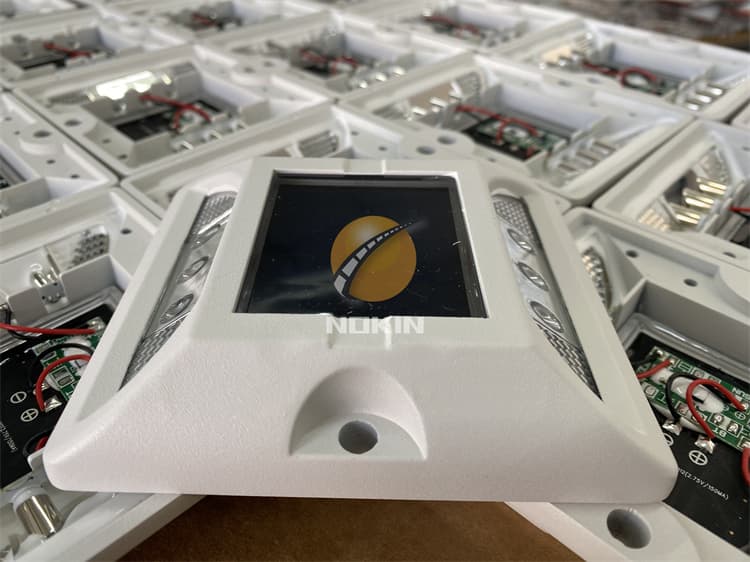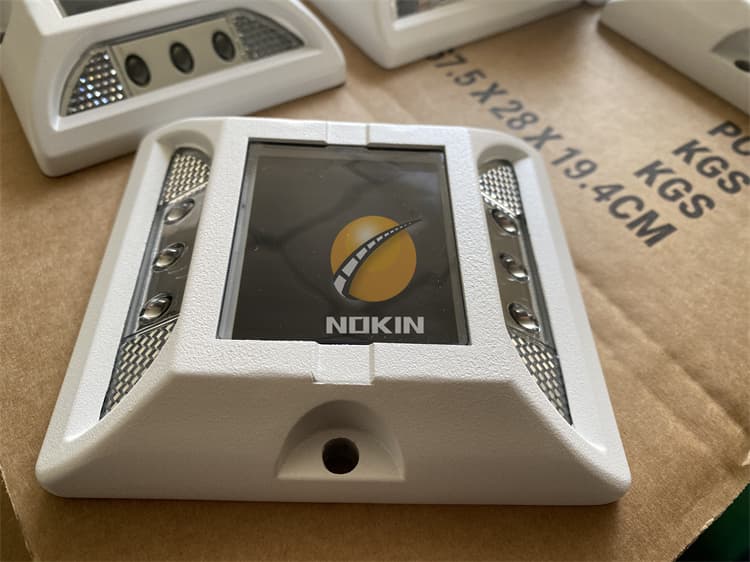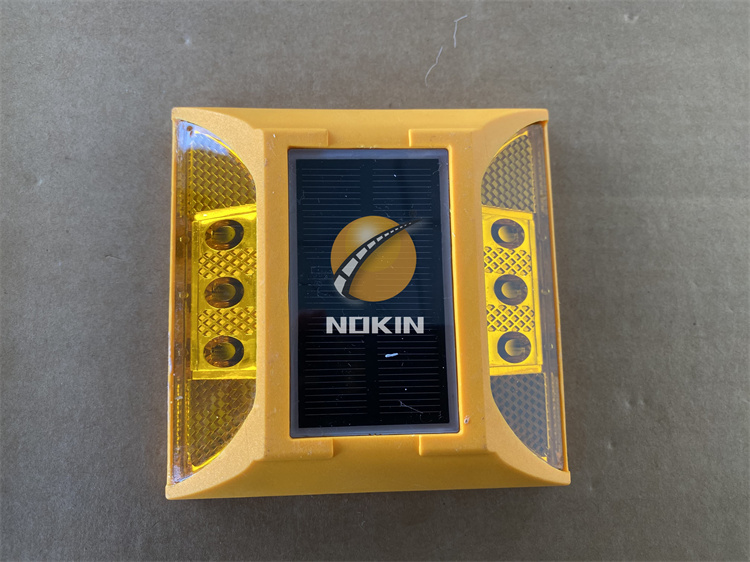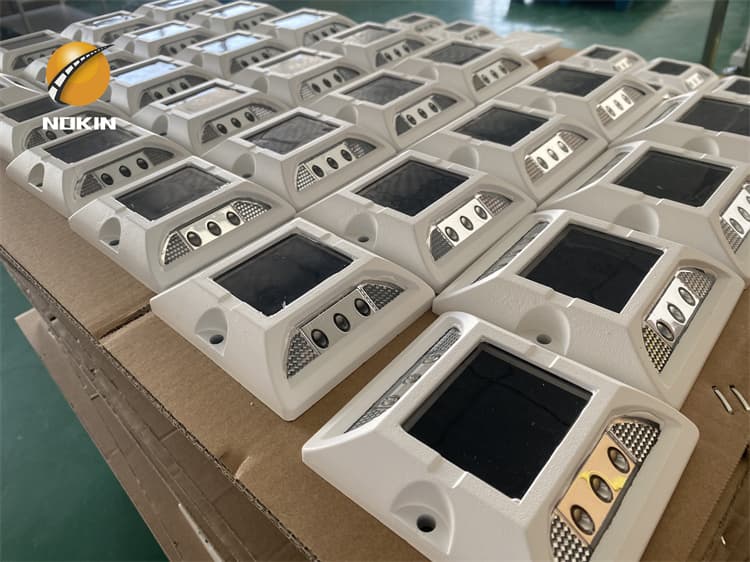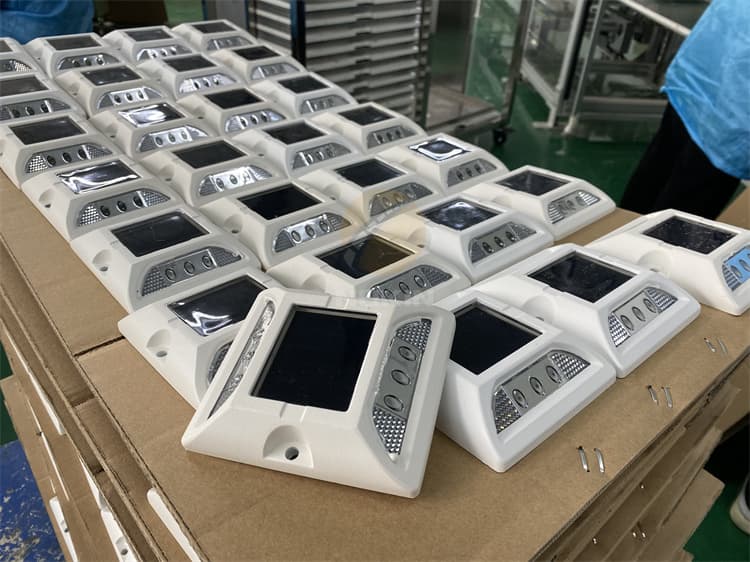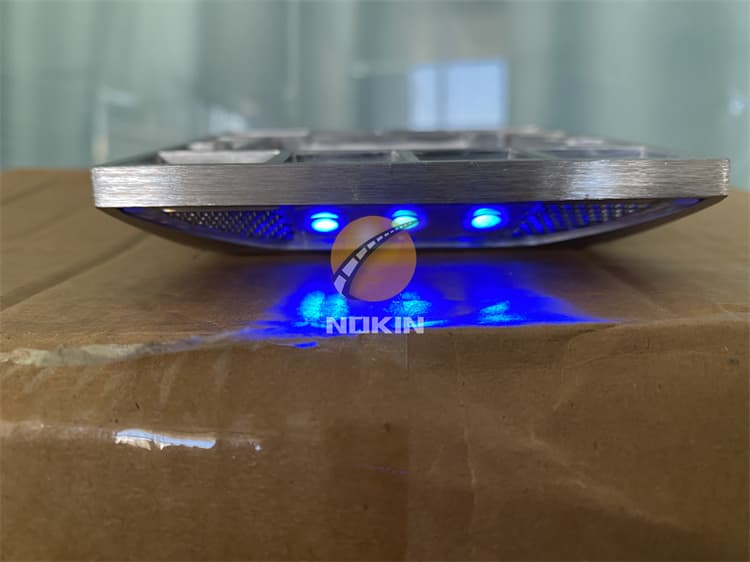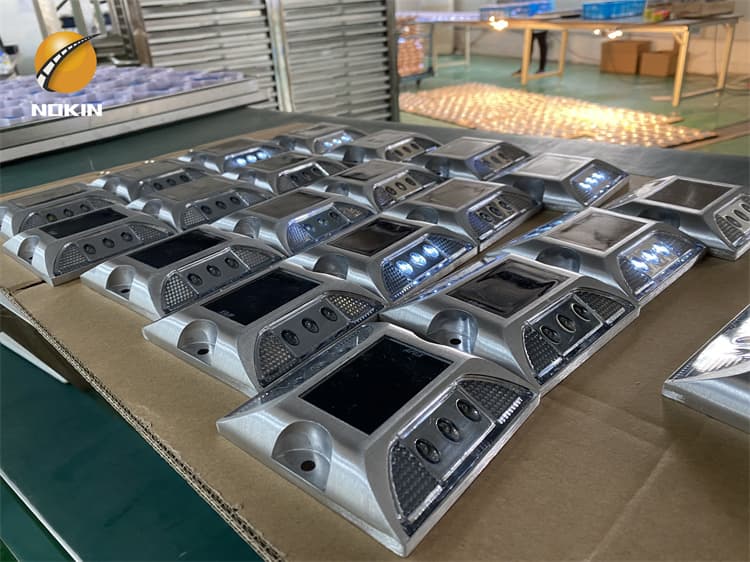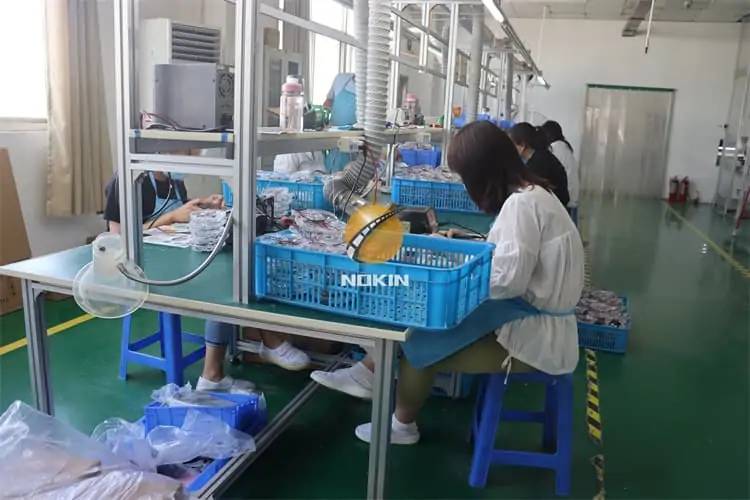
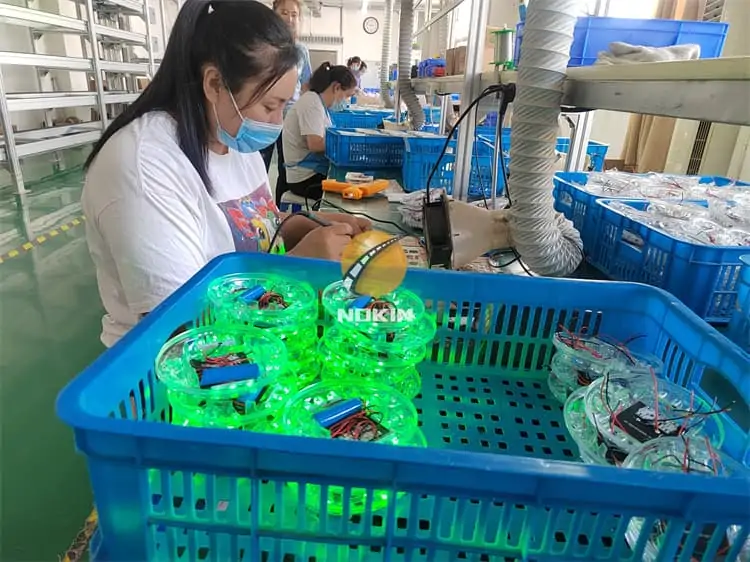
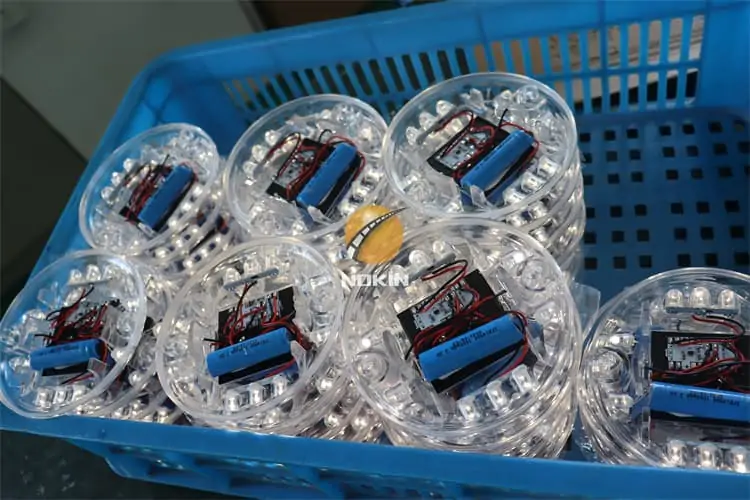
solar road stud for walkway
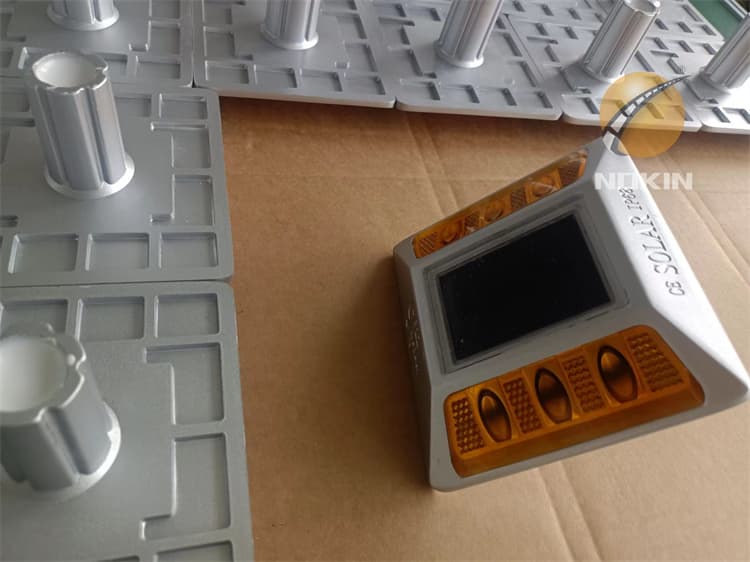
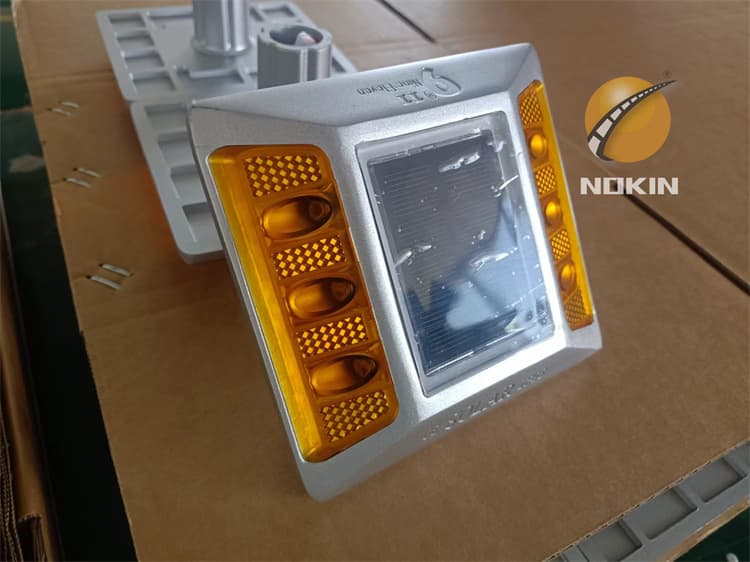
Set the lighting surface of the solar road stud to the desired viewing angle. Verify the epoxy is evenly adhering to the installation hole and solar marker shaft. Verify the bottom of the solar road marker is firmly installed on the installation surface allowing for zero surface float; to occur.
Send Inquiry
Quote Online
Share:
Content
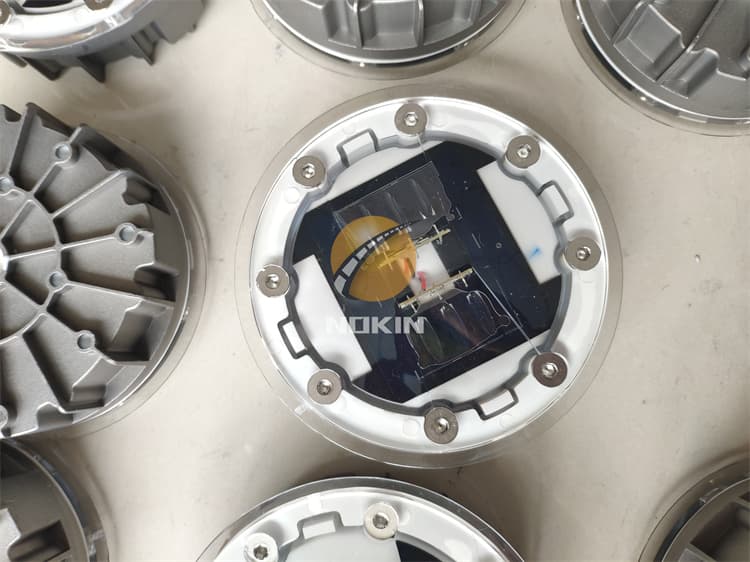
Installation Method Of Raised Solar Road Stud:
Carefully mark the distance between the placement of solar road stud lights. To prevent an adverse effect on the ground, use a proper tool such as Core Drill. Drill 35mm and the depth will be 55mm.
Remove all debris from the installation hole.
Pour epoxy into the holes per the manufacturer’s instruction.
Verify that the installation hole is straight. Verify that the installation hole is large enough to allow the epoxy to surround the solar-led road stud shaft.
Set the lighting surface of the solar road stud to the desired viewing angle. Verify the epoxy is evenly adhering to the installation hole and solar marker shaft. Verify the bottom of the solar road marker is firmly installed on the installation surface allowing for zero surface float; to occur. (space between installation surface and bottom of the solar marker).
After curing the LED solar road stud for 6-8 hours, remove the installation of the isolation facility.
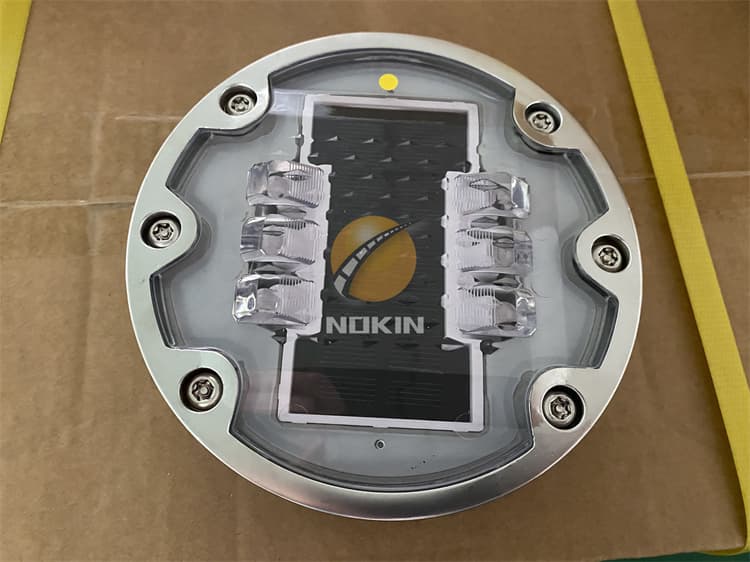
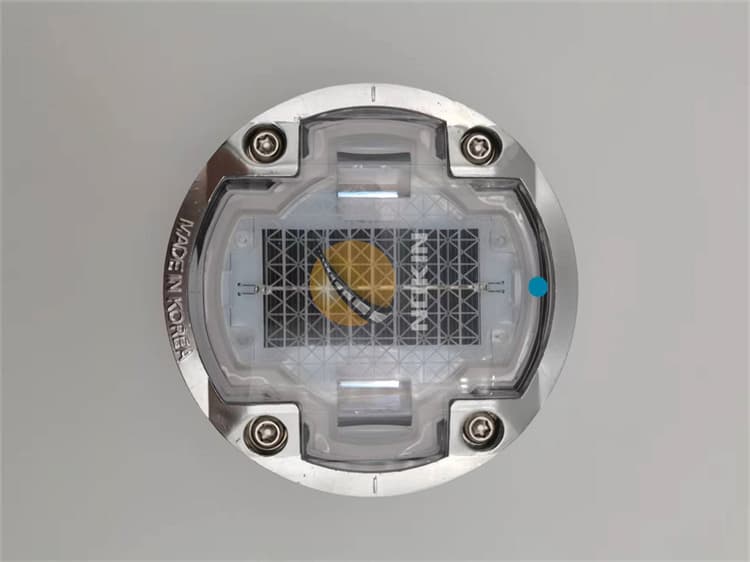
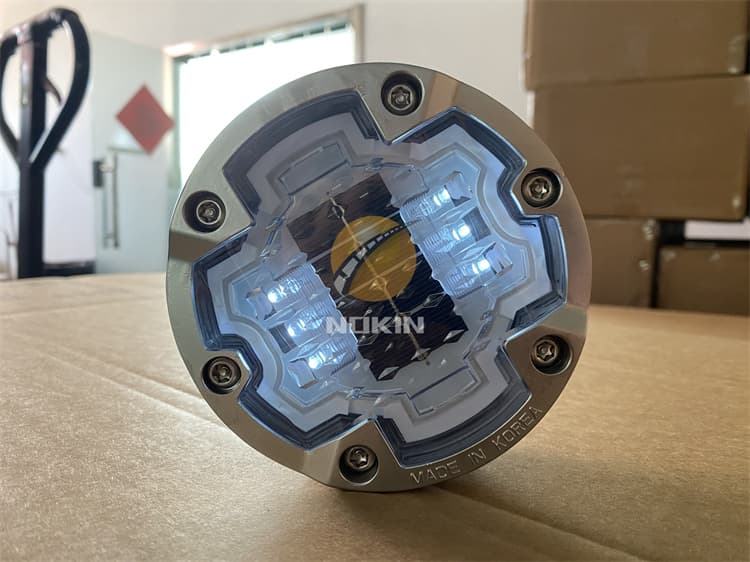
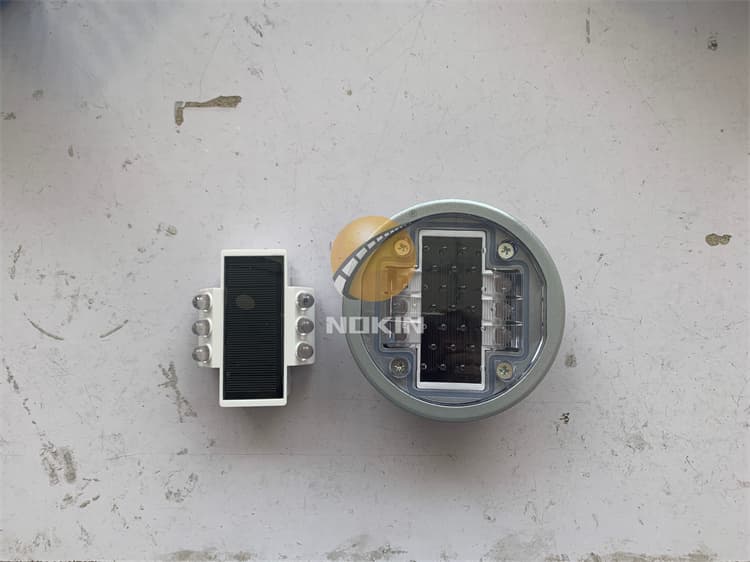
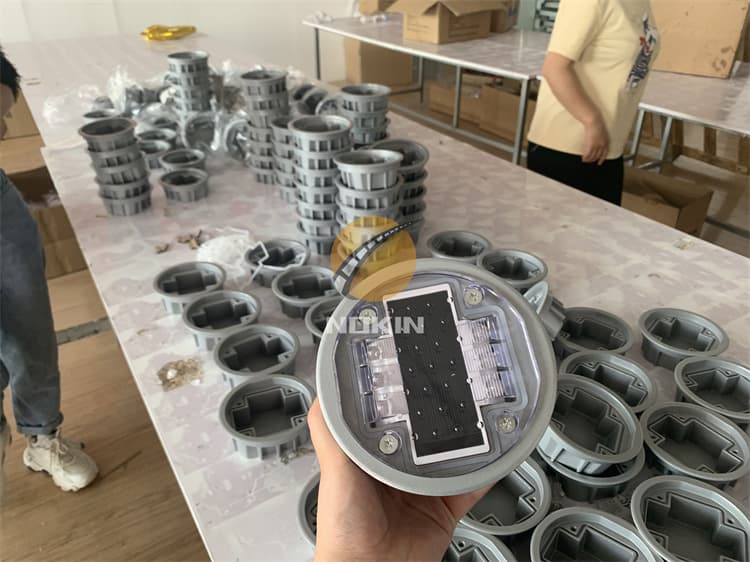
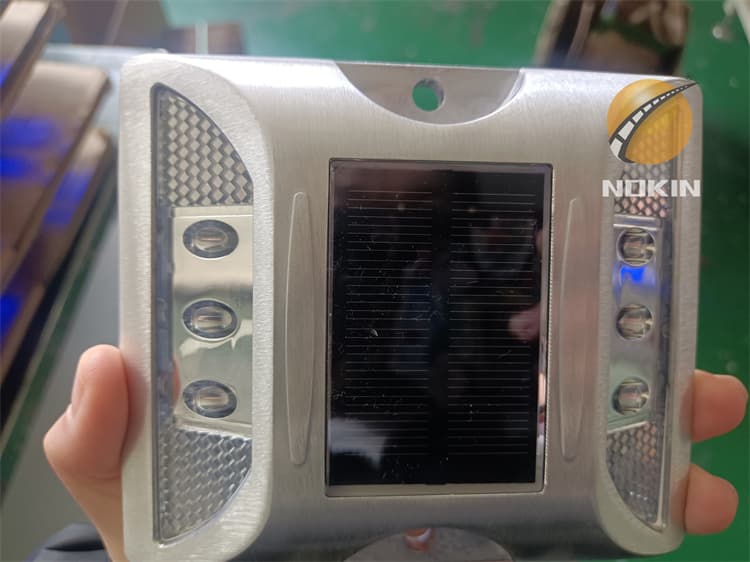
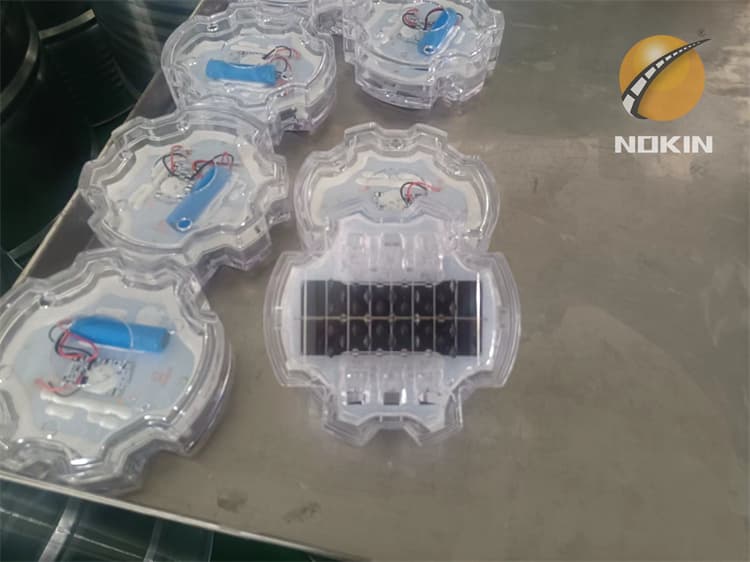
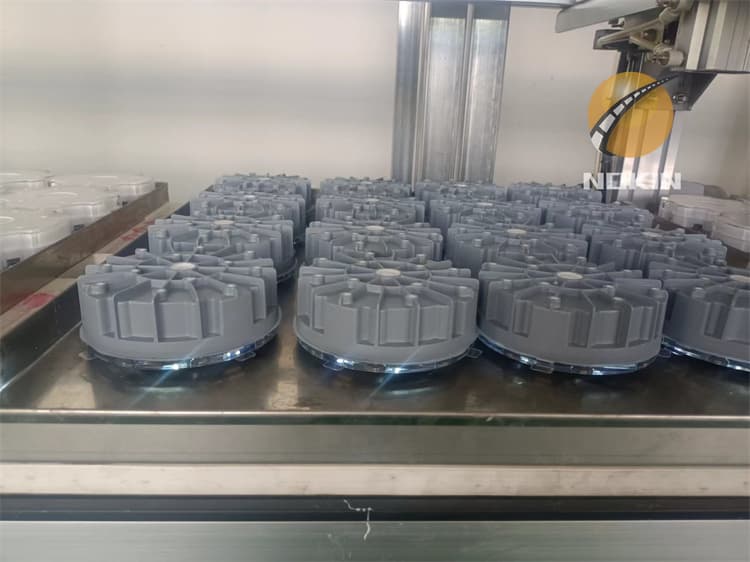
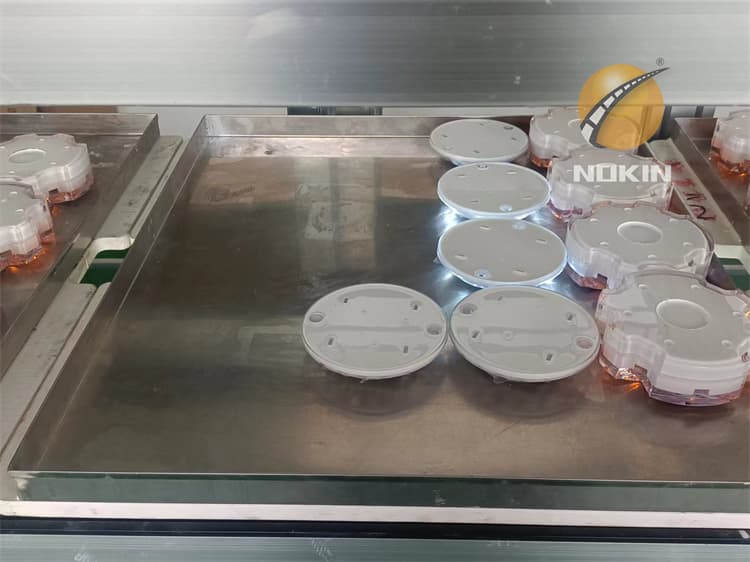
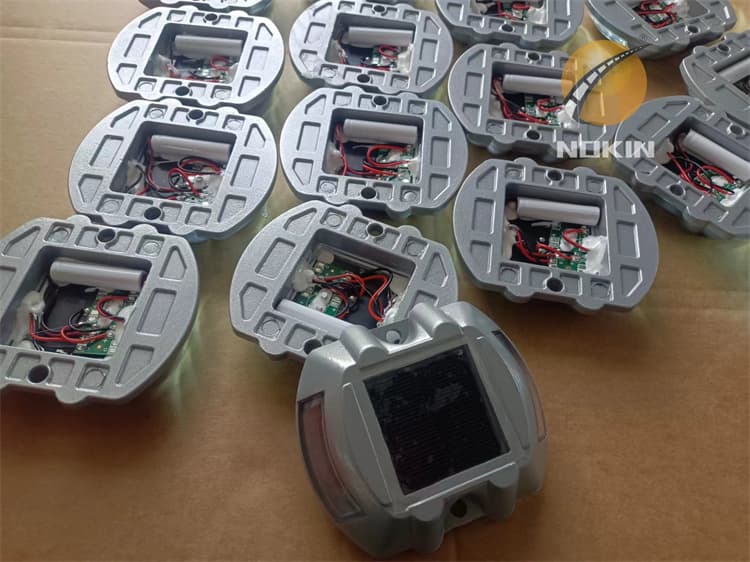
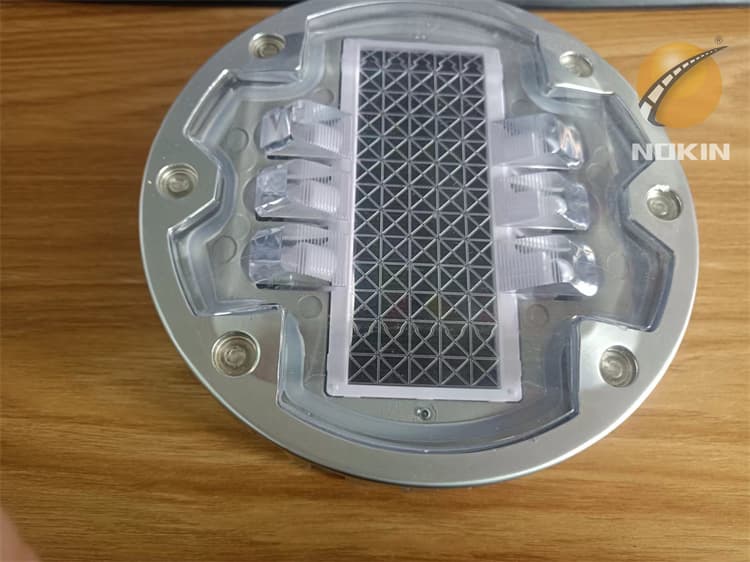
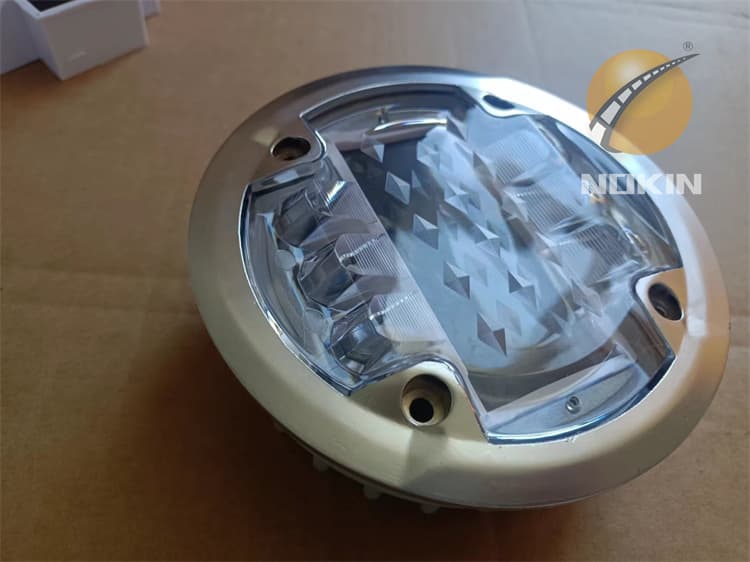
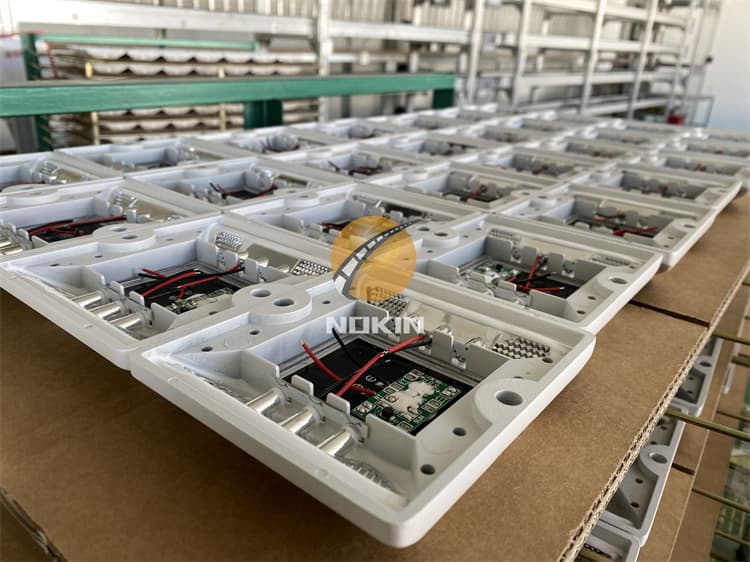
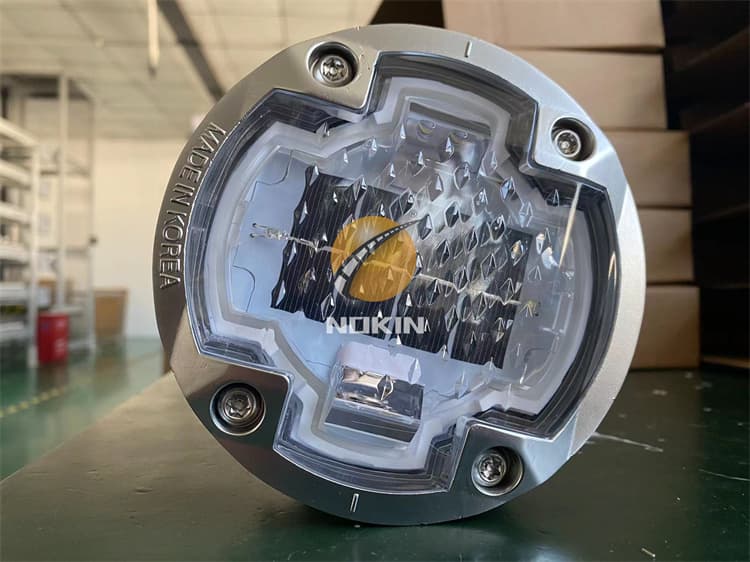
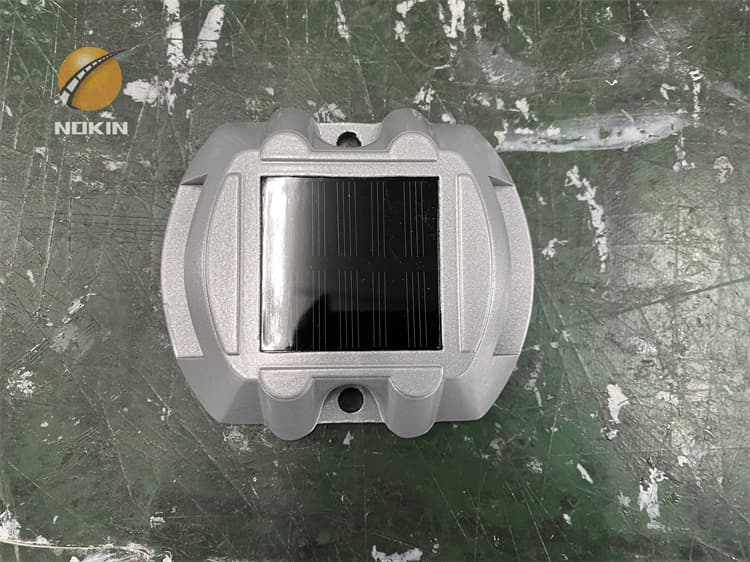
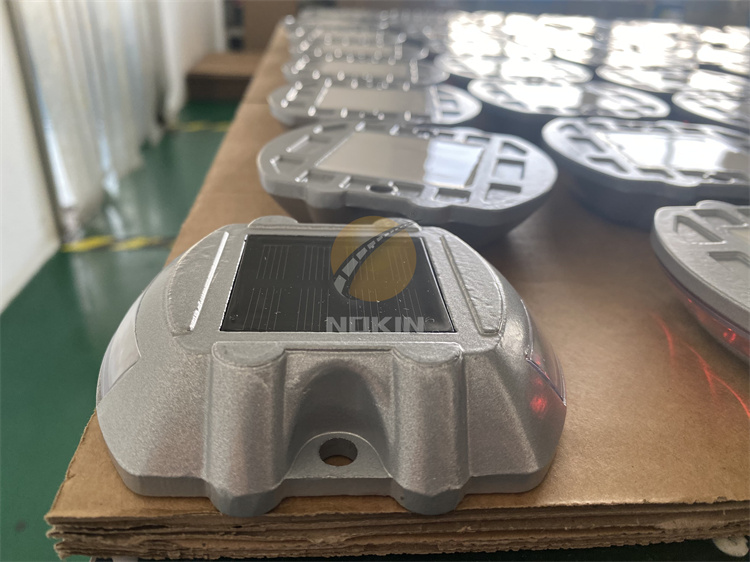
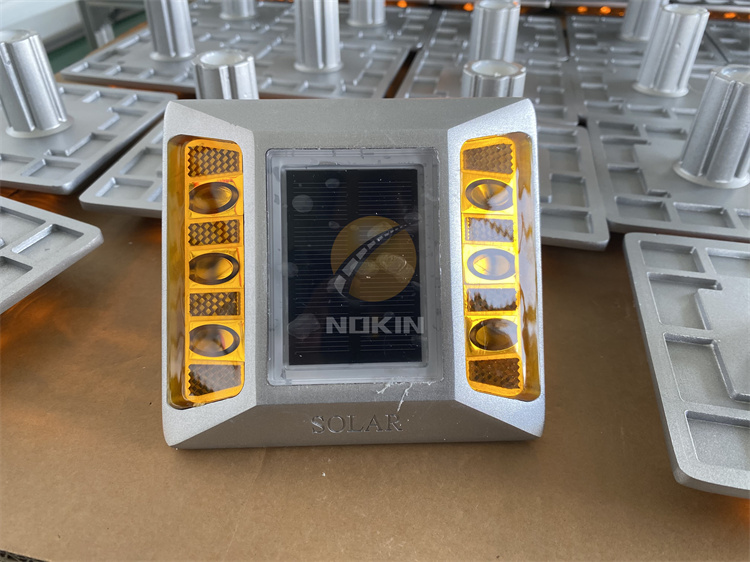
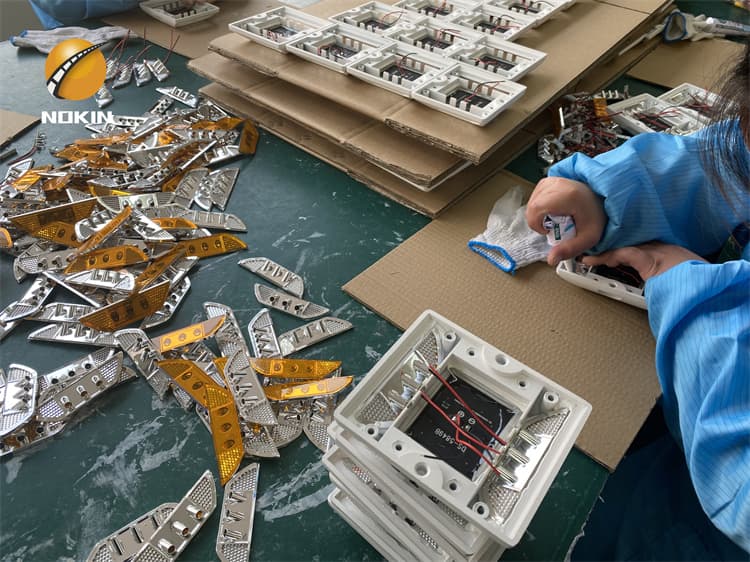
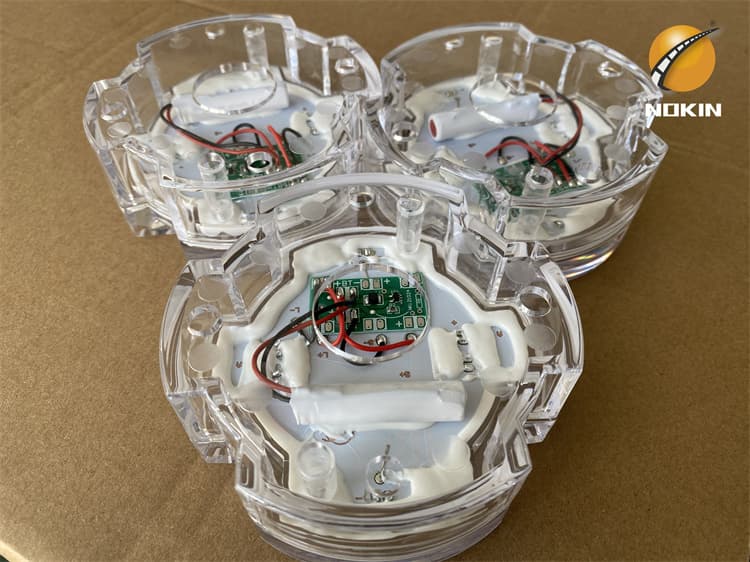
| Body material | PC |
| Power supply | Solar panel(Monocrystalline 2.5V /0.25W) |
| Battery | NI-MH 1.2V/600mAh or Lithium battery |
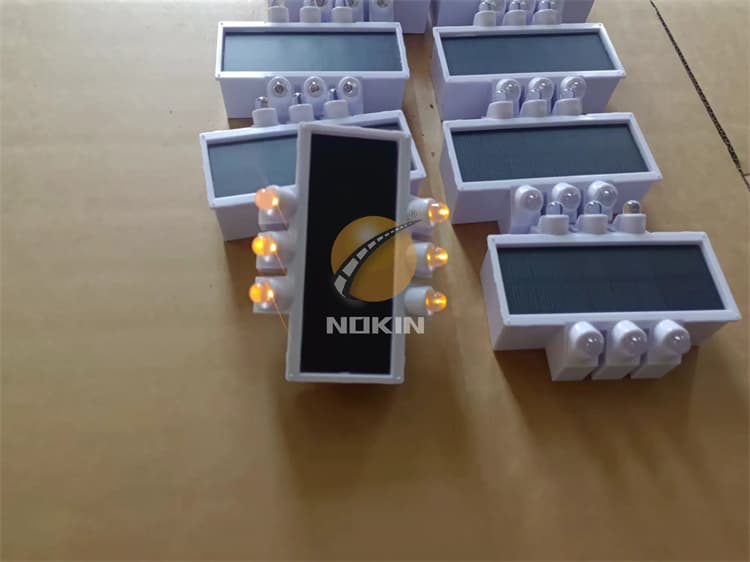
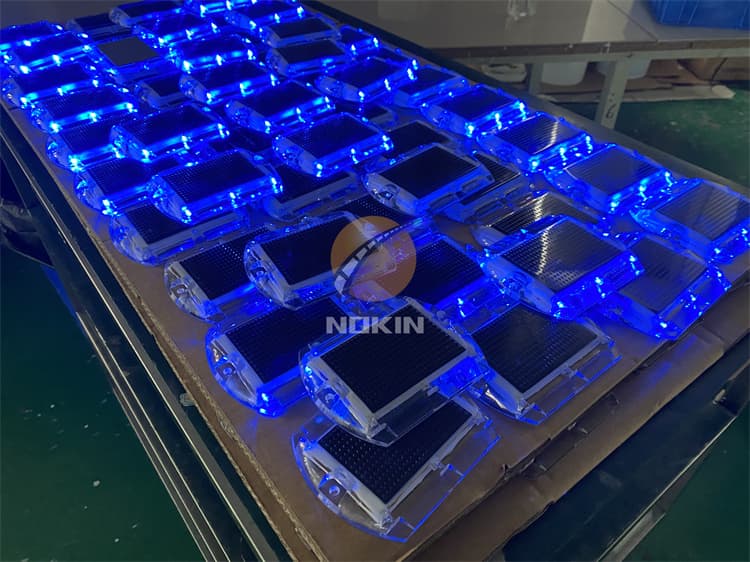
| Led | φ5 Ultra bright LED*10 |
| Working period | Full recharging for 8 hours and working for 120hours constantly |
| Working model | Constant or blinking(flashing frequency 2Hz, also can be made according to your requirements) |
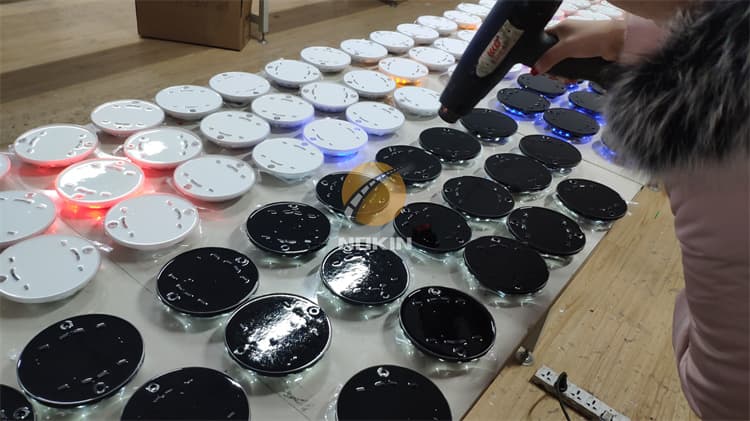
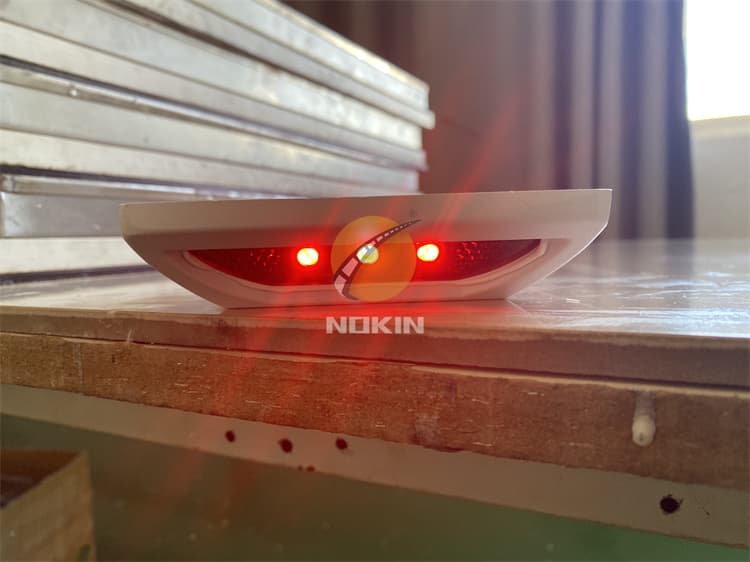
| Color | Red, Yellow, Green, Blue, White |
| Waterproof | IP68 |
| Resistance | >20T |
| Size | φ116*23mm (φ4.61″*0.91″) |
| Lifetime | >3years; |
Before installing road studs on the road, please place safety isolation facilities. This is a very important point. During the entire installation process, whether it is a new road or a road that has been opened to traffic, everyone should carry out all installation activities in safety facilities.
Determine the installation position of the road studs and ensure that the installation position is level. For roads with swelling, cracks, and unevenness, the roads should be leveled and smoothed in advance.
Clean the installation location with a brush and ensure it is dry.
Take an appropriate amount of glue and apply it evenly on the studs.
Press the cat eye road stud firmly on the installation position to ensure the direction is correct. If there is too much glue, please clean it.
If it is a cat’s eyes solar road stud with a spike, please make sure that the depth of the hole is 1cm larger than the depth of the spike, and the diameter of the hole is 2mm larger than the diameter of the spike.
If it is an inground solar road stud, you must pay attention to the grounding hole and its size must be appropriate to prevent the bolt from shaking.
Carry out a tour within two hours after installing the led road markers to ensure that all spikes will not be reversed, bent or bent.
Please remove the safety isolation facilities after the solar pavement markers are cured for 6 hours.
The installation of road studs is not a complicated matter, but there are many details that need attention. These details play a very important role in ensuring the quality requirements and service life of road studs.
Inquiry
More