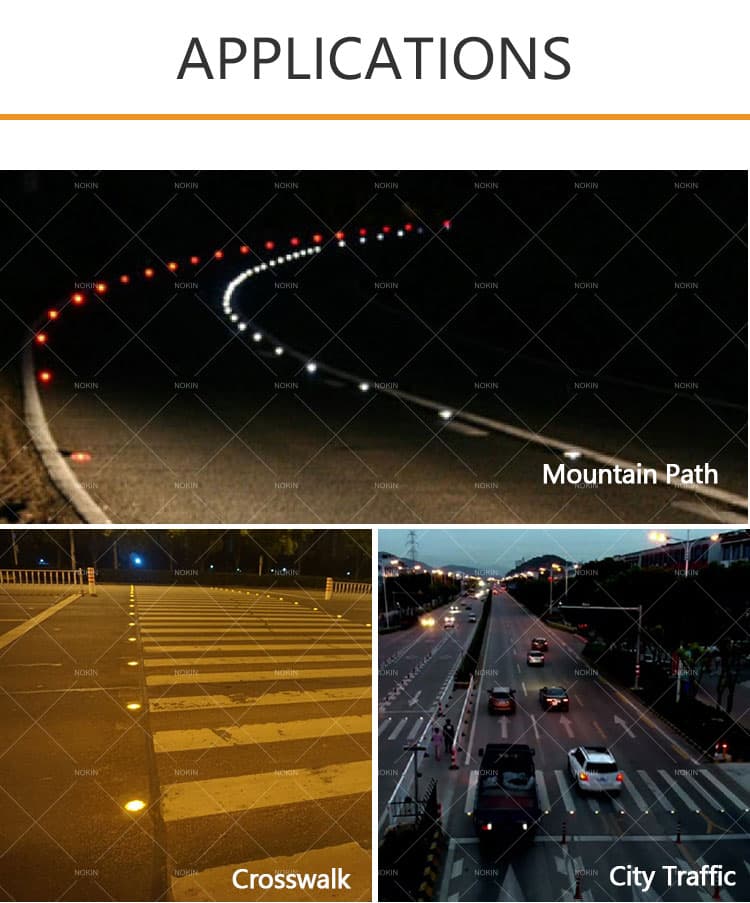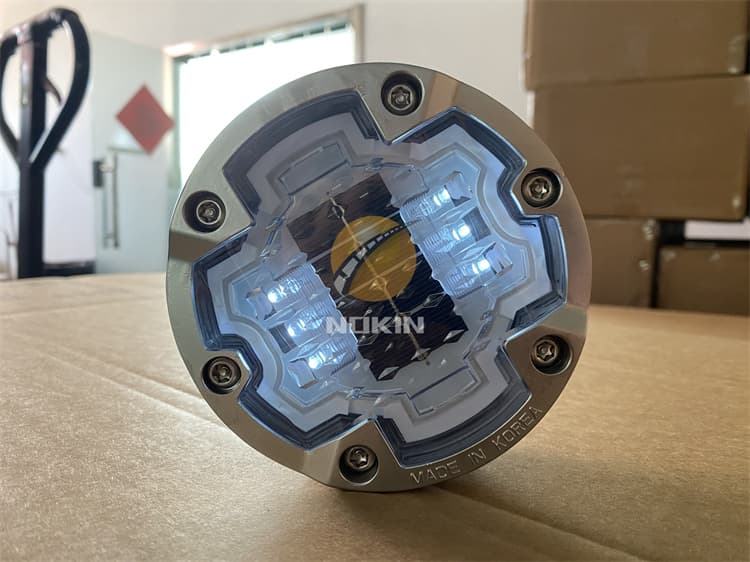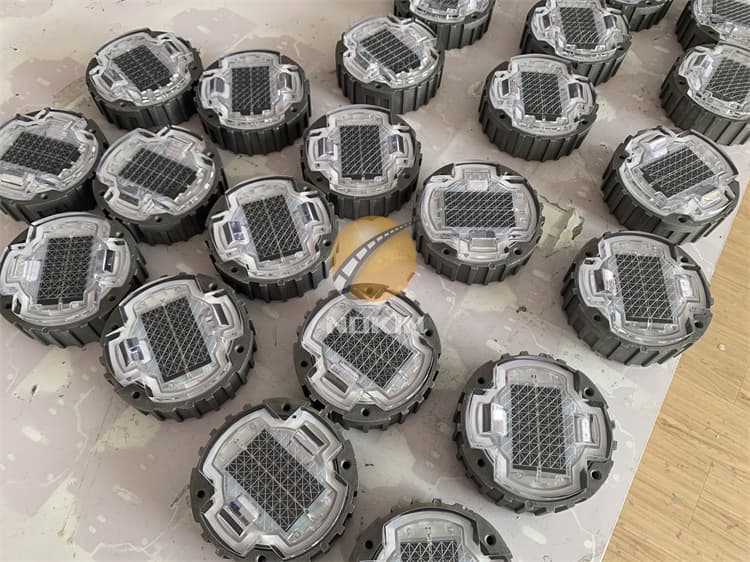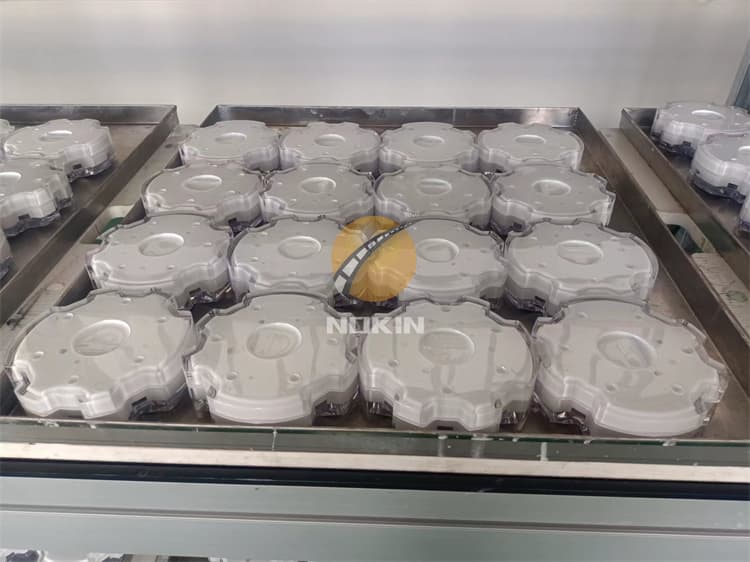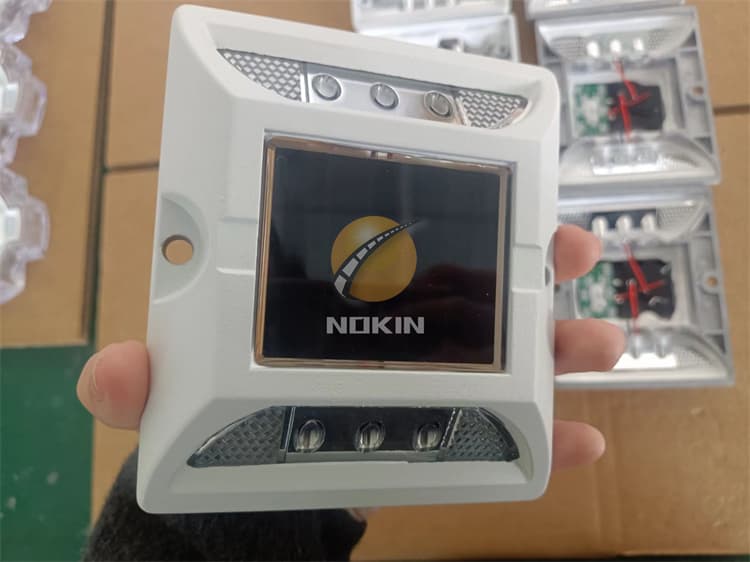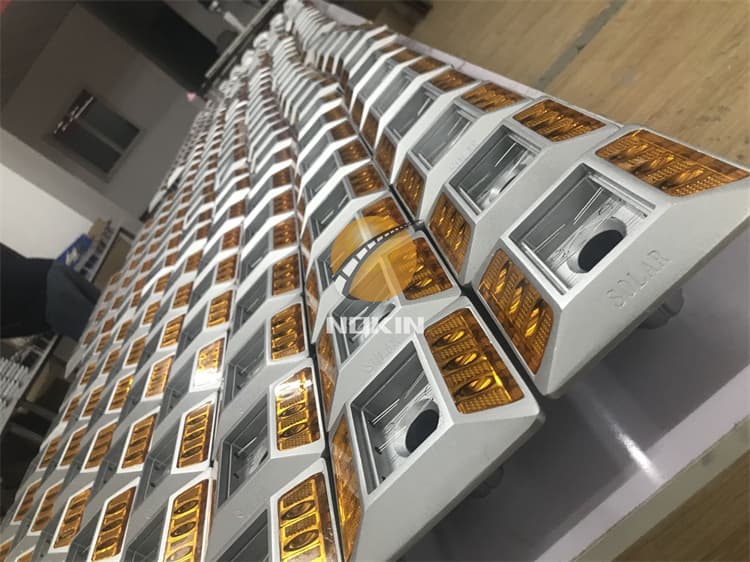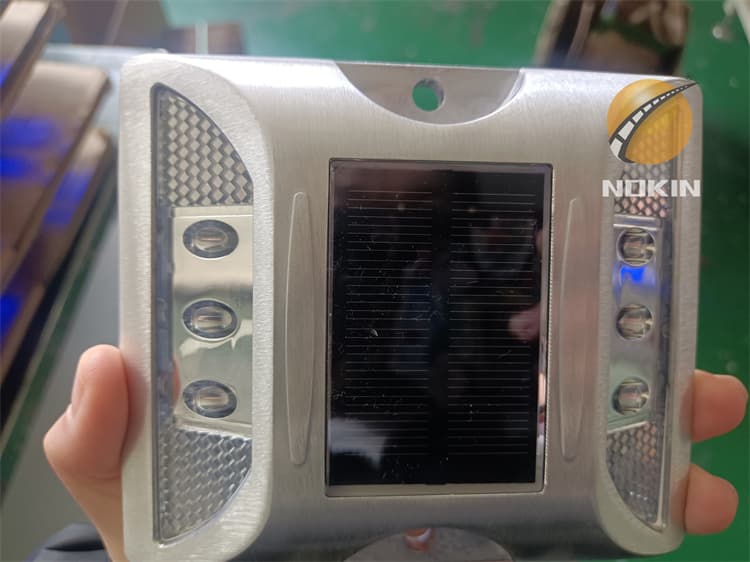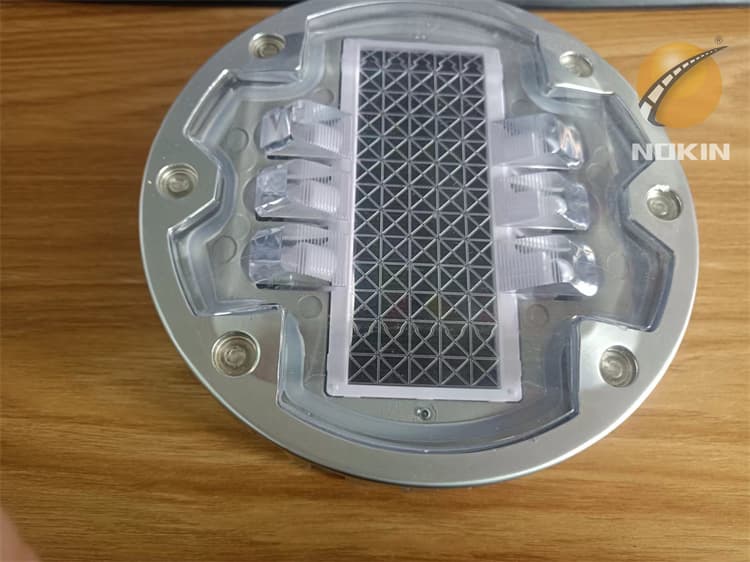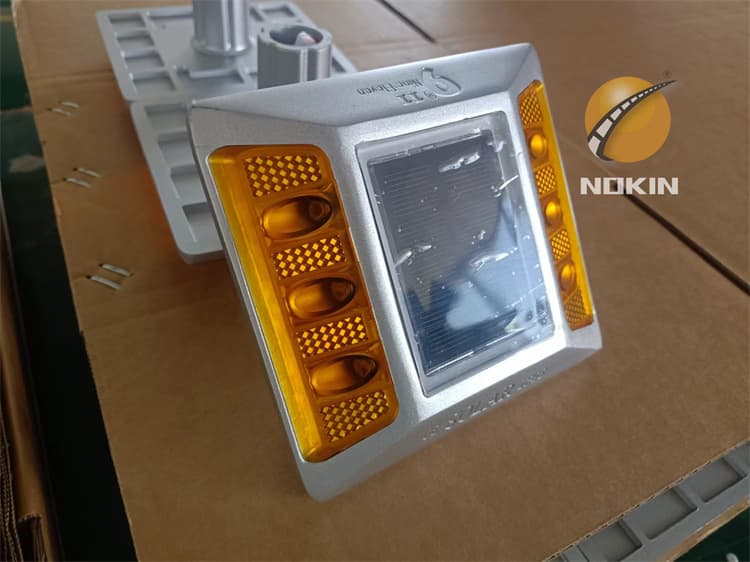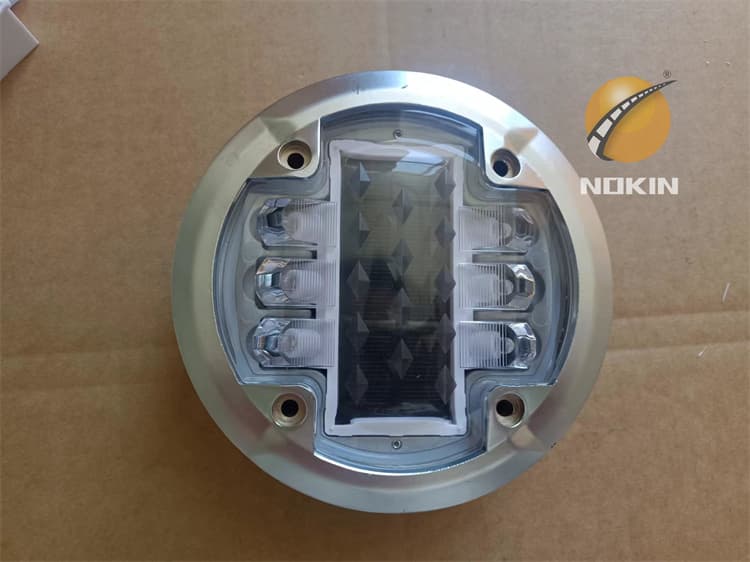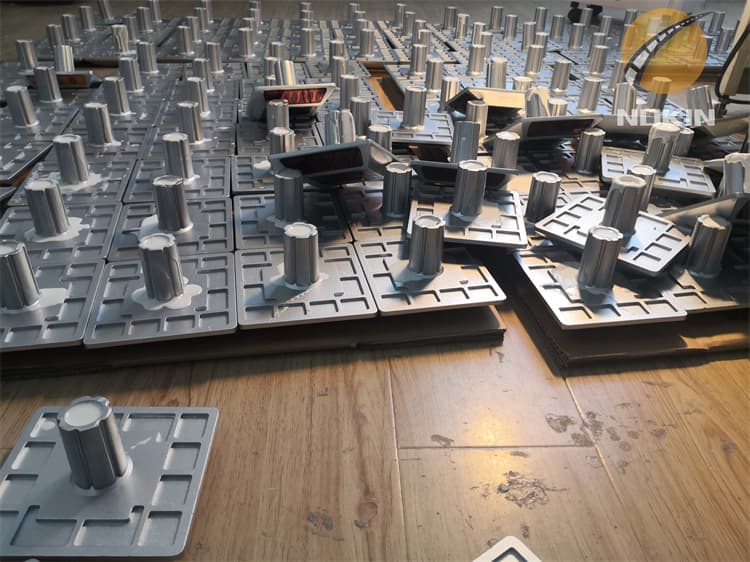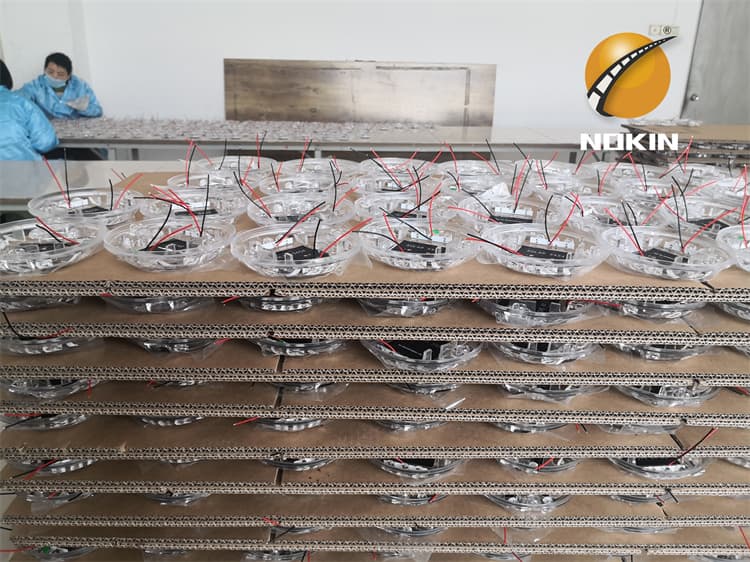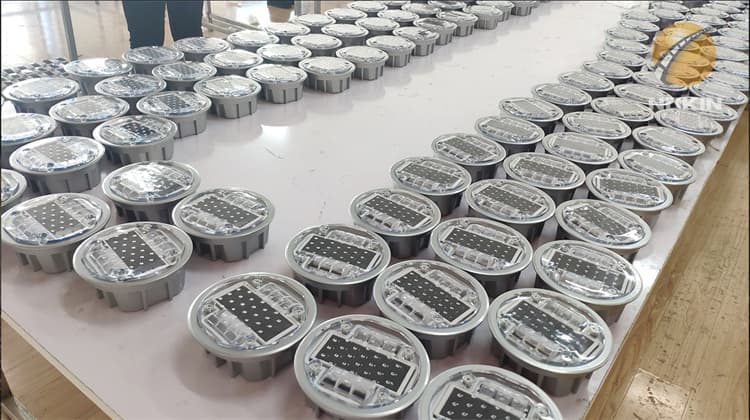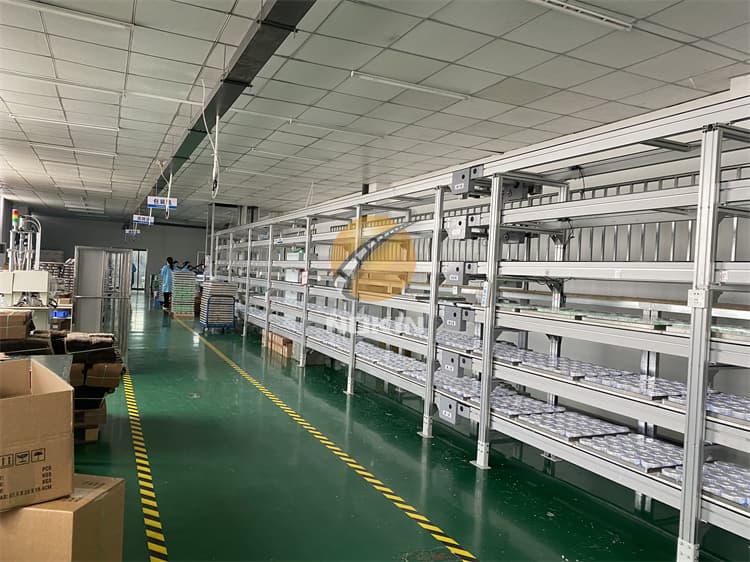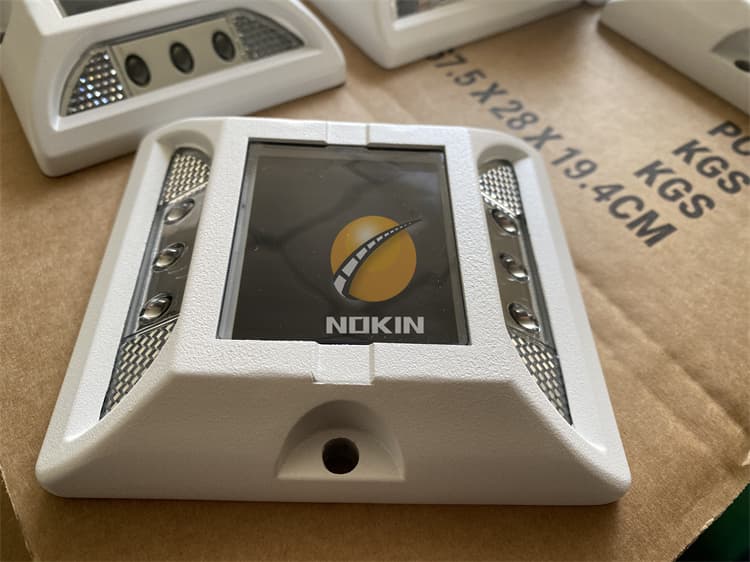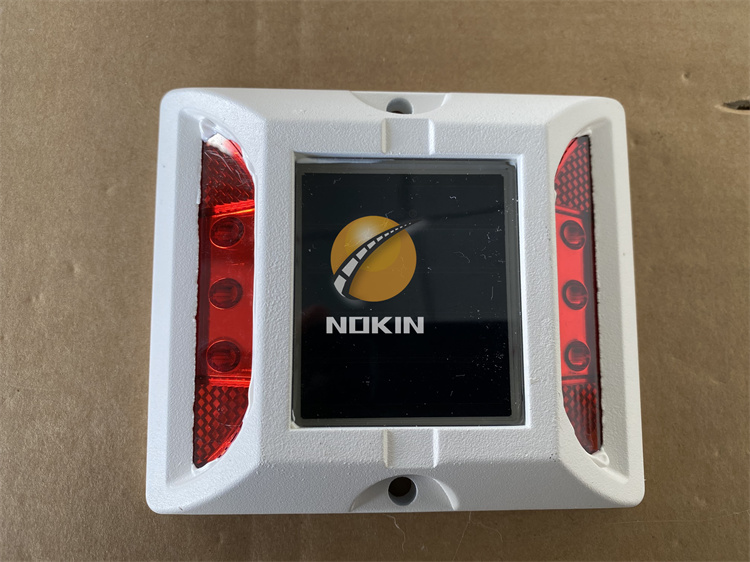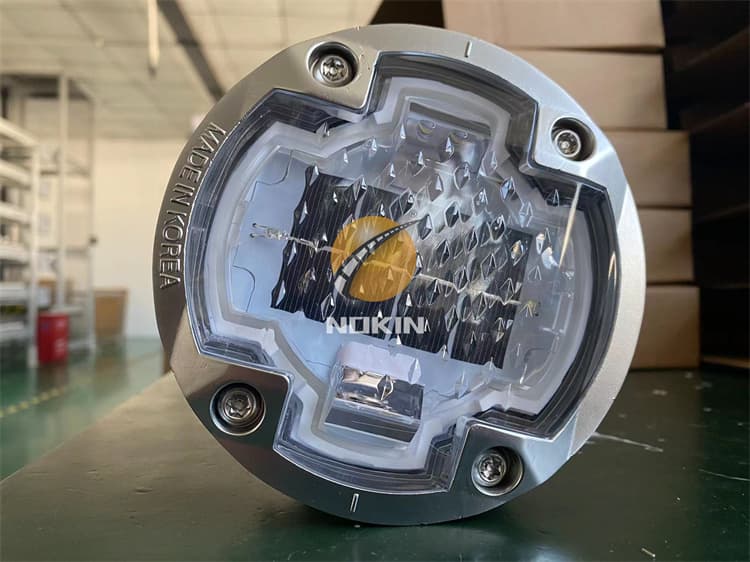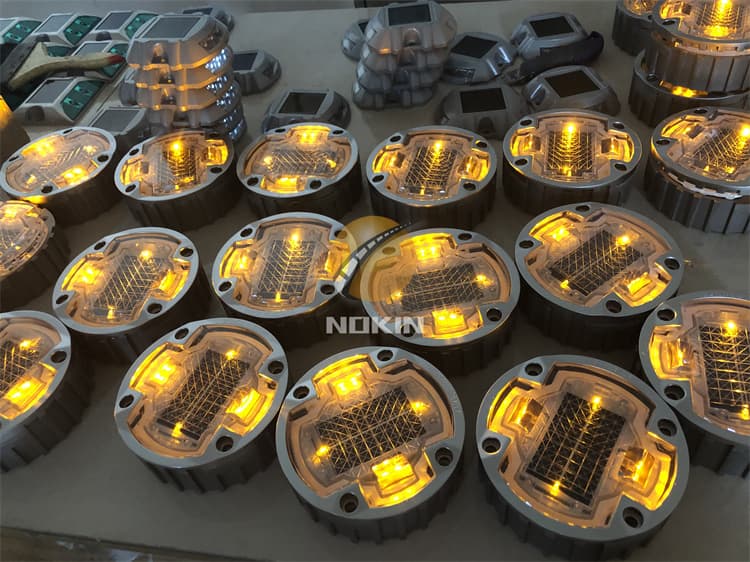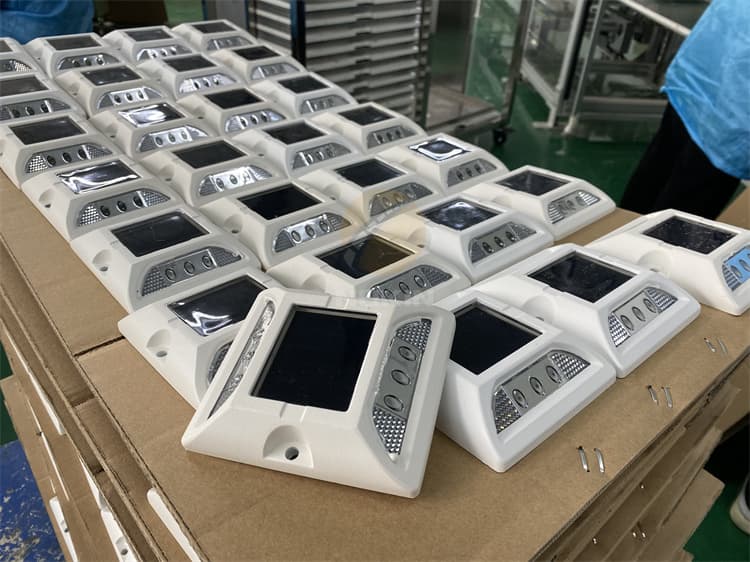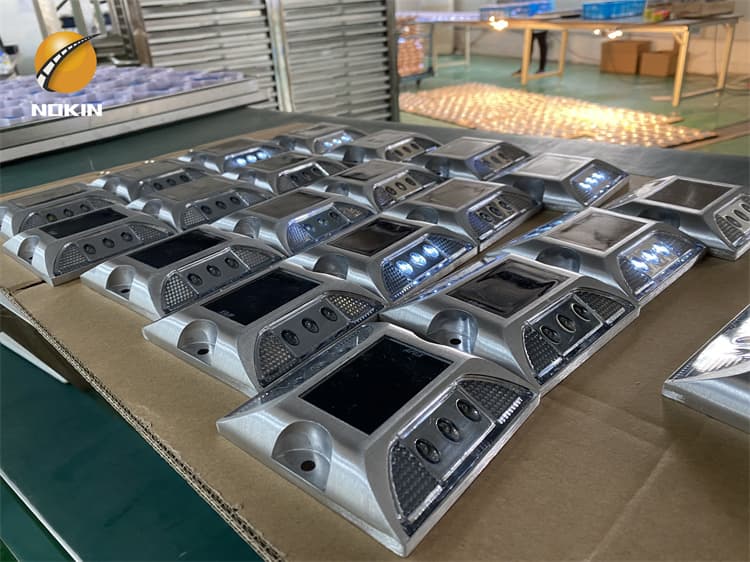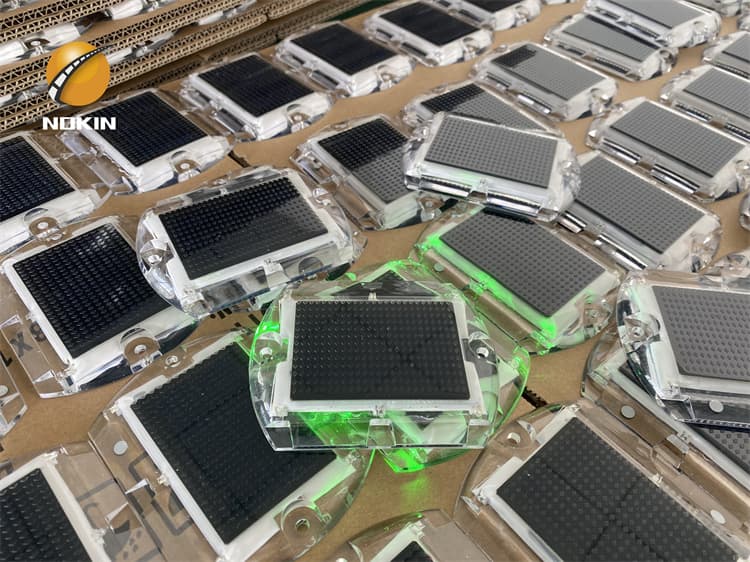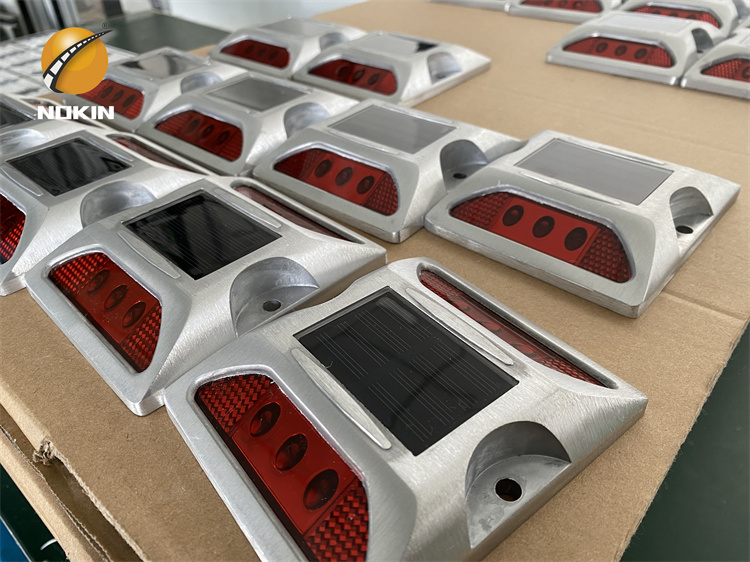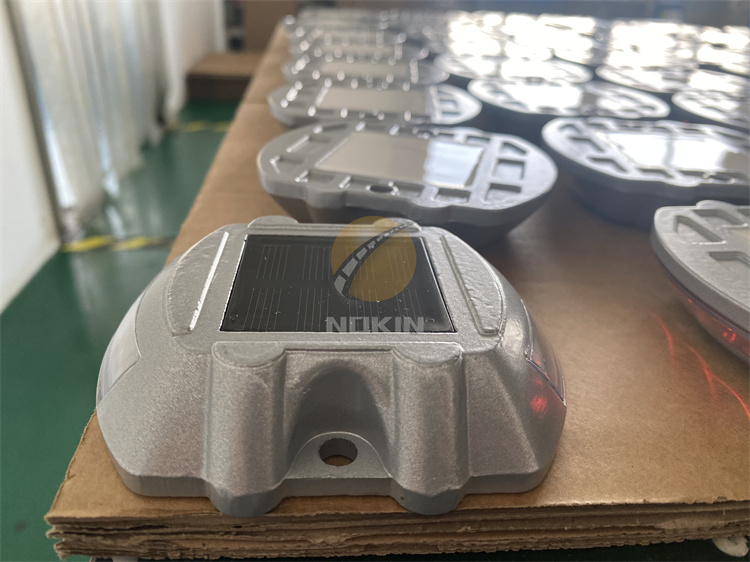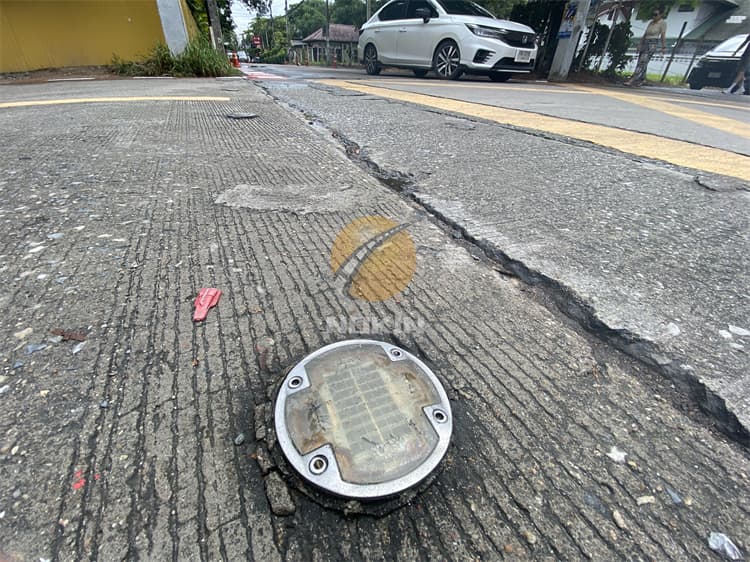
Aluminum LED Solar Road Stud For the Philippines Market
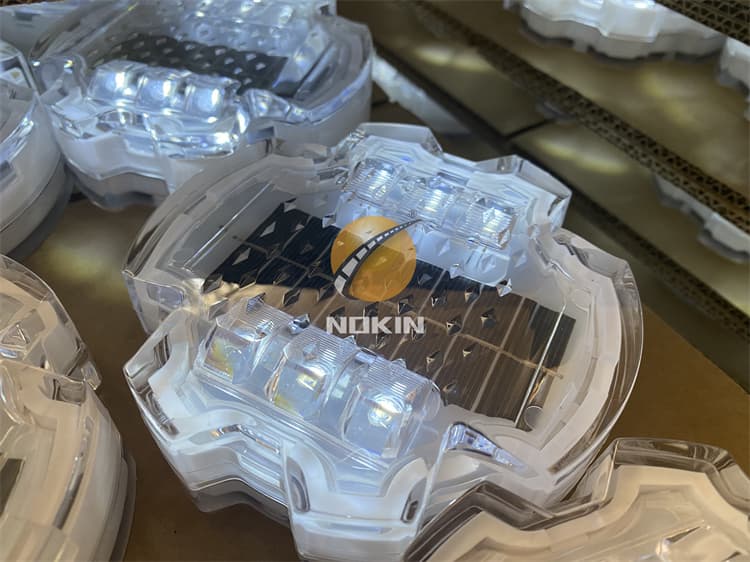
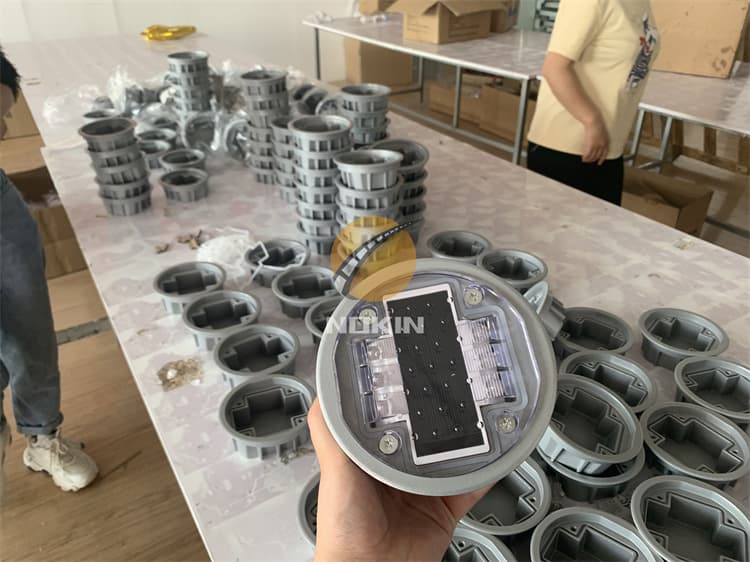
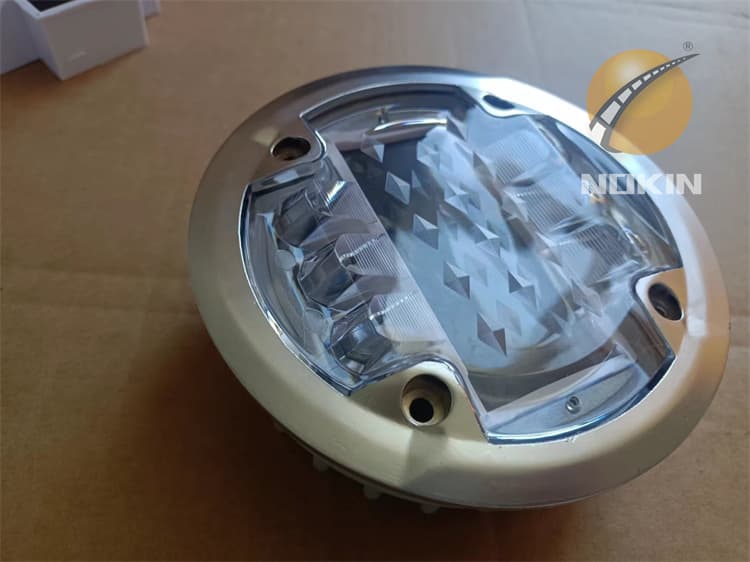
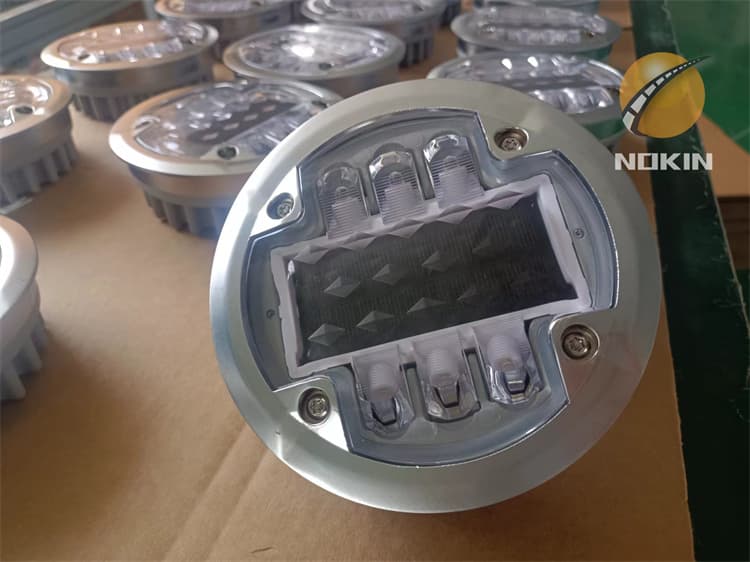
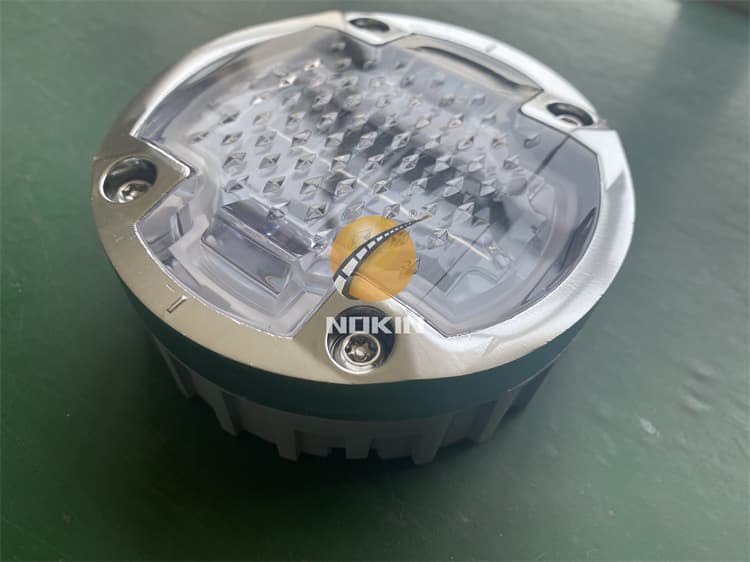
This is the updated A10 solar road stud from NOKIN to the Philippines market, the Dia is 133mm and the material is aluminum alloy, the solar road stud is well above the road surface and uses a number of well known and widely accepted colors, with lights in particular orientations to make the message to a driver clear and univocal thereby improving the outturn of the road while enhancing safety aspects.
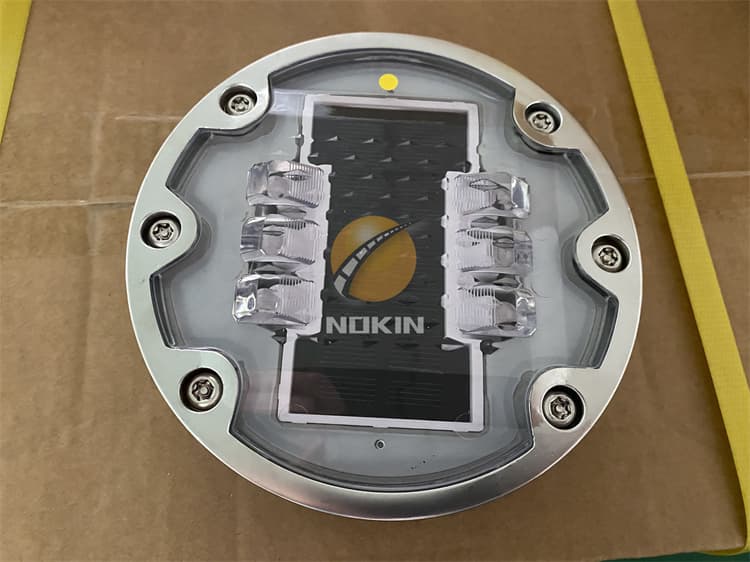
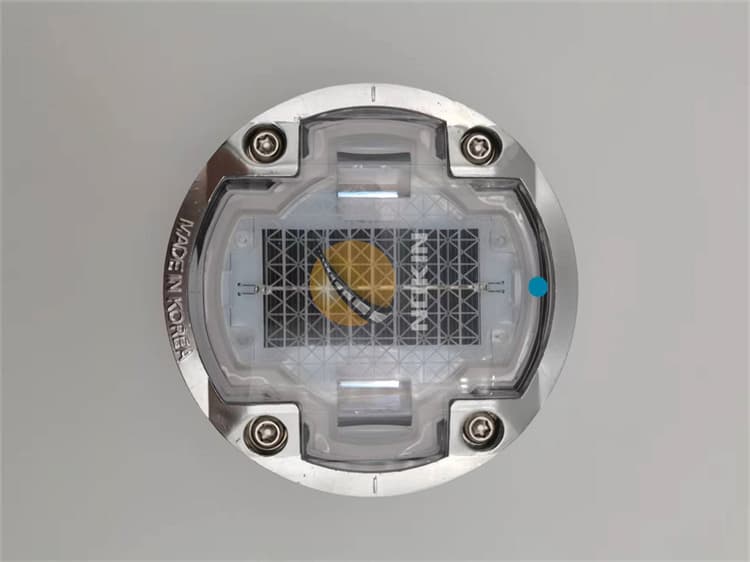
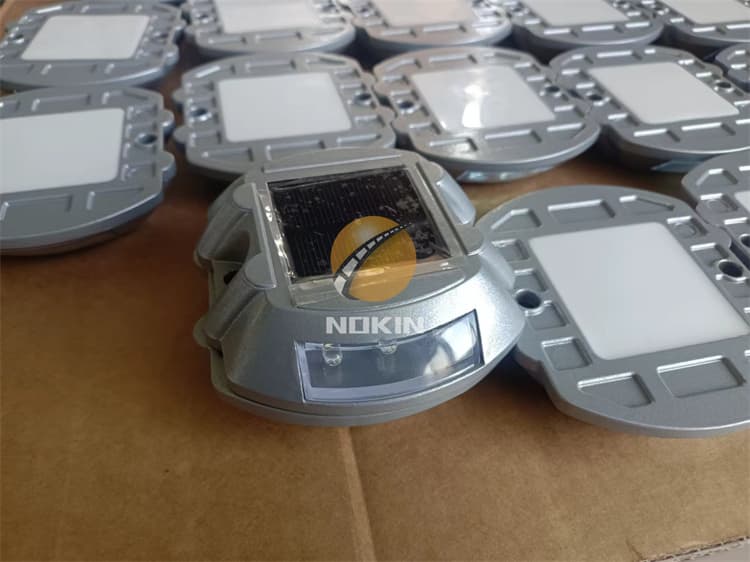
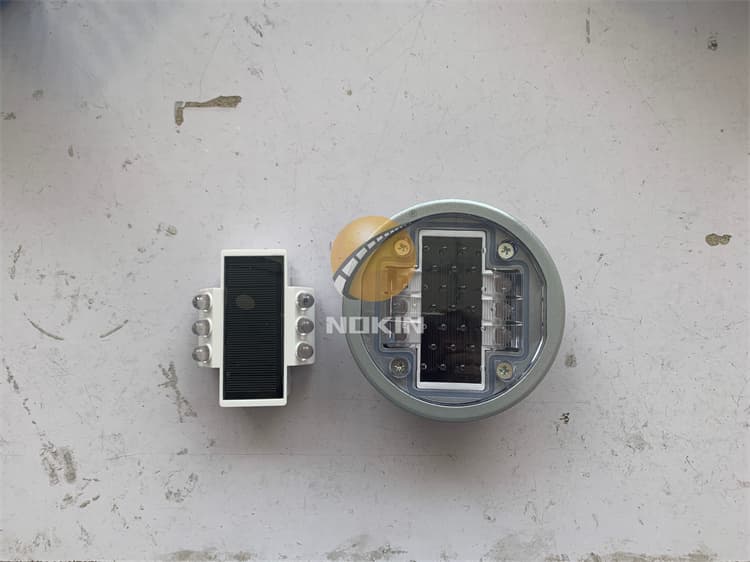
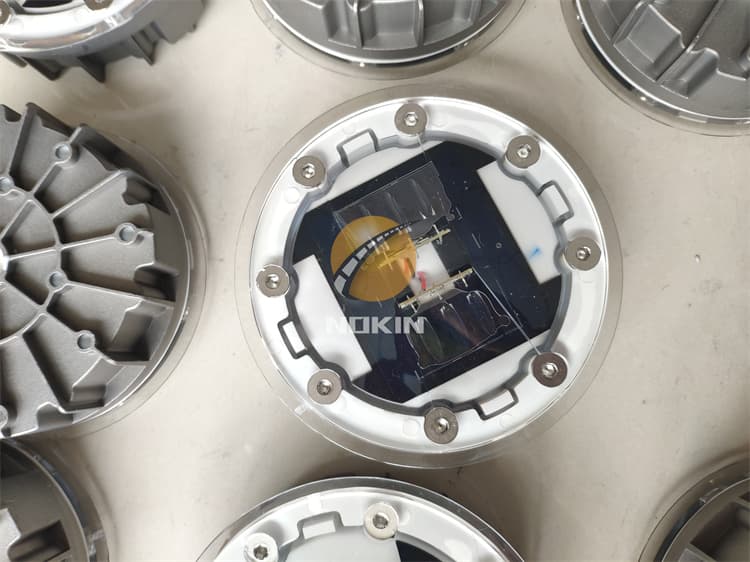
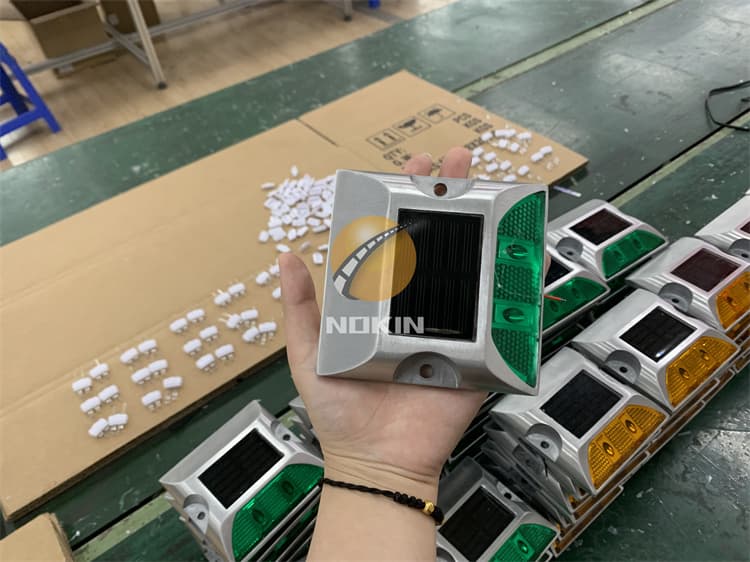
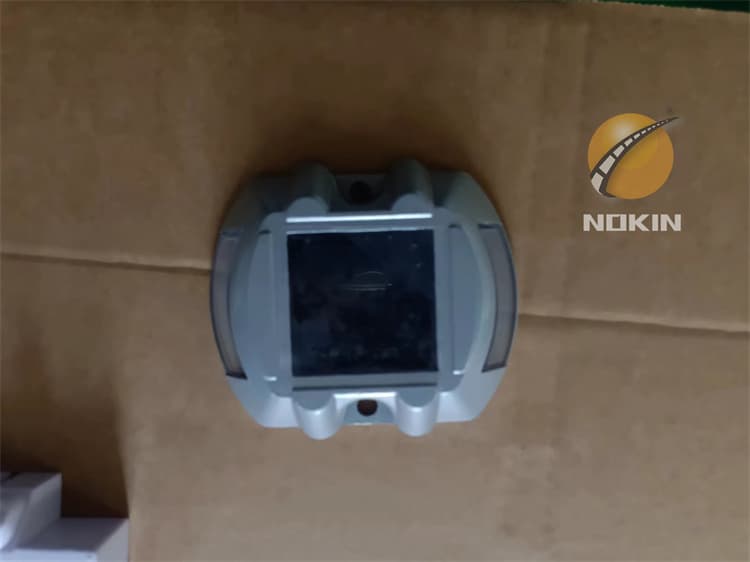
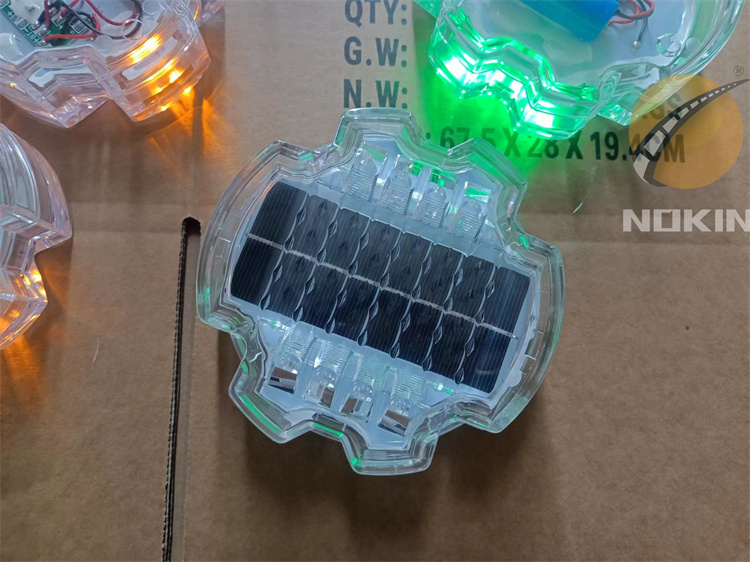
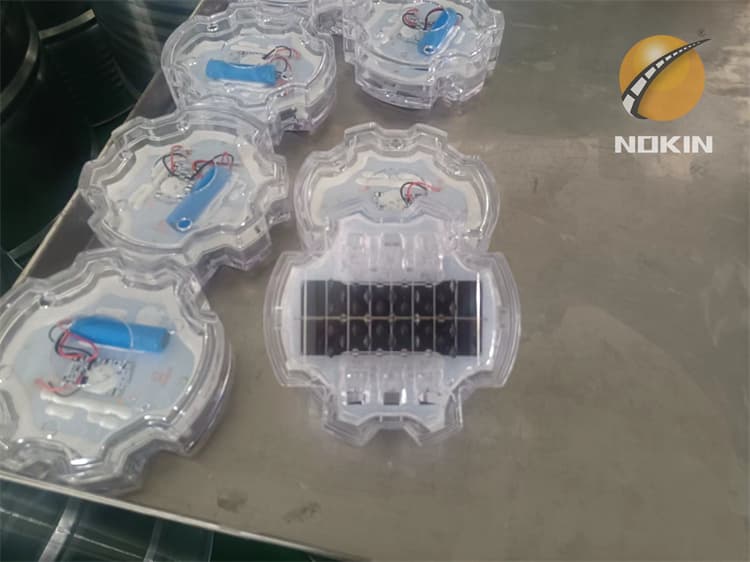
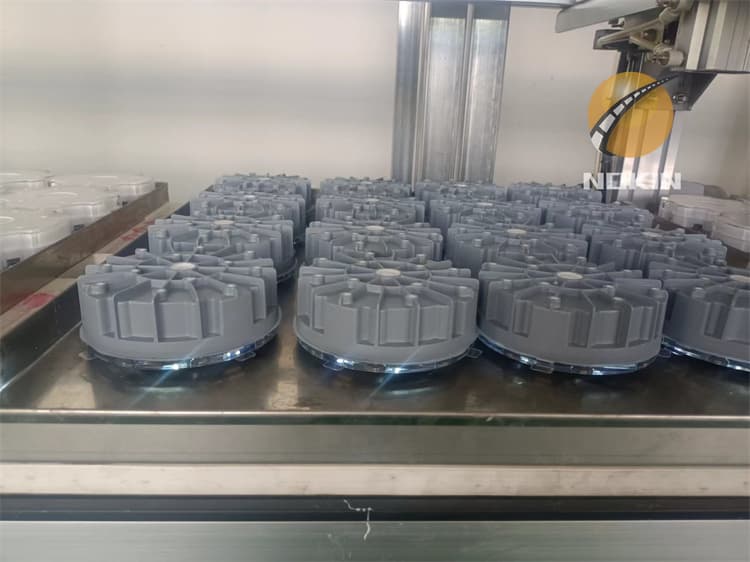
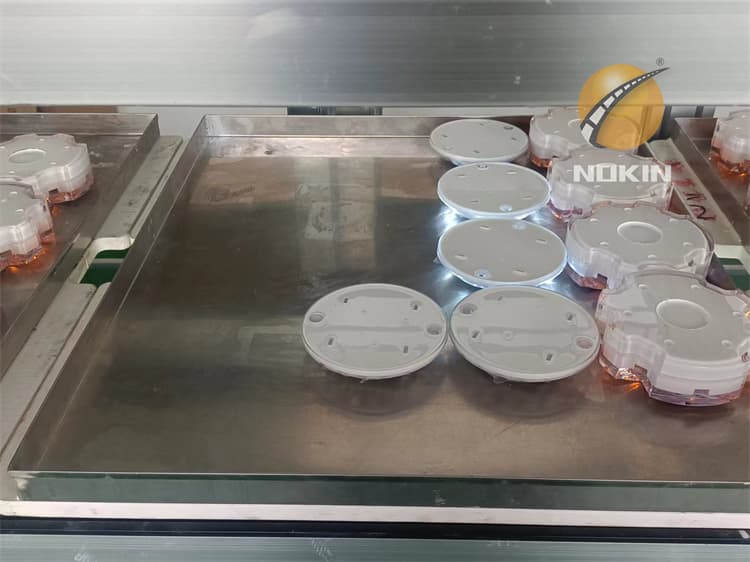
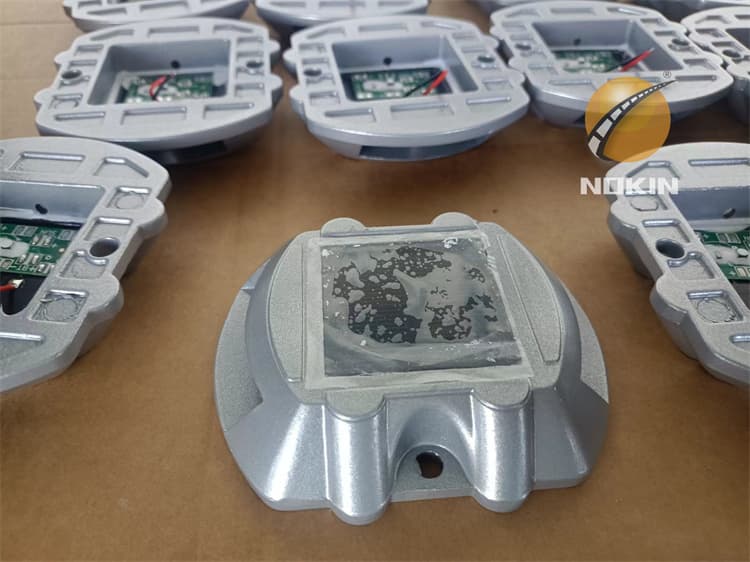
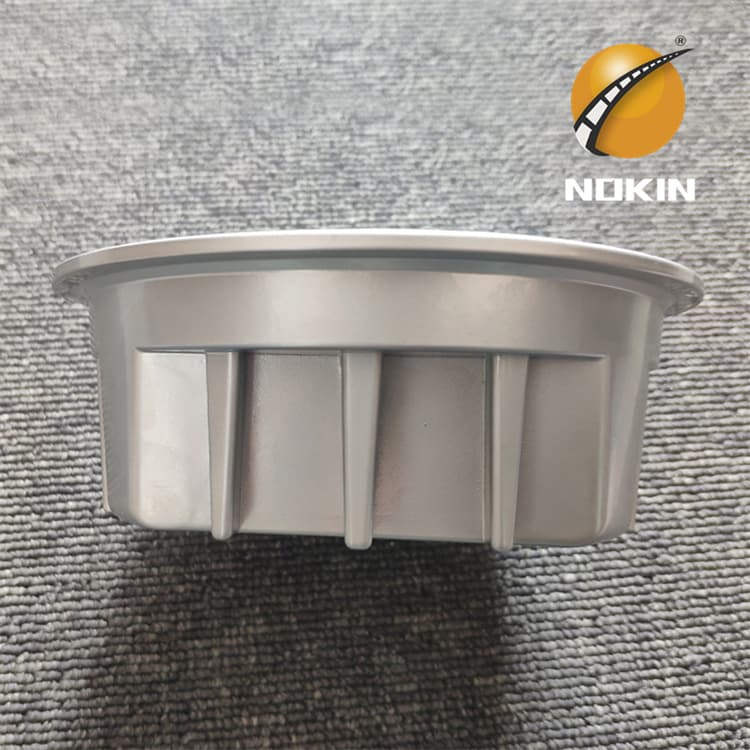
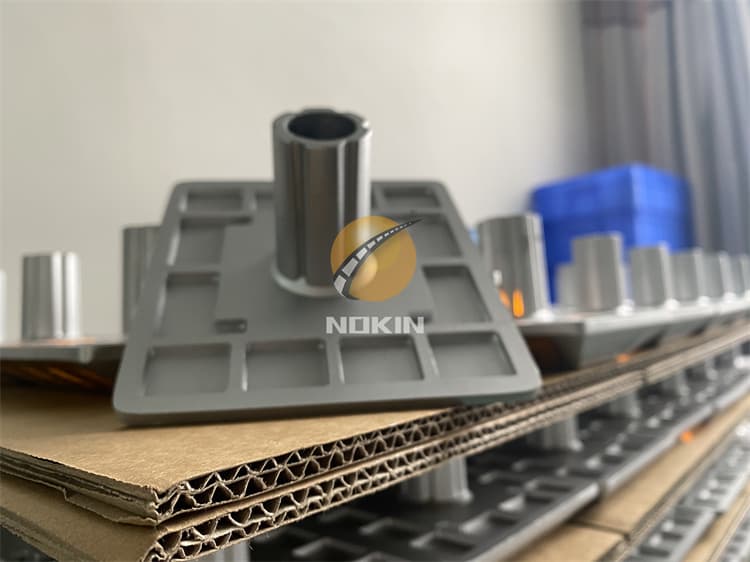
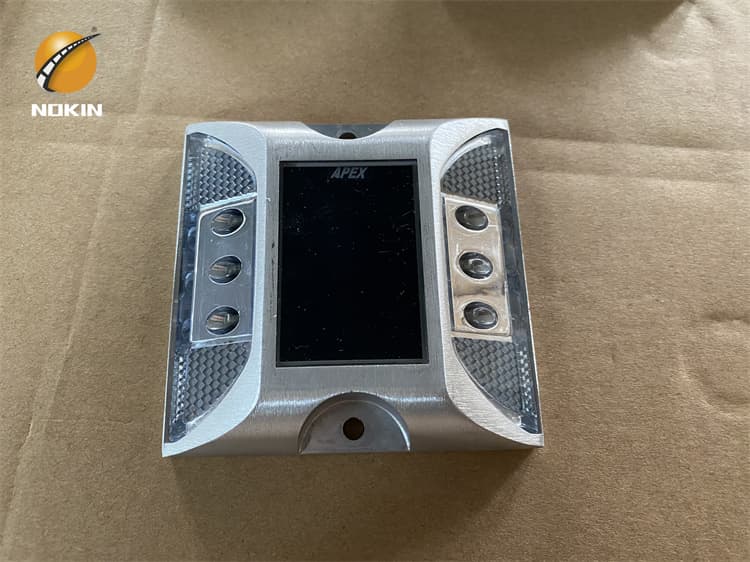
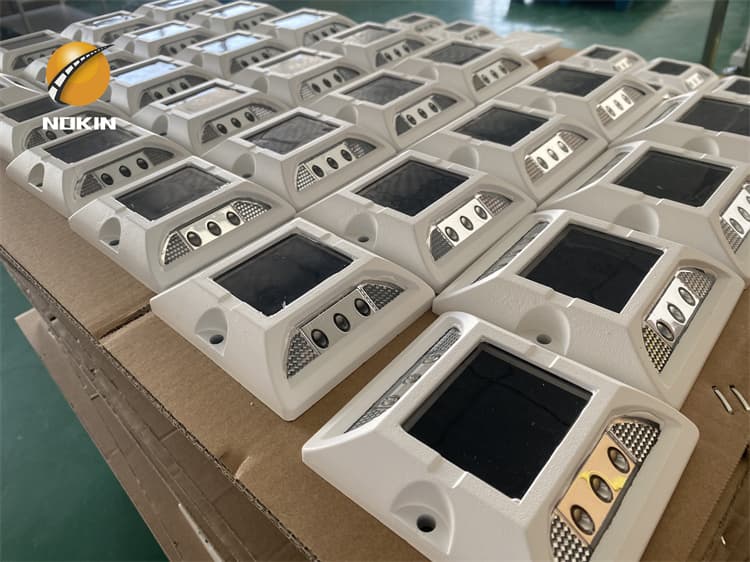
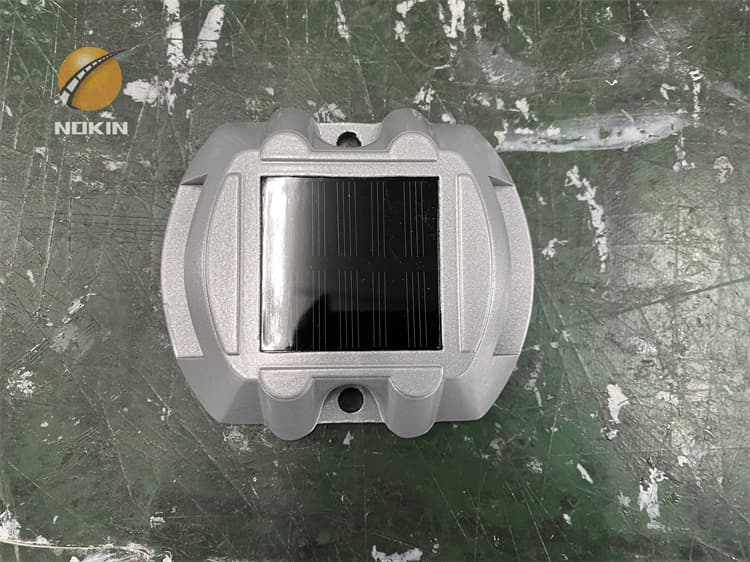
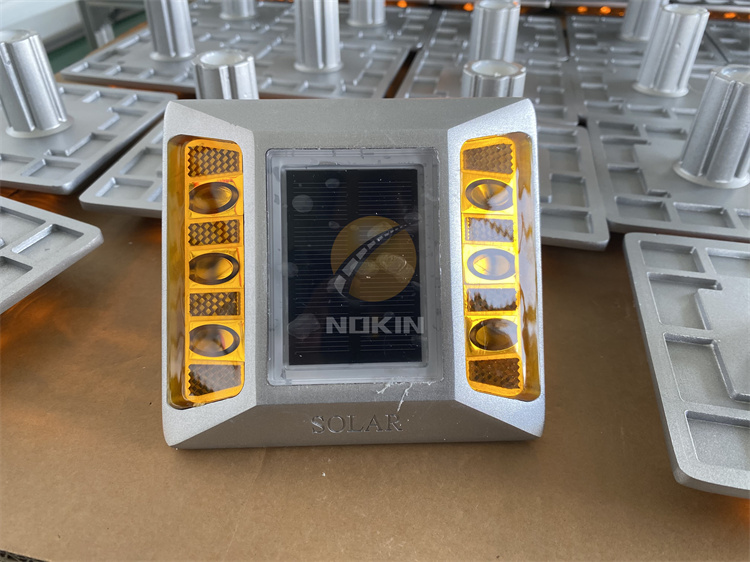
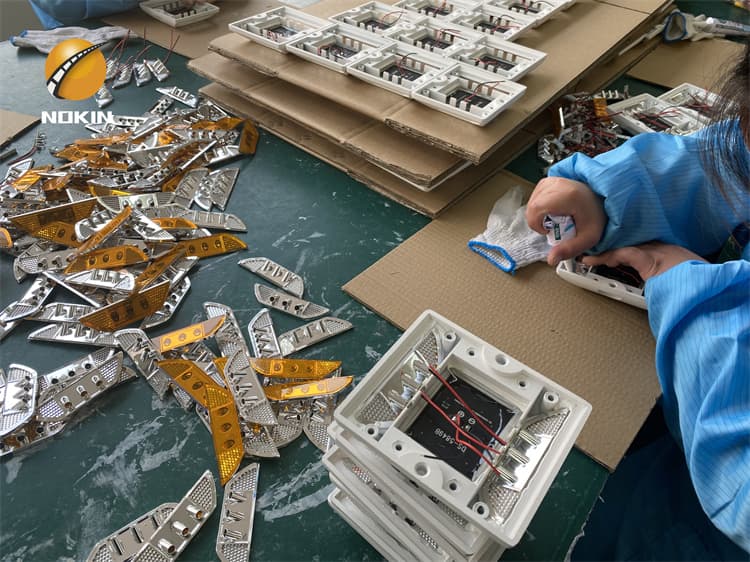
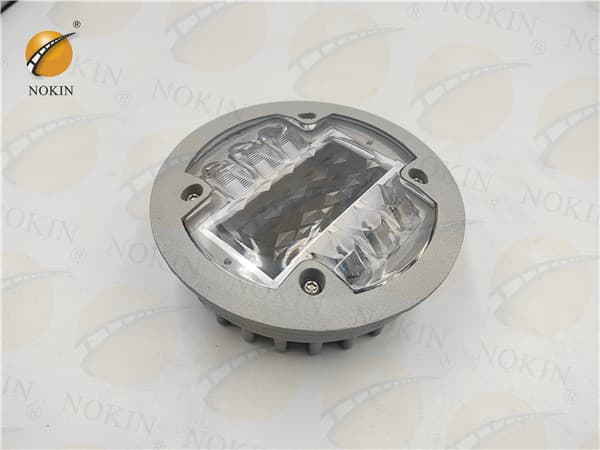
The base of this LED Solar Road Stud is made of cast aluminum, and the surface is made of plastic spraying technology.
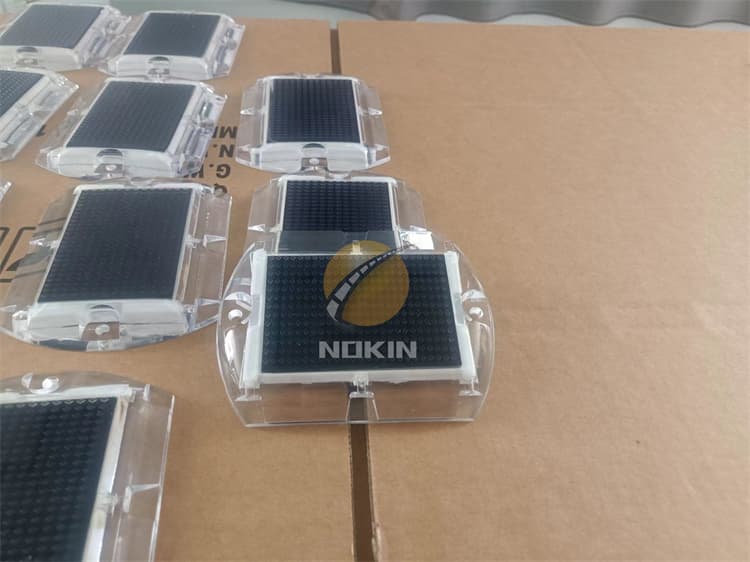
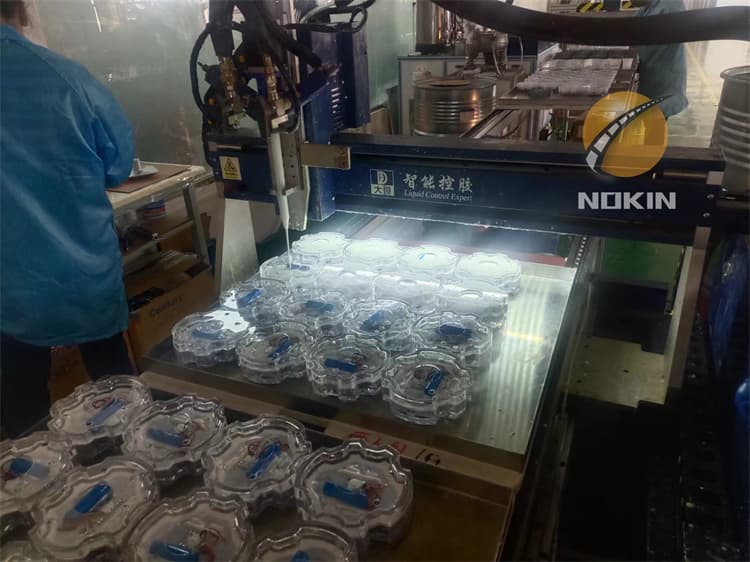
The shell is made of reinforced PC material, which has excellent impact resistance and heat stability.
Loading capacity of more than 30 tons, can be used in the middle of the road.
| Body material : | Cast Aluminum |
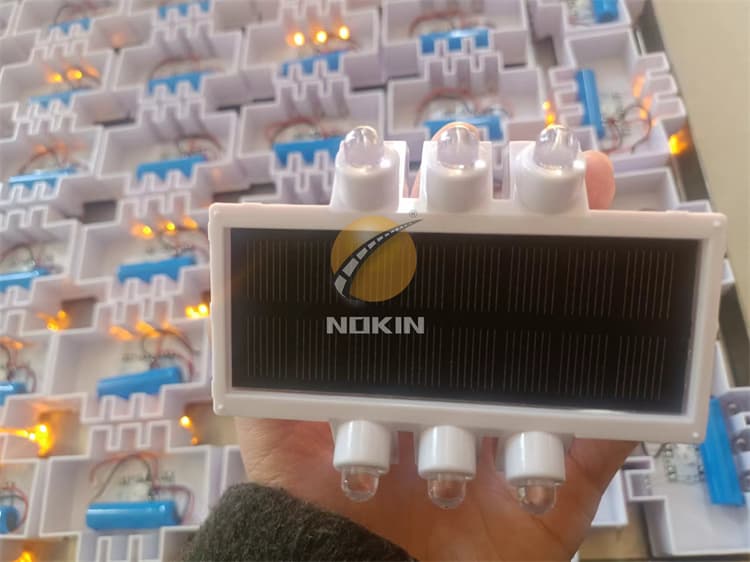
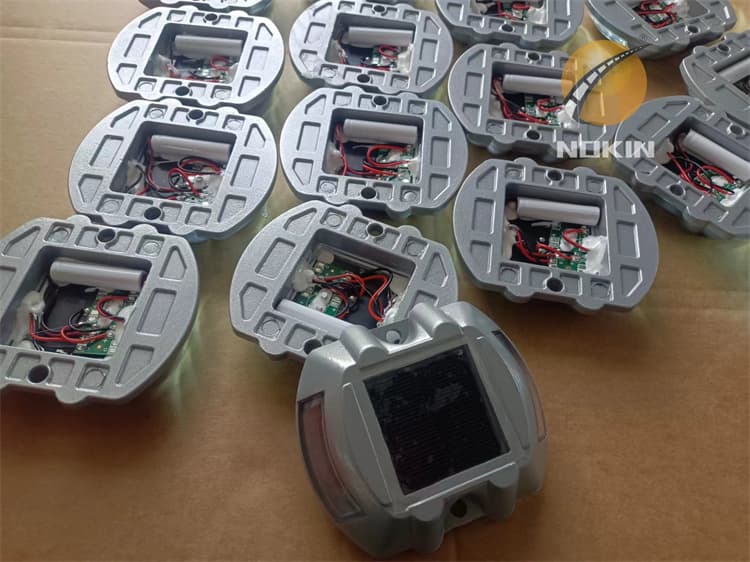
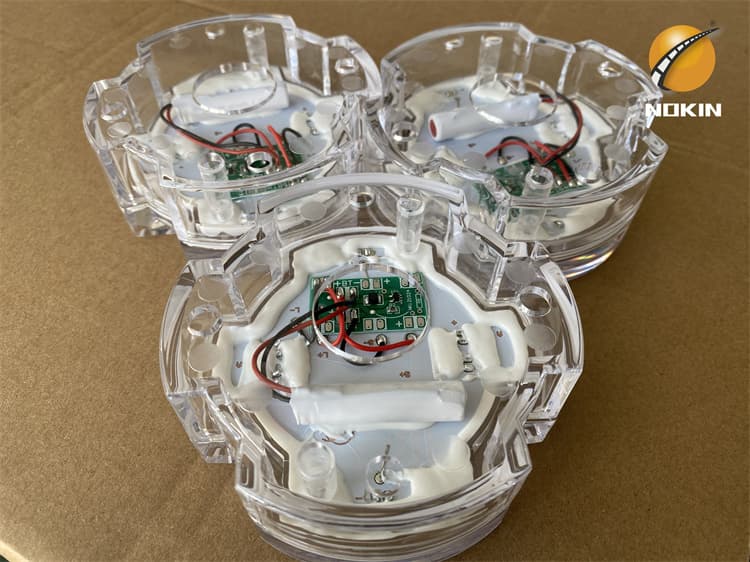
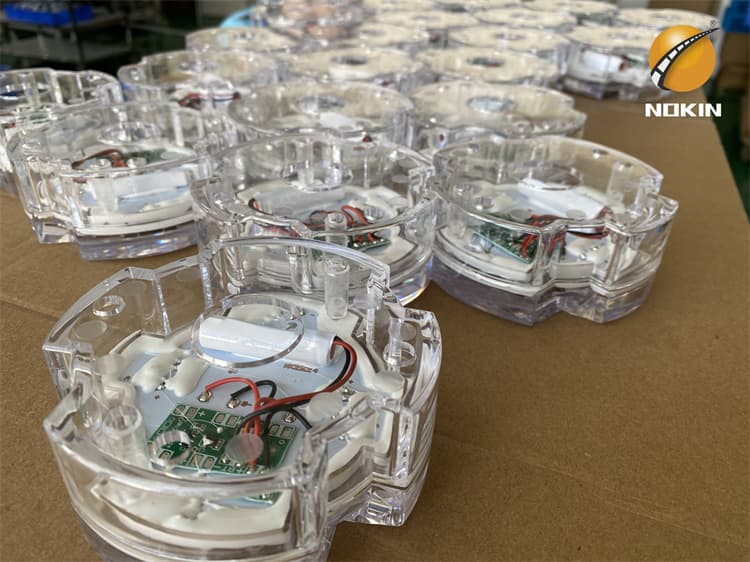
| Power supply: | Solar panel(Monocrystalline 2.5V /0.2W) |
| Battery: | NI-MH 2V/120mAh/ Lithium battery 5V/80mA |
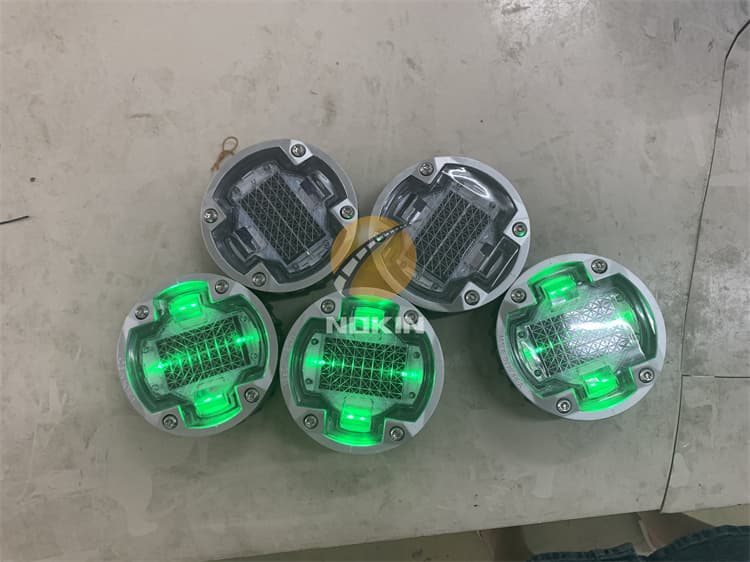
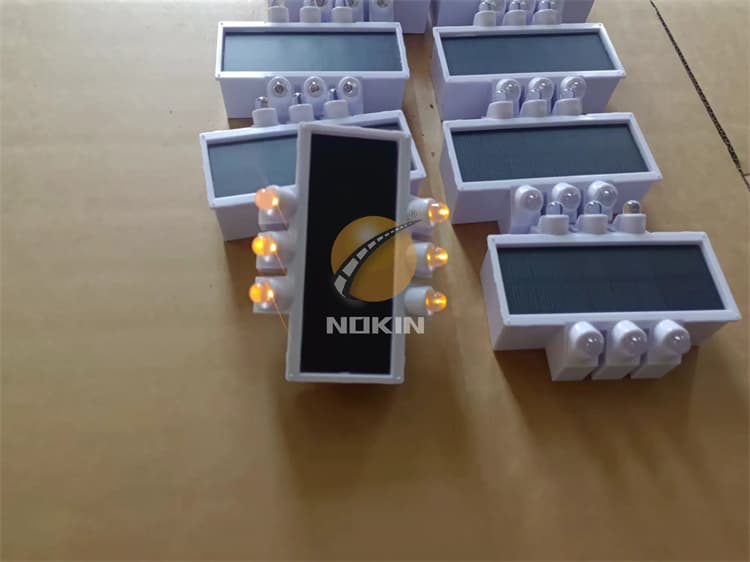
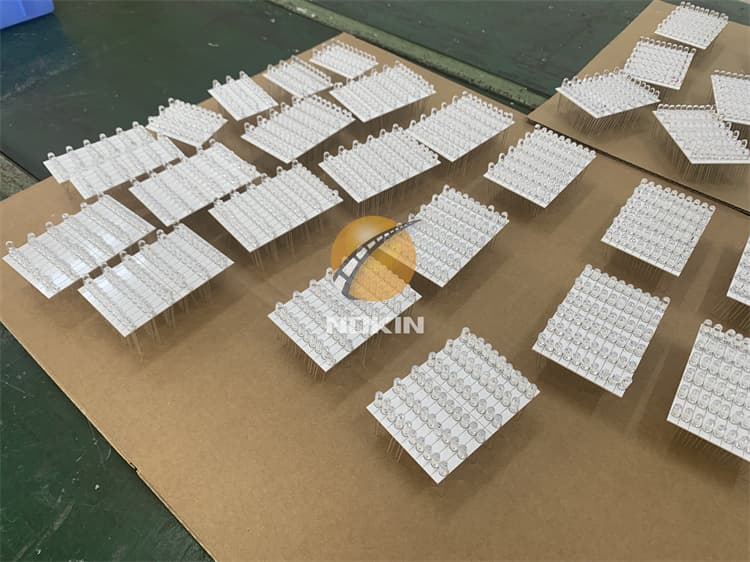
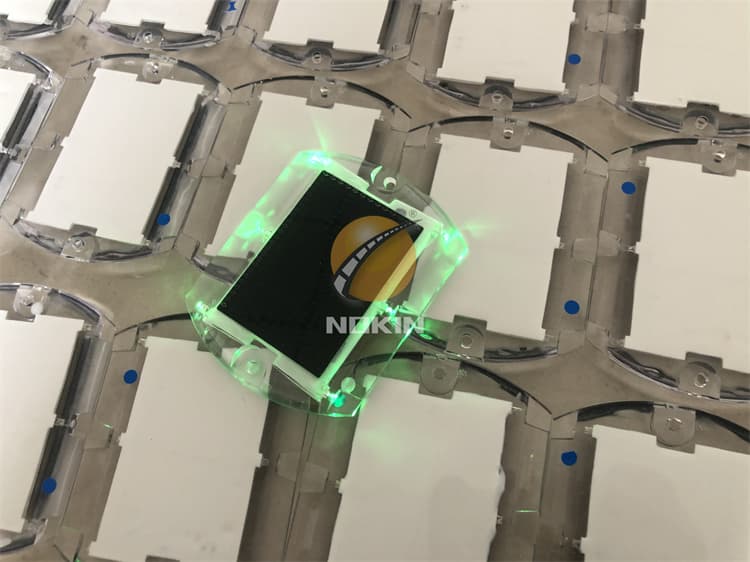
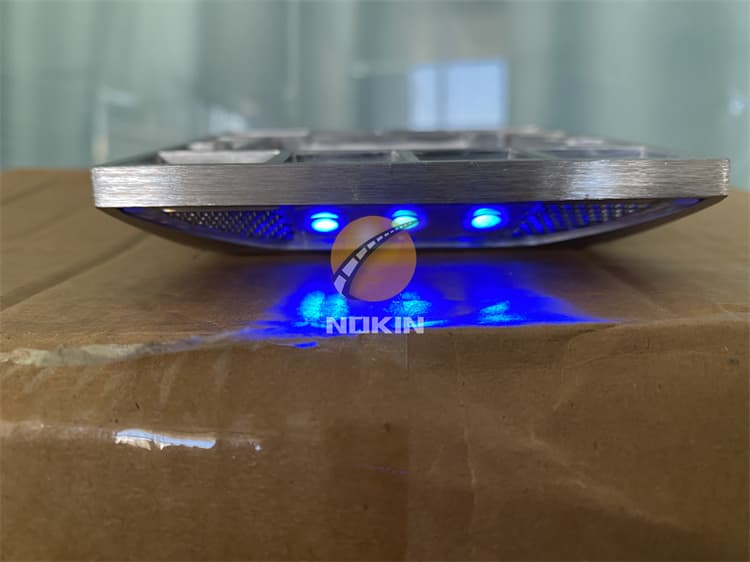
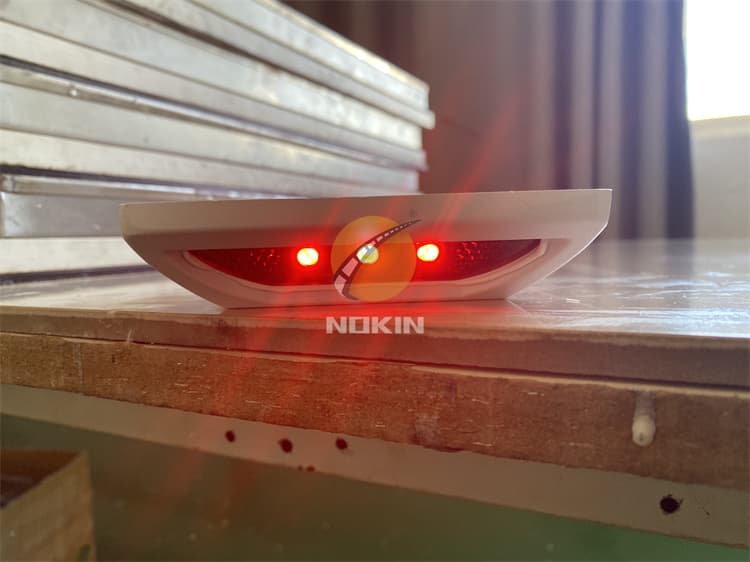
| LED: | 3pcs/side φ10mm super brightness LED |
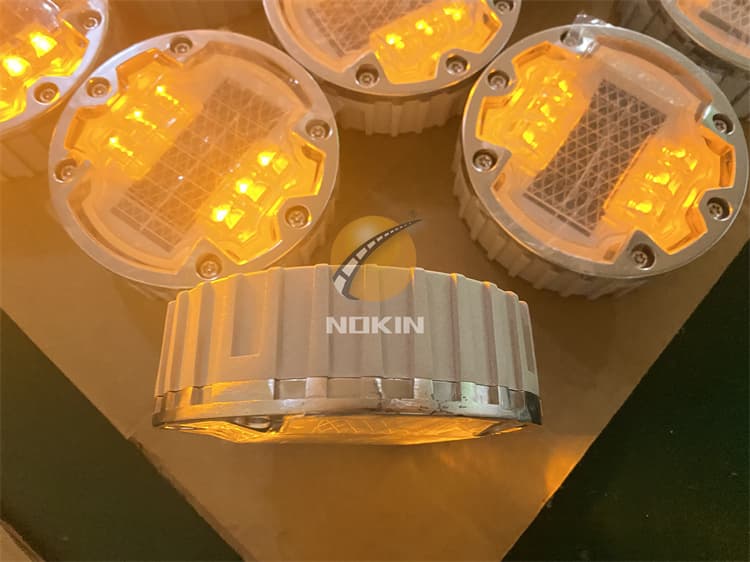
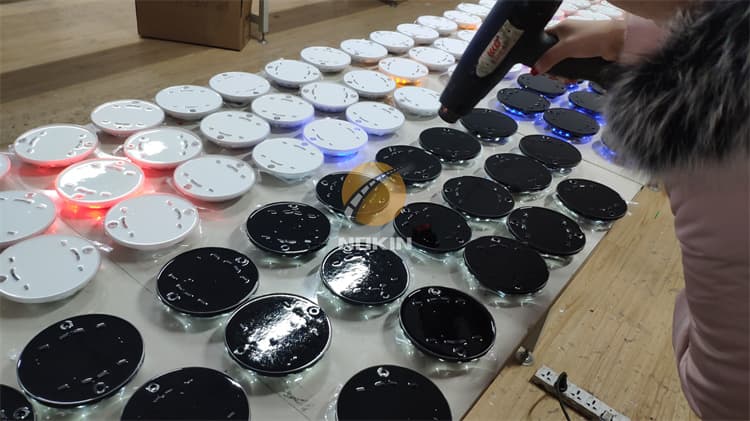
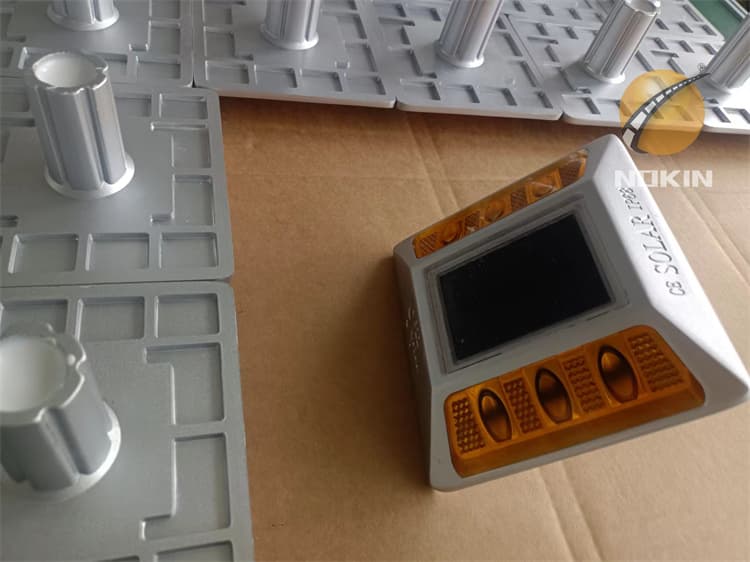
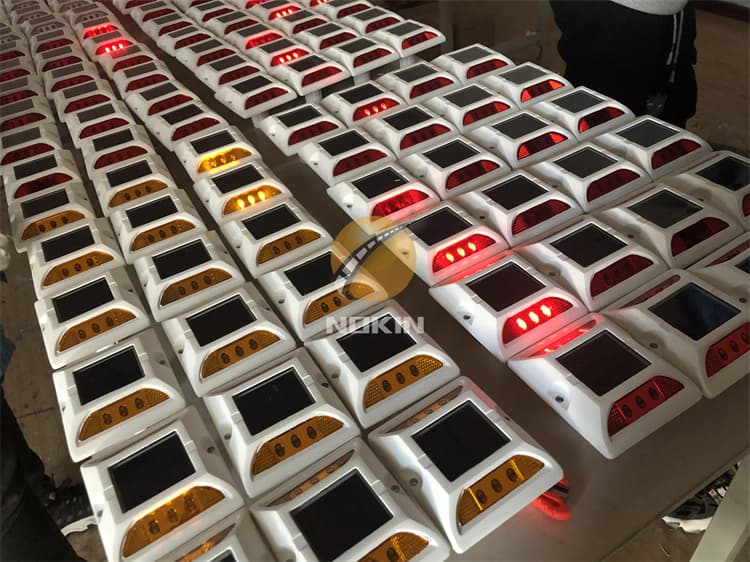
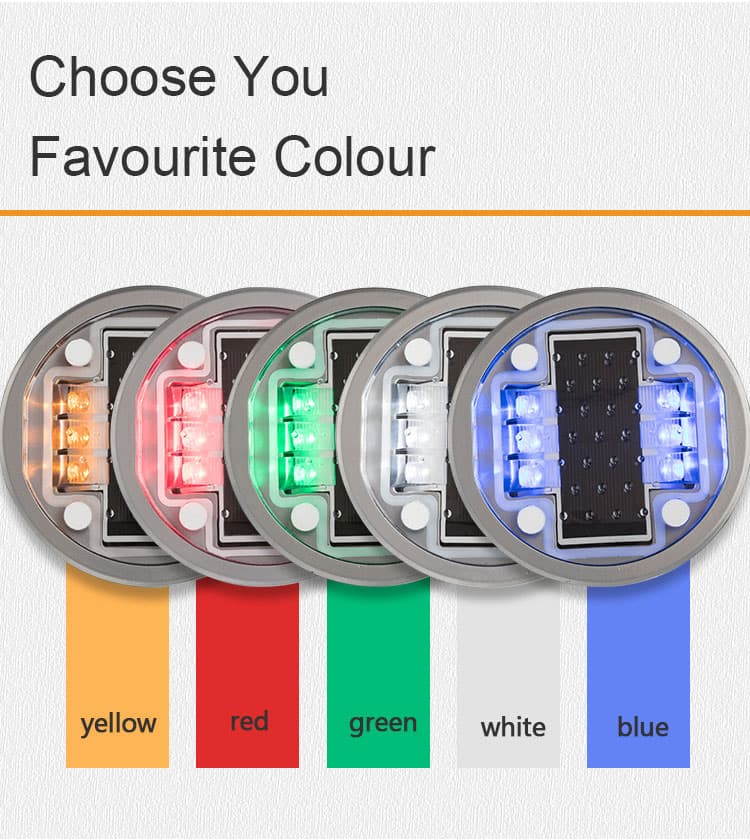
| LED Color: | White Green Red Yellow Blue |
| Flashing model: | flashing or constant |
| Working hours: | 180 hrs for flashing modes,40hrs for steady modes |
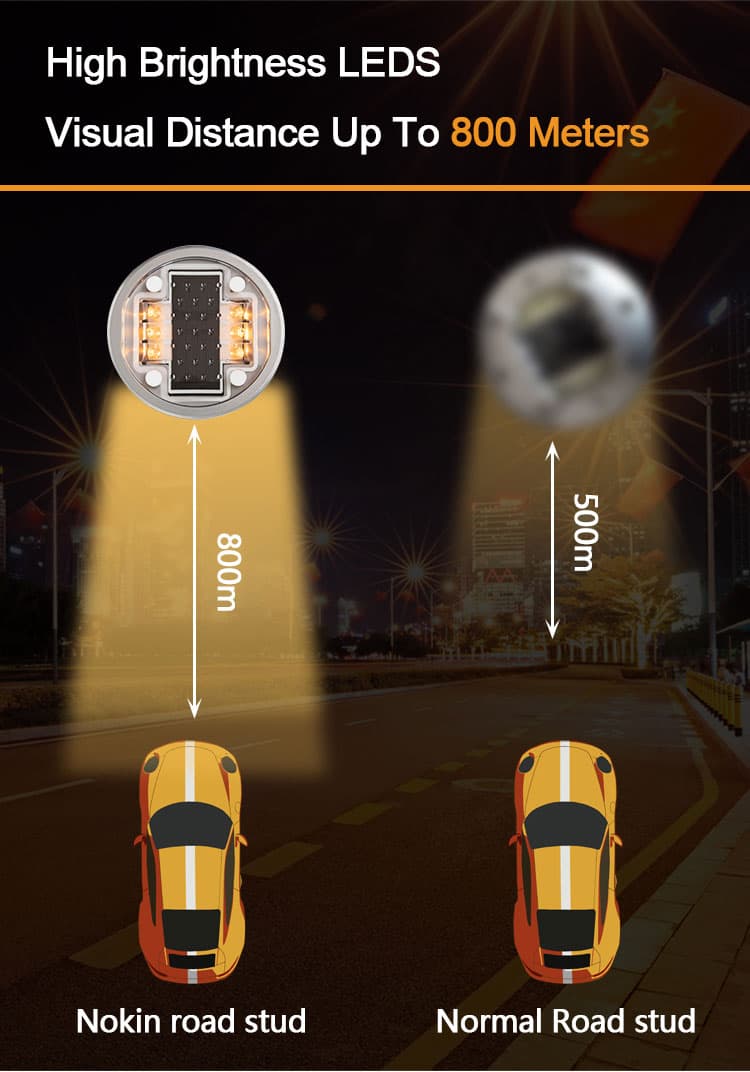
| Visual distance: | 800m(approx) |
| Waterproof: | IP68 |
| Load capacity | >30T |
| Size: | Dia 133mm* 47mm |
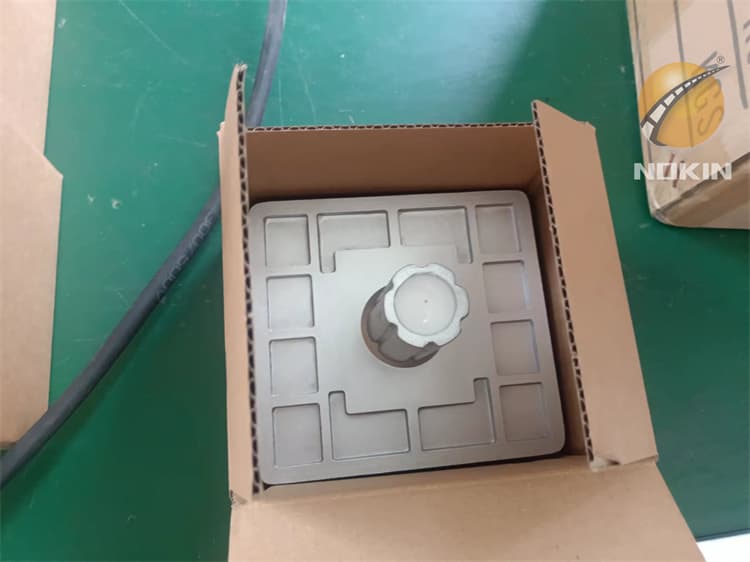
| Package: | 24pcs/ctn; weight: 17kgs; Carton size: 43*25*28CM/57*41*23.5CM (24pcs/ctn; weight: 37.48bs; Carton size: 16.92″*9.84″*11.02″/22.44″*16.14″*9.25″) |
| Life span: | 3-5 years with battery |
| Working Temperature | -25 °C~ + 75°C |
| waterproof | IP68 |
Installation Method Of Embedded led Solar Road Stud
1. Carefully mark the distance between the placement of the led solar road stud. To prevent an adverse effect on the ground, use a proper tool such as Core Drill. Drill Φ1350mm and the depth will be 50mm.
2. Remove all debris from the installation hole.
3. Pour epoxy into the holes per the manufacturer’s instruction.
4. Verity that the installation hole is straight. Verify that the installation hole is large enough to allow the epoxy to surround the solar-led road stud shaft.
5. Set the lighting surface of the solar road stud to the desired viewing angle. Verify the epoxy is evenly adhering to the installation hole and solar road stud shaft.
6. After curing the LED solar road stud for 6-8 hours, remove the installation of the isolation facility.